


 En
En


A popular application of the Raspberry Pi is to build a web server from it. For this we can use different technologies like Python, Node.JS or even PHP. Since the vast majority of scripts for the Raspberry Pi are written in Python, it makes sense to create a REST API interface with it as well. Then we can call specific functions and e.g. control or read GPIOs. This allows for easy control of LEDs or other sensors/modules. The beauty of this is that we can make almost any code we have written so far in Python for the Raspberry Pi easily callable via REST API.
Therefore, in this tutorial, we will create such an interface with FastAPI and look at ways in which we can extend and secure it.
Required Hardware Parts
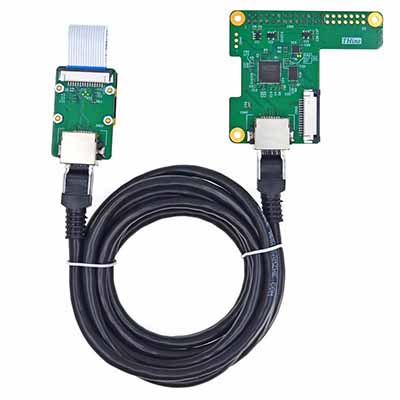
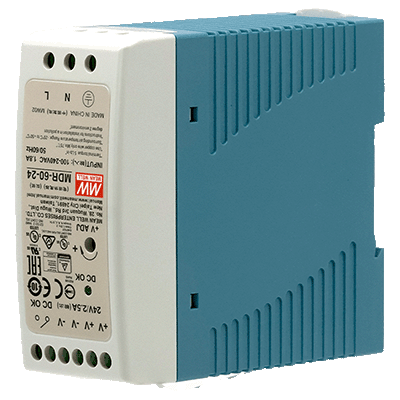
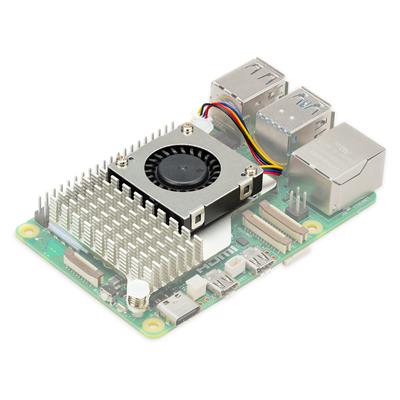
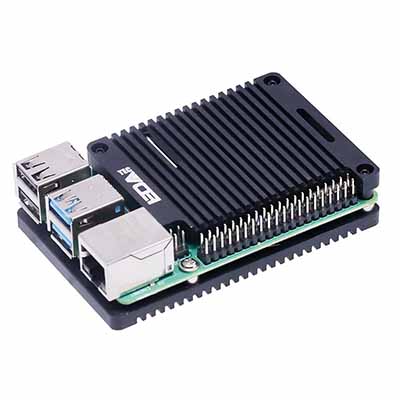
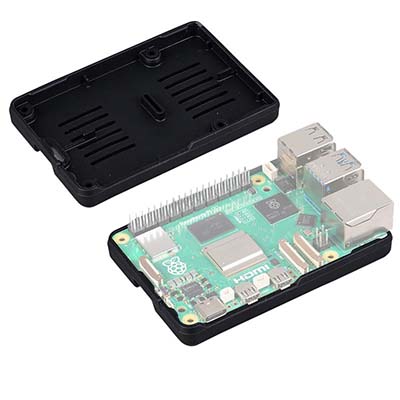
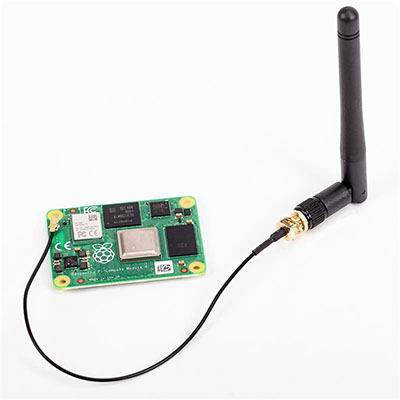
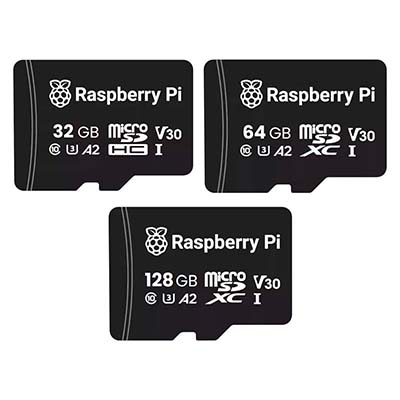
In principle, not many accessories are needed for this tutorial. However, since we want to test whether our setup also works, I recommend the following parts:
Of course, you can extend the whole thing as you wish and connect sensors (temperature, etc.), for example, which we query via our API.
What is a REST API?
An API (Application Programming Interface) is an interface that can be called e.g. via a URL. Under REST (Representational State Transfer) some principles are summarized, how interfaces have to behave, e.g. that a GET request should be read-only and not change anything on the server. On the other hand, POST commands are allowed to create new entities (e.g. a new instance of a book). You can learn more about the implementation here.
https://en.wikipedia.org/wiki/REST
Setup on Raspberry Pi
The setup on the Raspberry Pi is very simple in this tutorial because we only use one LED and one button. Your scenario can (should!) of course differ from this one, as it is only meant to be an example and is therefore also very simple.

The LED goes via a 330 Ω series resistor to GPIO 17 and the push button to 3.3V and GPIO 21.
In addition, we use the BCM numbers of the GPIOs in the following and not the board numbering:
Raspberry Pi GPIO Pin Assignment

Software Components of the Python REST API
Now we will create the API step by step. First, we prepare the required tools. After that, we create and extend our REST API to switch or read our GPIOs. Last, but not least, we secure our API so that not everyone has access to it.
By the way: You can also find the entire code, which we will go through step by step, on Github.
https://github.com/tutRPi/raspberry-pi-fastapi-gpio-rest-api
Installing the Libraries
Before we start, we need Python3 and a few libraries, which we load via the package installer pip.
sudo apt-get install python3 python3-pipAfter that we can install the needed Python libraries:
pip3 install fastapi uvicorn[standard] rpi.gpioMore information can be found on the respective documentation pages (fastapi, uvicorn, rpi.gpio).
https://sourceforge.net/p/raspberry-gpio-python/wiki/Examples/
Getting Started: First to Read Out Status via API
Let’s start our first test. For this, we create a simple Python script.
sudo nano main.pyThis gets the following content:
from fastapi import FastAPI
import RPi.GPIO as GPIO

GPIO.setmode(GPIO.BCM)
GPIO.setwarnings(False)

app = FastAPI()


@app.get("/read/{gpio}")
def read_root(gpio: int):
    GPIO.setup(gpio, GPIO.IN, pull_up_down=GPIO.PUD_DOWN)
    return {"gpio": gpio, "on": GPIO.input(gpio)}
With CTRL+O we save the file and with CTRL+X we close the nano editor. After that, we can already start our program.
uvicorn main:app --reloadNow you can open the following URL in the Raspberry Pi’s browser:
You can change the GPIO number if the button is connected to a different pin. The result looks like this if you do not press the button:
{"gpio":17,"on":false}This is the response we defined under this endpoint. If you press the button and call the URL again, the result will change. With just a few lines of code, we have written our first REST endpoint. But now we want to extend it.
Extension of Our Python API – Set GPIO Status
The pure readout is a bit boring, so of course, we want to control and set the GPIOs as well. Therefore we create another endpoint (this time PATCH, because we want to change something):
from fastapi import FastAPI
from pydantic import BaseModel
import RPi.GPIO as GPIO

GPIO.setmode(GPIO.BCM)
GPIO.setwarnings(False)

app = FastAPI()

class SetGPIO(BaseModel):
    on: bool

@app.get("/read/{gpio}")
def read_root(gpio: int):
    GPIO.setup(gpio, GPIO.IN, pull_up_down=GPIO.PUD_DOWN)
    return {"gpio": gpio, "on": GPIO.input(gpio)}


@app.patch("/set/{gpio}")
def read_item(gpio: int, value: SetGPIO):
    if value.on:
        GPIO.setup(gpio, GPIO.OUT, initial=GPIO.HIGH)
    else:
        GPIO.setup(gpio, GPIO.OUT, initial=GPIO.LOW)
    return {"gpio": gpio, "on": value.on}
As you can see, the first parameter is again the GPIO number,
You can either use Postman or a browser extension, or cURL (). I used the latter:sudo apt-get install curl
curl -X PATCH http://127.0.0.1:8000/set/21 -H "Content-Type: application/json" -d '{"on": true}'And with this, the LED goes on!
By the way, you can find API documentation at , which is automatically created with Swagger/OpenAPI. To make the responses a bit more readable, we define models (). This is simply a class with attributes, where in the definition of the endpoint we say that we will return this model.http://127.0.0.1:8000/docsresponse_model
from fastapi import FastAPI
from pydantic import BaseModel
import RPi.GPIO as GPIO

GPIO.setmode(GPIO.BCM)
GPIO.setwarnings(False)

app = FastAPI()


class GpioStatusResponse(BaseModel):
    gpio: int
    on: bool


class SetGPIO(BaseModel):
    on: bool


@app.get("/read/{gpio}", response_model=GpioStatusResponse)
def read_root(gpio: int):
    GPIO.setup(gpio, GPIO.IN, pull_up_down=GPIO.PUD_DOWN)
    return GpioStatusResponse(gpio=gpio, on=GPIO.input(gpio))


@app.patch("/set/{gpio}", response_model=GpioStatusResponse)
def read_item(gpio: int, value: SetGPIO):
    if value.on:
        GPIO.setup(gpio, GPIO.OUT, initial=GPIO.HIGH)
    else:
        GPIO.setup(gpio, GPIO.OUT, initial=GPIO.LOW)
    return GpioStatusResponse(gpio=gpio, on=value.on)
As a final exercise: build an endpoint (POST) that activates PWM on a GPIO so that we can dim an LED (go to the PWM doc here).
https://sourceforge.net/p/raspberry-gpio-python/wiki/PWM/
Furthermore, you now have enough resources to build a user interface that interacts with the GPIOs, for example.
https://github.com/tutRPi/Raspberry-Pi-Simple-Web-GPIO-GUI
Security – Basic Auth and Other Methods
If we would release the port 8000 of the Raspberry Pi, everyone could access the API. We want to prevent this and include authentication. For this we have several possibilities:
- A user/password is sent as a header with every call to the API. For this, we use Basic Auth and verify that the data is correct when calling it up.
- Alternatively, we can use oauth2 with JWT (JSON Web Tokens), which are also sent by header. For the sake of simplicity, we will not do this in this tutorial. If you still want to implement it (as an exercise), you can find out more about it here.
https://fastapi.tiangolo.com/tutorial/security/oauth2-jwt/
We now open the script again and adjust it accordingly:
from pydantic import BaseModel
from fastapi import Depends, FastAPI, HTTPException, status
import RPi.GPIO as GPIO
import secrets

GPIO.setmode(GPIO.BCM)
GPIO.setwarnings(False)

app = FastAPI()
security = HTTPBasic()


class GpioStatusResponse(BaseModel):
    gpio: int
    on: bool


class SetGPIO(BaseModel):
    on: bool


def get_current_username(credentials: HTTPBasicCredentials = Depends(security)):
    correct_username = secrets.compare_digest(credentials.username, "admin")
    correct_password = secrets.compare_digest(credentials.password, "passw0rd")
    if not (correct_username and correct_password):
        raise HTTPException(
            status_code=status.HTTP_401_UNAUTHORIZED,
            detail="Incorrect email or password",
            headers={"WWW-Authenticate": "Basic"},
        )
    return credentials.username


@app.get("/read/{gpio}", response_model=GpioStatusResponse)
def read_root(gpio: int, username: str = Depends(get_current_username)):
    GPIO.setup(gpio, GPIO.IN, pull_up_down=GPIO.PUD_DOWN)
    return GpioStatusResponse(gpio=gpio, on=GPIO.input(gpio))


@app.patch("/set/{gpio}", response_model=GpioStatusResponse)
def read_item(gpio: int, value: SetGPIO, username: str = Depends(get_current_username)):
    if value.on:
        GPIO.setup(gpio, GPIO.OUT, initial=GPIO.HIGH)
    else:
        GPIO.setup(gpio, GPIO.OUT, initial=GPIO.LOW)
    return GpioStatusResponse(gpio=gpio, on=value.on)
In order for the query to go through, we need to include the username and password (lines 24/25). This can be done very easily with curl or Postman:
curl -X PATCH http://127.0.0.1:8000/set/21 -H "Content-Type: application/json" -d '{"on": false}' -u "admin:passw0rd"Last but not least: If you want to make the API accessible via the Internet (i.e. open your port to the outside world), it is recommended to use an SSL certificate (Let’s Encrypt) so that the connection is encrypted. You can find out more on this page.
https://fastapi.tiangolo.com/deployment/https/
Conclusion
With FastAPI we can very easily and quickly create a REST interface and call functions specific to Raspberry Pi. With this, we can control the GPIOs, read out sensors and much more. If the Raspberry Pi needs to be called from an external system, this is a simple and clean solution. However, you should pay attention to appropriate authentication, so that not everyone can control the Raspberry Pi remotely.
As an alternative to the Python REST API, there are solutions such as MQTT: If only data is to be transmitted/received and there is no public API, this is a good alternative. In case we still need an API, we can also use Node.JS to switch GPIOs. All in all, I find the solution via Python much more comfortable, also because there are the most compatible extensions for it.
Original URL: https://tutorials-raspberrypi.com/control-all-gpios-with-the-raspberry-pi-rest-api-via-python/


