


 En
En


Octoprint Official website link:https://octoprint.org/
OctoPrint is a powerful open source software for remote control and monitoring of one or more 3D printers. You can use it to start, stop or pause printing, and even change the printing temperature and settings during printing. In addition, it supports video streaming, or capturing images during printing. Almost all the functions you need can be realized. With the help of various available plug-ins, you can even get more advanced functions, such as receiving notifications via WhatsApp when the print is completed, or posting the printing progress on social media.
What is OctoPrint?
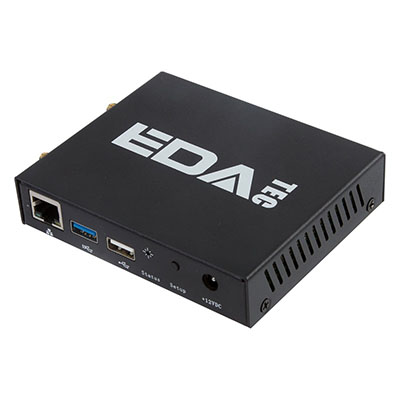
OctoPrint is a free open source 3D printer control software that provides a web interface for remote monitoring and management of 3D printers. After connecting to your printer via USB, you can use any device with a web browser to control and monitor the printing process, and even adjust the printing parameters in real time. OctoPrint is processed and connected through Raspberry Pi, a cheap single-board Linux computer, which is convenient and powerful.
OctoPrint was developed by Gina Häußge in 2012 and has become one of the most popular 3D printing control tools in the maker community. The continuous updates of the software and the regular release of new features have made it popular in the 3D printing field.
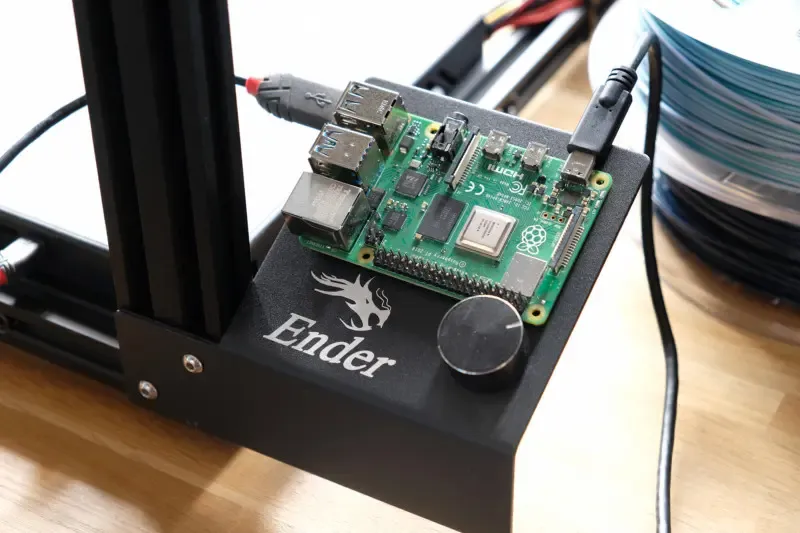
OctoPrint's main operating platform is OctoPi, a Raspberry Pi image with OctoPrint pre-installed. OctoPi makes the setup process even easier. In just a few steps, you can connect your 3D printer to OctoPrint and start taking advantage of its powerful features, such as remote control, real-time monitoring, time-lapse video recording, temperature curve display, G-code viewing, and real-time monitoring of the printing process through the webcam.
OctoPrint Core Features
- Remote Control and Monitoring: Control and monitor every detail of your 3D printer and print jobs through any web browser.
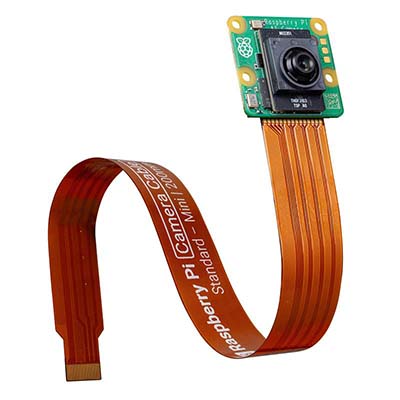
- Webcam Integration: View a live HD video stream of your print process (with a compatible webcam).
- G-Code Viewer: Visualize the G-code executed during the print process in real time for easy analysis and adjustment.
- Temperature Control: Adjust the temperature of the hot end, print bed, and print chamber in real time to ensure print stability.
- Print Job Management: Remotely upload, start, pause, resume, and cancel print jobs to easily manage multiple print tasks.
- Custom Control: Create custom buttons to perform specific printer operations (such as zeroing the axis, extruding filament, etc.) to improve operational efficiency.
- Plugin System: Expand OctoPrint's functionality through a rich plugin library to meet specific application needs.
OctoPrint gives you more control over your 3D prints. Learn how to set up OctoPi on a Raspberry Pi with this step-by-step setup guide!
For many 3D printers, files to be printed are uploaded either via an SD slot or a USB port. This means you have to, for example, stick an SD card into your computer, load the G-code onto it, and insert it into the 3D printer every time you want to print something. And a printer without an SD slot requires a computer to be tethered throughout printing.
With OctoPrint, there’s no such inconvenience. You can access your printer using Wi-Fi and carry out many tasks, such as uploading and starting prints, monitoring them through a live camera feed, recording time-lapses, controlling your printer, and much more! It’s a very popular tool among 3D printer enthusiasts that improves the user experience massively.
In this article, we’ll show you how to install OctoPi on one of the Raspberry Pi boards, some of the (if not the) most known and used single-board computers (SBCs). Once you’ve got OctoPi running, you’ll be able to add the variety of features and options that OctoPrint has to offer.
OctoPrint Setup: How to Install OctoPi on a Raspberry Pi
What Do You Need?
 To get started with OctoPrint, here’s what you’ll need:
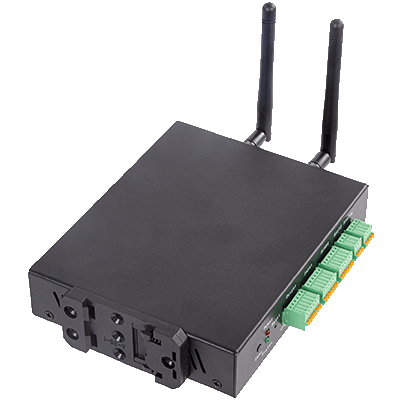
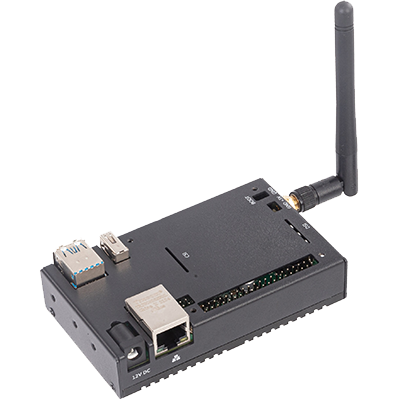
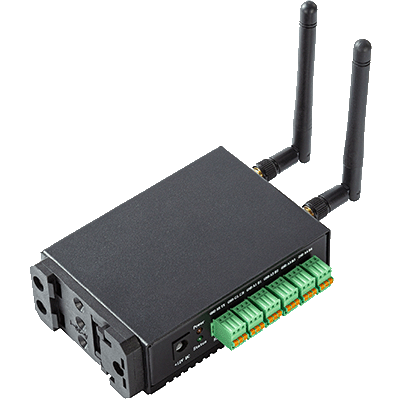
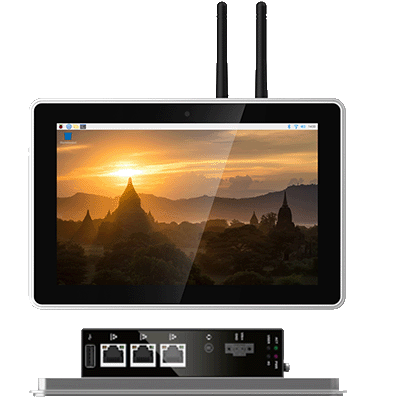
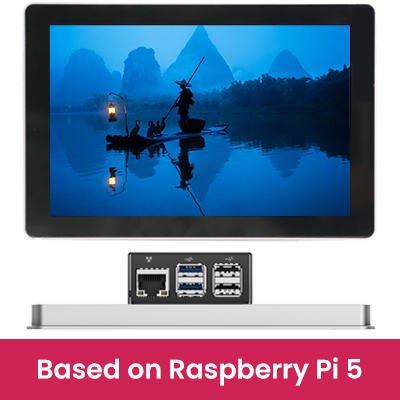
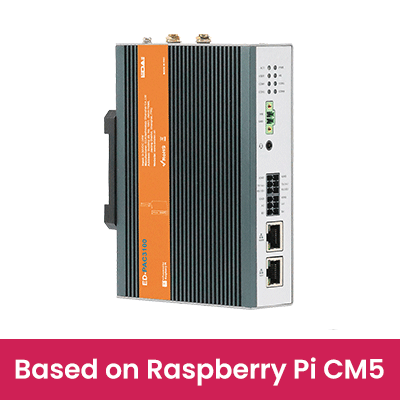
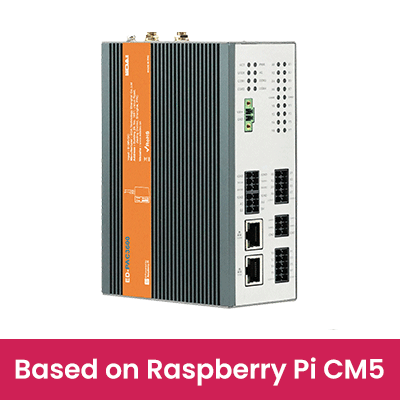
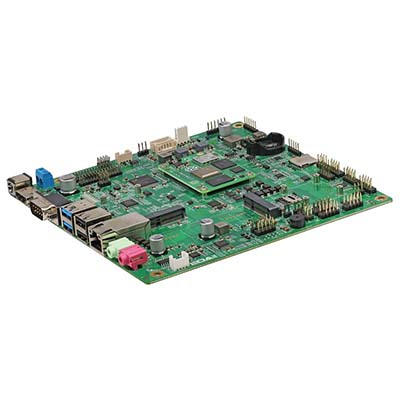
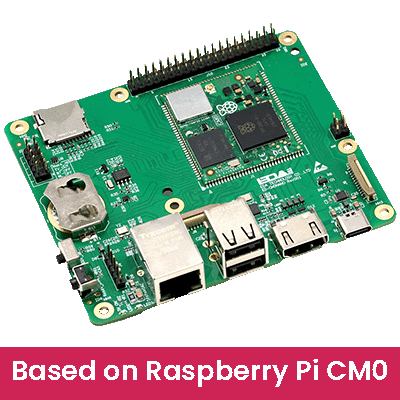
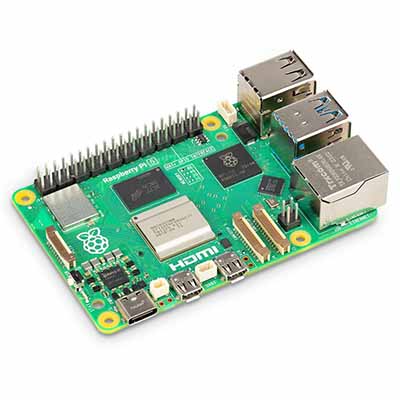
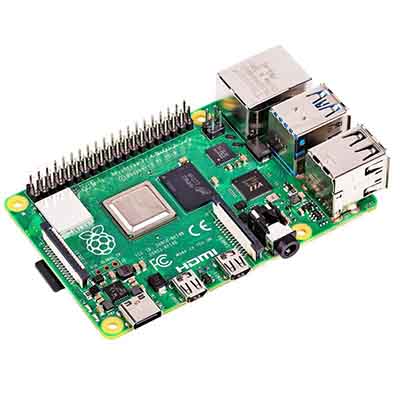
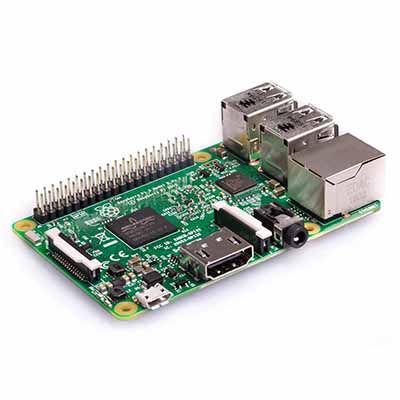
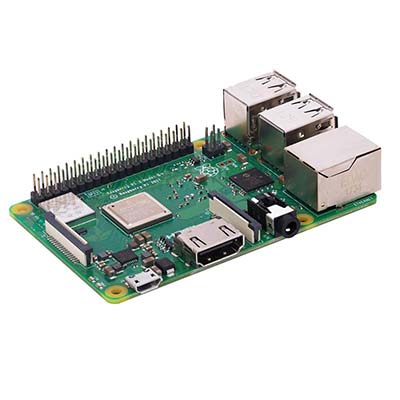
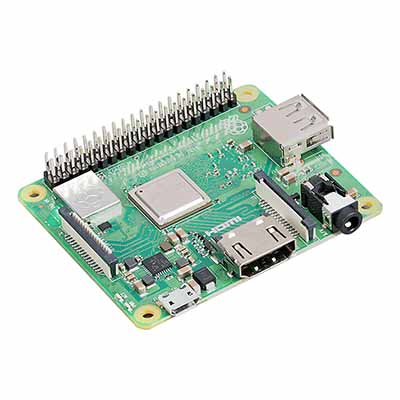
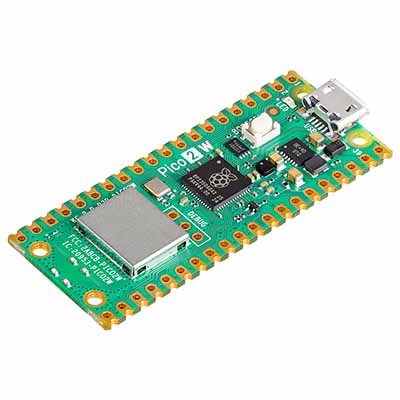
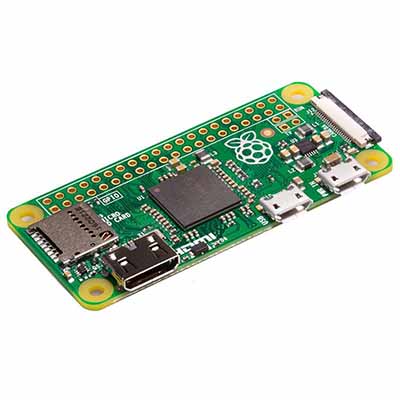
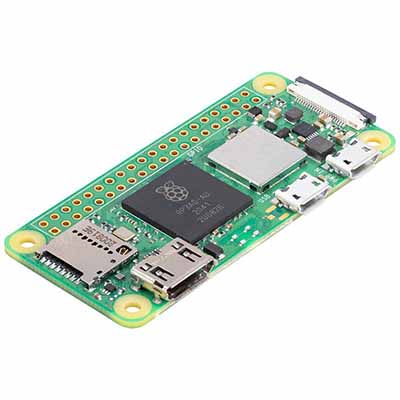
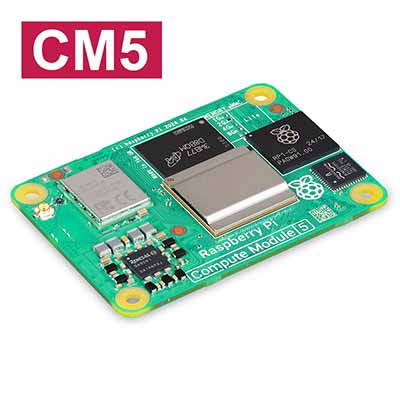
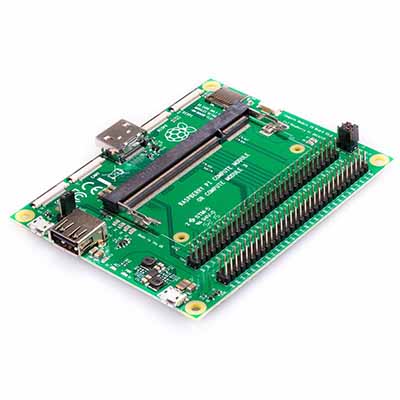
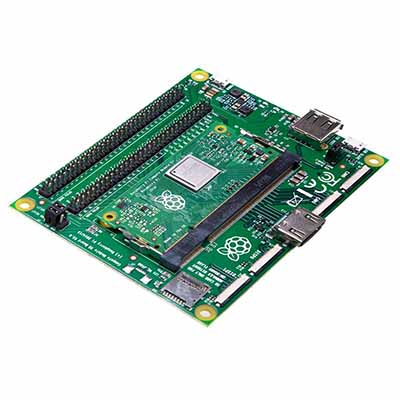
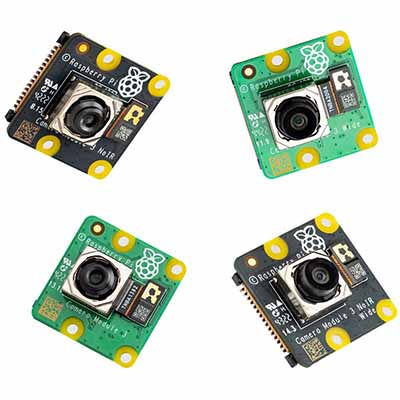
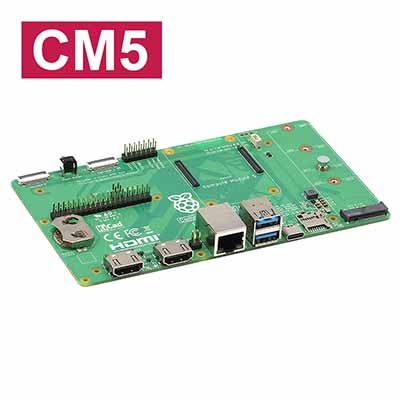
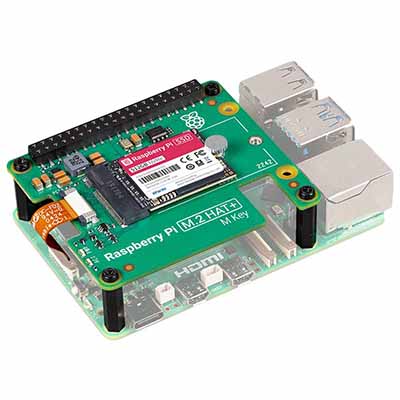
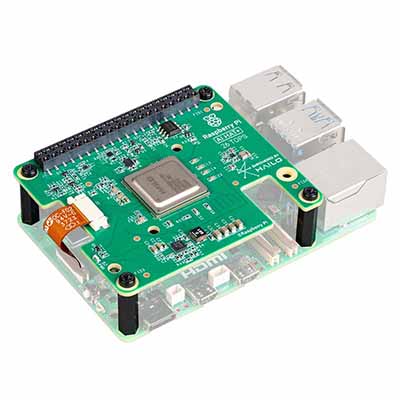
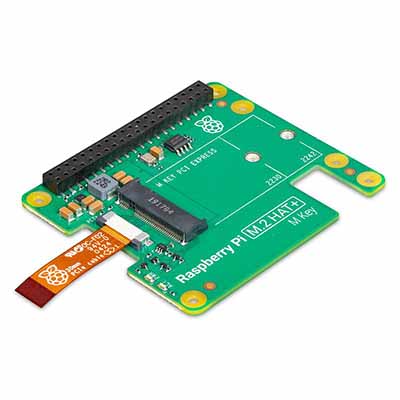
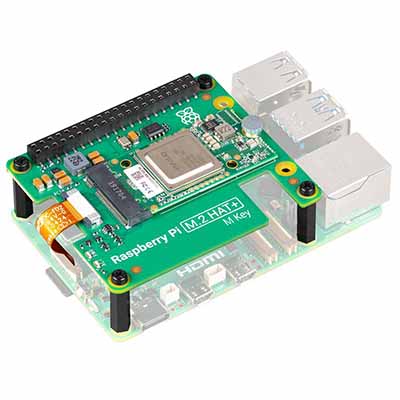
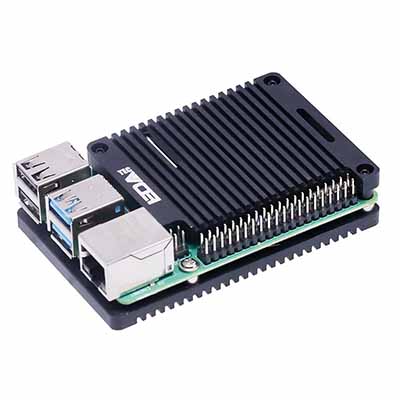
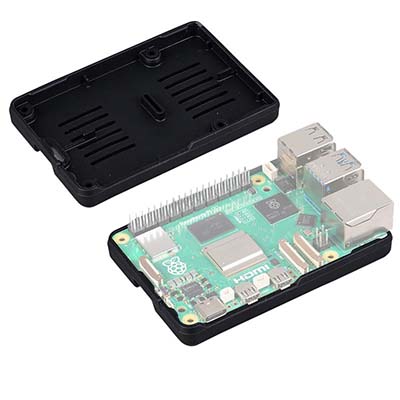
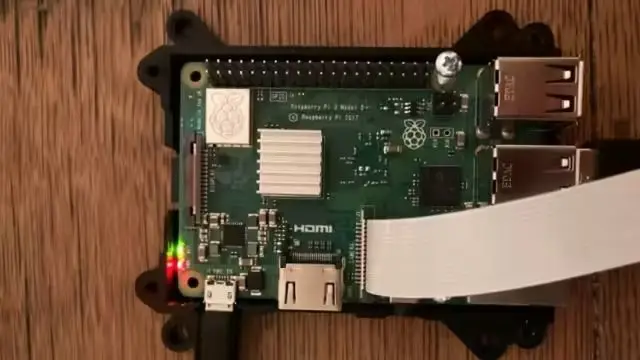
- Raspberry Pi: OctoPrint strongly recommends the Raspberry Pi models 3B, 3B+, 4B, or Zero 2 W.
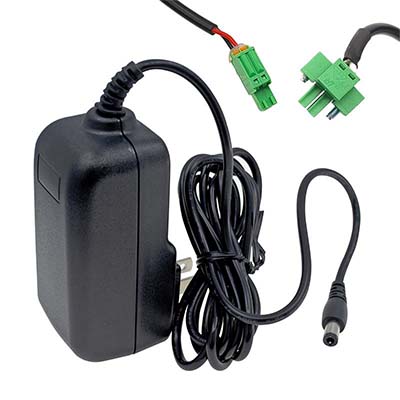
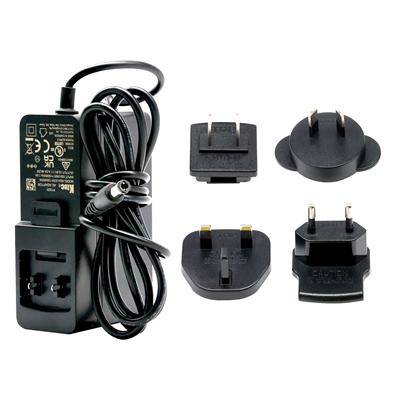
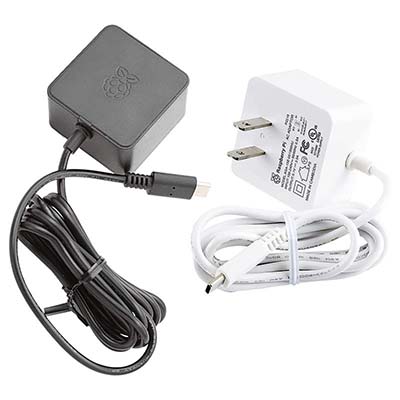
- Power adapter for the Pi: This item is usually overlooked, but it’s actually very important to ensure enough electrical power is provided to the board.
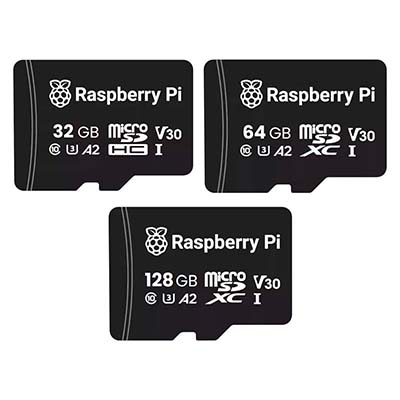
- Micro or full-size SD card: You’ll need whatever fits in your Pi (likely a MicroSD) and an SD adapter or USB card reader if your computer only takes full-size SD cards. Unless you’re planning to queue many prints through OctoPrint, an 8-GB card should be enough.
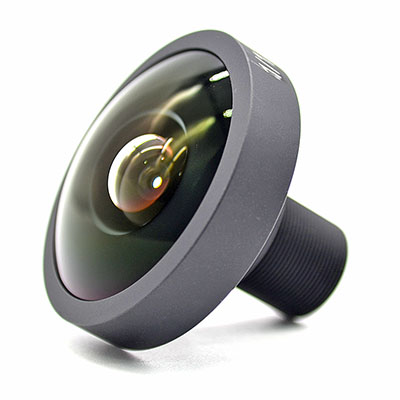
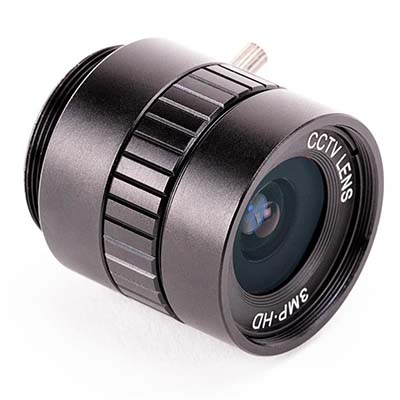
- USB cable: This connects the Raspberry Pi to the 3D printer. Keep in mind which connection your 3D printer has – USB Type-A, Type-B, Mini, or Micro. The Pi end is USB Type-A.
Naturally, you’ll also need a 3D printer that works with OctoPrint.
Flashing the OctoPi Image
The simplest way to run OctoPrint is by booting your Raspberry Pi with the OctoPi image. To get there, you’ll need a tool to flash your SD card. And for that, we recommend using the Raspberry Pi Imager, available for Windows, MacOS, and Linux.
https://www.raspberrypi.com/software/
Before we get started, please note that you won’t have to install OctoPrint separately after flashing the OctoPi image on your Raspberry Pi. It’s bundled with the OctoPi installation, so there’s no need to install anything else afterwards.
Here’s how to do it:
- Download and install the Raspberry Pi Imager from the Raspberry Pi Foundation.
- Insert your SD card into your computer or connect it using an adapter. There’s no need to format the SD card prior to this.
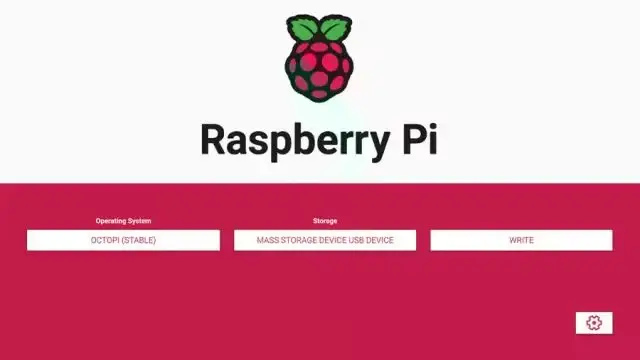
- Open the Raspberry Pi Imager and click on “Choose OS” under “Operating Systems”.
- Then go to “Other specific-purpose OS > 3D printing > OctoPi”. The latest version should be there.
- Click on the gear button in the bottom-right corner to open the “Advanced Options”.
- Add a system password under “Set username and password”. Make sure to keep the same username “pi” as this username and password are only for SHH connection, not for logging in to OctoPrint.
- Next, you can add the Wi-Fi settings for the Raspberry Pi. Click on the “Configure wireless LAN” checkbox and enter your network SSID and password.
- Select your country code at the dropdown menu on “Wireless LAN country”. Click “Save”.
- Back on the main window, click on “Choose Storage” and select the SD card.
- Click “Write” and the Raspberry Pi Imager will download and install the OctoPrint image.
Once installed, the software will run a quick verification, and you should be all set to go.
For additional guidance, check out Raspberry Pi’s YouTube tutorial.
For more guidance, check out YouTube tutorials for the Raspberry Pi.
https://www.youtube.com/watch?v=ntaXWS8Lk34
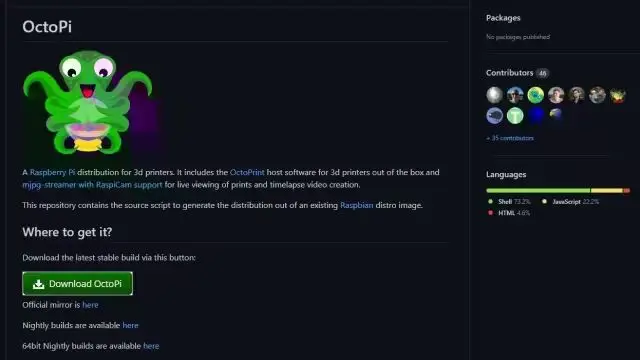
Get the latest version of OctoPi from GitHub
https://github.com/guysoft/OctoPi
Alternatively, you can use Etcher, which is a free tool for Windows and MacOS. Here are the steps:
- Download the latest version of OctoPi from the GitHub repository (1.0 at time of writing).
- Unzip the downloaded image. You should have an image file ending in “.img”.
- Insert your SD card into your computer. Once again, there’s no need to format the card prior.
- Open up Etcher, select your SD card, select the OctoPi image, and click “Flash”.
Once it’s done, you’re good to go!
Setting Up Wi-Fi
Make sure to uncomment your country code (Source: Lucas Carolo via All3DP)
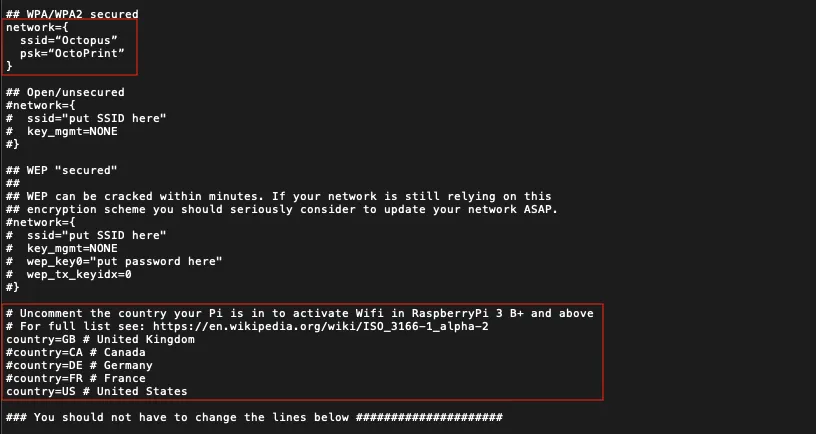
If you’ve already set up the Wi-Fi via the Raspberry Pi Imager, you can jump ahead to the “Connecting the Pi to Your Printer” section of this tutorial. Otherwise, follow along to configure your Wi-Fi information manually.
- If the Raspberry Pi Imager or Etcher ejected your SD card when it finished flashing, be sure to re-insert it into your computer.
- Open your SD card’s directory (usually named “boot”). It should be located wherever external drives usually show up.
- There’s a whole mish-mash of files in here, but don’t be intimidated. We’re looking for “octopi-wpa-supplicant.txt”.
- We’ll need to edit the file, but don’t use Notepad (on Windows) or TextEdit (on MacOS) to open it, as these may introduce additional issues. We recommend using Notepad++ for Windows users and Atom or Visual Studio Code (available on Windows as well) for MacOS users.
https://community.octoprint.org/t/wifi-setup-and-troubleshooting/184#heading--wrong-text-editor
Securing Communication
Every Raspberry Pi board comes with a default username and password for SSH access. As such, it’s highly recommended that you change the password to prevent others from connecting to your OctoPrint and controlling your 3D printer.
If you created a password using the Raspberry Pi Imager earlier, head to the next section. If not, let’s boot up the Pi and connect to it via SSH.
- Insert your SD card into the Pi’s slot. If a Wi-Fi adapter is required, make sure it’s connected to a USB port on the Pi.
- Power up the Pi by plugging in the power cable.
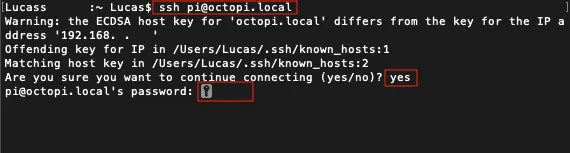
- Open CMD (Windows) or Terminal (macOS) and run
ssh pi@octopi.local(or replace “octopi.local” with the IP address assigned by your router to the Raspberry Pi). - If it returns “Are you sure you want to continue connecting (yes/no)?” type
yesand hit Enter. - Type in the default password for the Pi:
raspberry. Hit Enter.
Now you should be logged into the Pi. To change the default password, do the following:
- Run
sudo raspi-config. It should ask for the default password once more. - The first option should be “Change User Password”. Hit Enter.
- Enter the new password twice.
That’s it! Now your instance of OctoPrint is protected. Use this new password whenever you wish to access the Pi through SSH.
Connecting the Pi to Your Printer

It’s time to put all the pieces together. In this step, we’ll connect the Raspberry Pi to your 3D printer:
- If you used the Raspberry Pi Imager for setting up the Wi-Fi and password, then insert your SD card into the Pi’s slot. If you changed the Pi’s password manually, then disconnect the board from power.
- Use a USB cable to connect the Pi to your 3D printer.
- Power up the Pi and your 3D printer.
Setting Up the Interface
After the Pi boots up, you should be able to access OctoPrint through your local network.
- Type in “http://octopi.local” (or the IP address assigned by your router to the Pi) on any browser. Make sure your computer is connected to the same network as the Pi.
- You should see the OctoPrint interface and a setup wizard pop up. Follow along, and be sure to set up a username and password for OctoPrint. Note that this is not the same as the username and password you set up for your Raspberry Pi.
- Connect to your printer by opening up the Connection panel on the left. With the options set to “AUTO”, hit “Connect”. If this doesn’t work, try manually setting the serial port and baud rate until it does.
Finding the IP Address of the Raspberry Pi
The Terminal Method
In case “http://octopi.local” doesn’t work for you or you want to find the IP address of your Raspberry Pi to access it directly, you can simply retrieve it from the Pi itself – provided you have a display connected to it. Here’s how to do it:
- Turn on the Raspberry Pi and plug a keyboard and a mouse into it. Make sure it has connected to the Wi-Fi network successfully.
- Open the terminal on your Raspberry Pi (it should be open by default on OctoPi).
- Type “hostname -I” in the terminal and hit Enter.
- The first part of the output will contain your Pi’s IP address, separated by periods. For example: 192.xx.x.x (numbers in the place of “x”).
The Ping Method
If you don’t have a display for your Raspberry Pi, the ping method can come in useful. Follow these steps to use it:
- Make sure that the Raspberry Pi is powered on and connected to your Wi-Fi network.
- Connect another computer (it can be running Windows, MacOS, Linux) to the same Wi-Fi network.
- Open the terminal (MacOS, Linux) or command line (Windows) and enter “ping octopi.local”. If you changed the host name during or after installation, make sure to replace “octopi.local” with the actual host name. If you don’t remember changing anything, it’s probably “octopi.local” by default.
- As soon as you send the command, you should start seeing the IP address of your Raspberry Pi in the output. For example, 192.14.1.2.
If you want to explore more methods, feel free to check out this helpful guide on how to find your Raspberry Pi on your network.
https://all3dp.com/2/find-raspberry-pi-on-network/
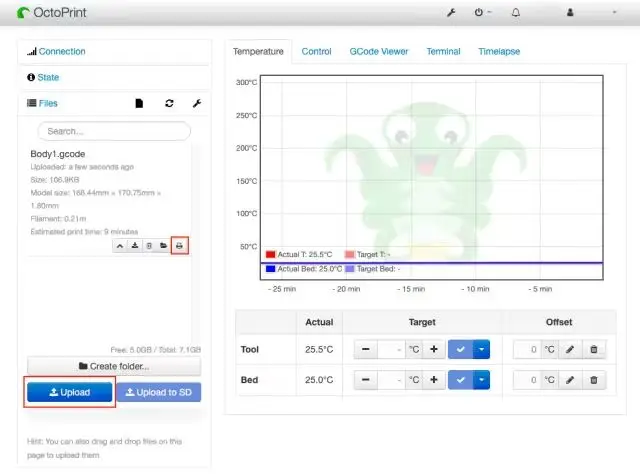
Congratulations! You’ve successfully set up OctoPrint. In order to make your very first print through OctoPrint, click on the “Upload” button in the lower-left and select an already sliced G-code file. Once imported, all files will be present on a list in the “Files” panel. To start printing, click on the small printer icon. But that’s not all…
Getting Your Bearings
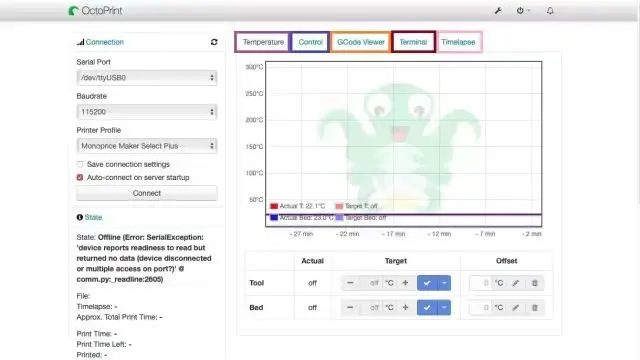
As you can see from the picture, there are also a few more tabs you can click on to navigate to different parts of OctoPrint. Let’s take a look at what they do:
- Temperature (purple): This is where you can see the current temperature of your extruder and bed on a graph. You can also set corresponding target temperatures.
- Control (blue): If you have a webcam connected to the Raspberry Pi, you can see the live video feed here. It’s also possible to give control-related commands to the printer, such as moving the X-, Y-, Z-axes, extruding and retracting filament, turning motors off, turning fans on or off, setting flow rate, and more.
- GCode Viewer (orange): As the name suggests, this shows the current layer that is being printed. You can also skip forward or backward in the visualizer to see how the entire model will get printed.
- Terminal (brown): Here you can enter G-code commands manually and they’ll be sent to the printer directly. For example, you could enter M115 and the current firmware version of the printer should be outputted back in the terminal.
- Timelapse (pink): You can start or adjust the configurations for your time-lapse.
Not that hard, right? Now you’re free to explore all of OctoPrint’s functionalities and plug-ins!
Original URL: https://all3dp.com/2/octoprint-setup-how-to-install-octopi-on-a-raspberry-pi/#i-1-octoprint


