


 En
En


Worried about data privacy? Consider a private storage like NAS or personal cloud only you can access.
Setting up a personal cloud using NextCloudPi on a Raspberry Pi is cost-effective and straightforward.
Customize your NextCloudPi server with external HDD, configure port forwarding for external access, and upload files easily.
From Dropbox to Google Drive and OneDrive, cloud-based storage has become fairly commonplace in this day and age. But if you're worried about the privacy of your data, then it might be better to stick to private storage solutions, such as a NAS or personal cloud that only you can access.
Fortunately, creating your very own cloud system isn’t as difficult or expensive as it may sound – if you have a spare Raspberry Pi, you can easily install NextCloudPi on it and get started with storing all your precious files on a private cloud.
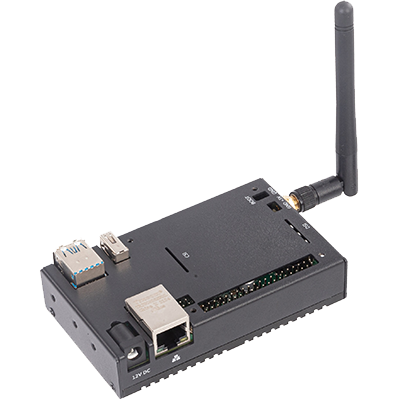
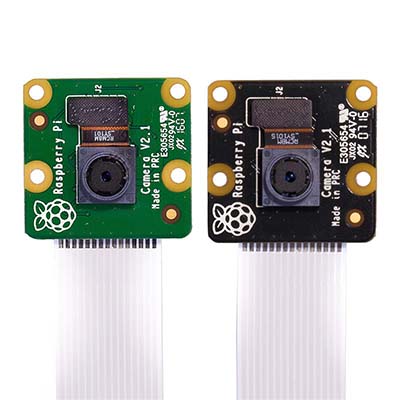
What I used for the project
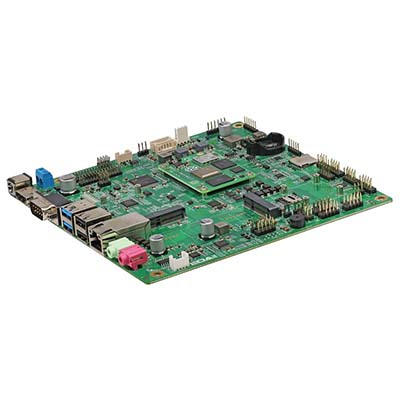
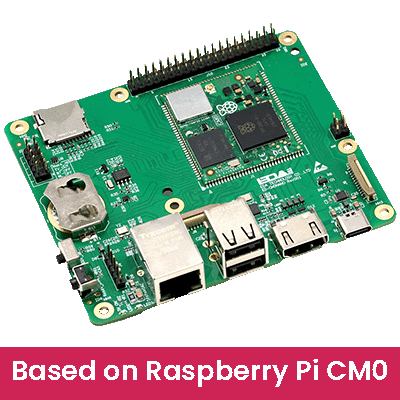
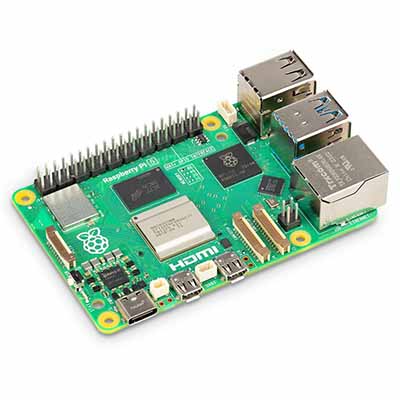
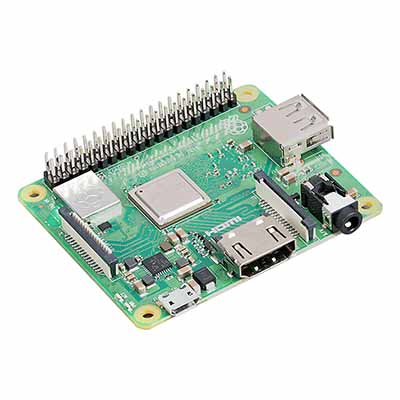
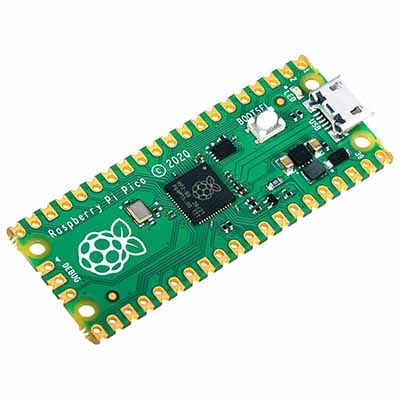
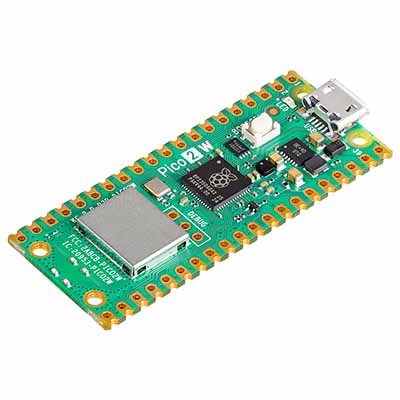
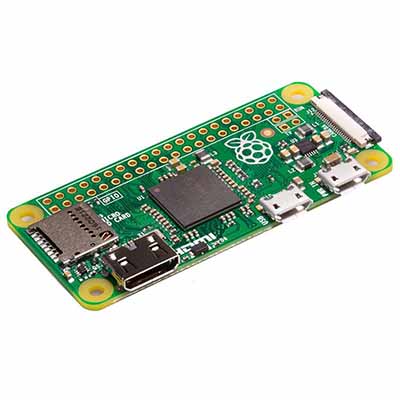
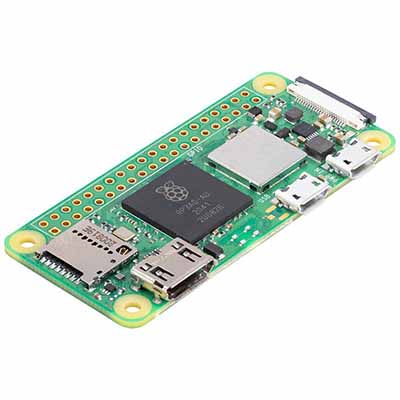
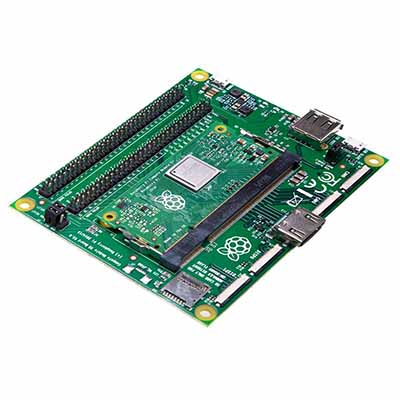
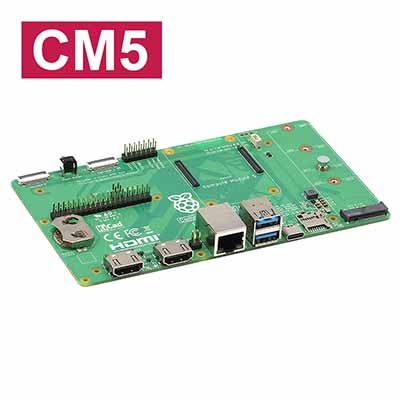
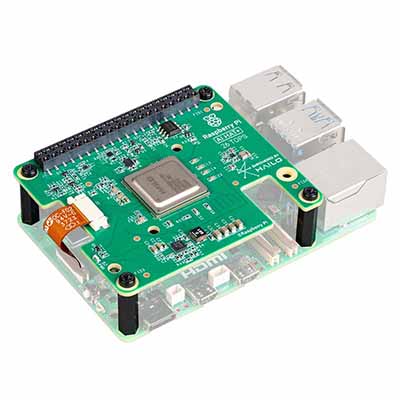
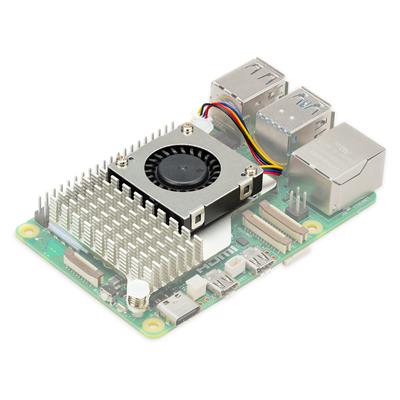
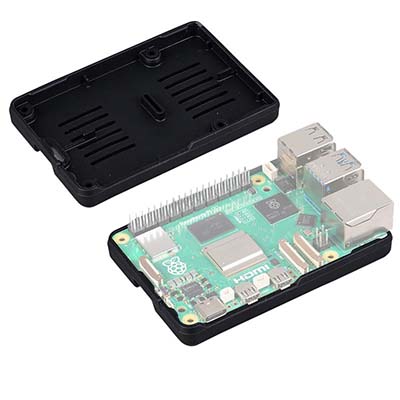
Between my Raspberry Pi 5 and Zero W, I went with the former, and it wasn’t just because of its superior computing performance or the RPi 5's higher port count. Since the NextCloudPi GitHub repository only has the OS files for the Raspberry Pi 4 and 5 models, this meant I could easily blaze through half the process if I went with the newest member of the Raspberry Pi family. That said, all hope wasn’t lost for the Raspberry Pi Zero (or any of the older boards); since DietPi supports a NextCloudPi package, I could still put the affordable model to good use. I also had the option to set up LXD and configure NextCloudPi on a container, but the performance overhead meant I’d end up with a cloud server that would take ages to process a request.
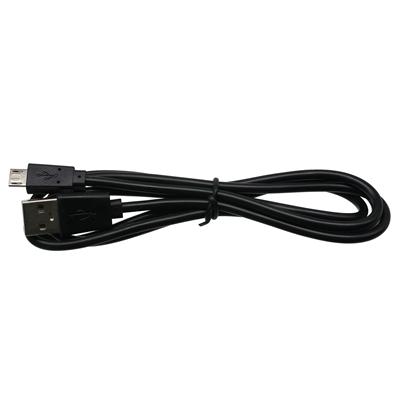
Next, I grabbed my 64GB microSD card from SanDisk for the OS files. In hindsight, I could have gone with a cheaper 8GB card because I was planning to use a 2TB hard drive from Seagate to store all my data.
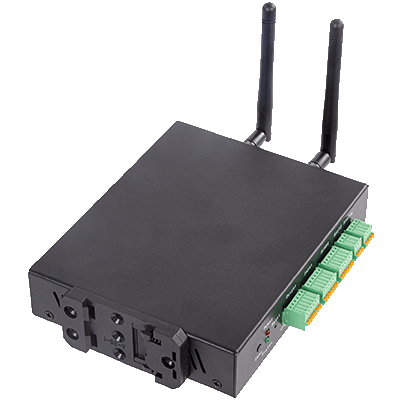
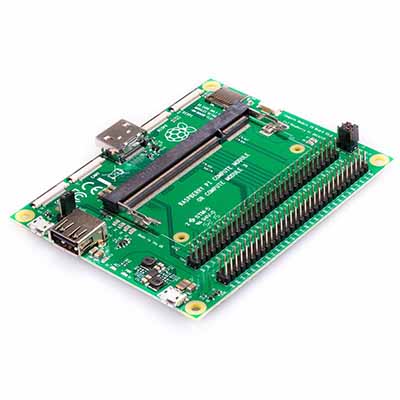
Required Hardware
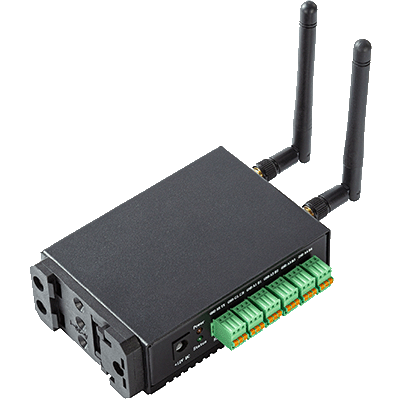
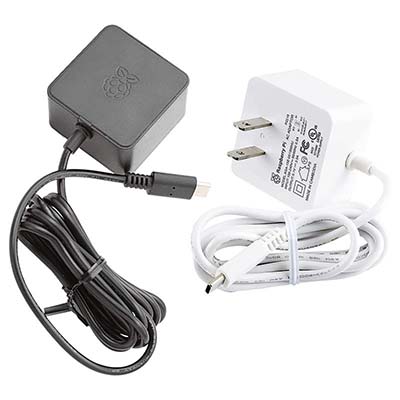
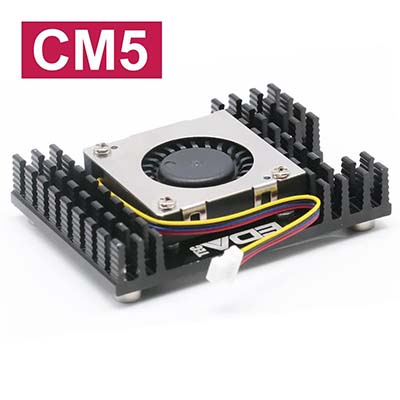
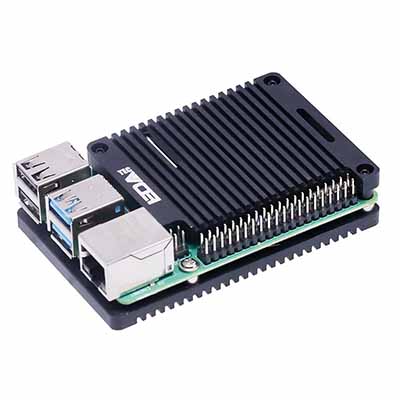
- Raspberry Pi 5
- SanDisk 256GB Ultra microSDXC card
- WD My Book external hard drive
- Raspberry Pi 5 and SD card can be purchased directly from us
Installing NextCloudPi on the Raspberry Pi
NextCloudPi provides a handful of OS images for SBCs on its GitHub link. With there being a plethora of flashing tools available on Windows, I decided to go with Balena Etcher because it was much easier to configure than other flashing utilities, including the good ol’ Raspberry Pi Imager. Here’s a quick rundown of the process:
- Head to the official NextCloudPi GitHub repository and download the latest version of the OS that’s compatible with your Raspberry Pi board.
https://github.com/nextcloud/nextcloudpi/releases/tag/v1.54.0
2.Extract the .zip file once it has finished downloading.
3.Download the portable version of Balena Etcher from this link and run the .exe file as an admin afterward.
https://etcher.balena.io/#download-etcher
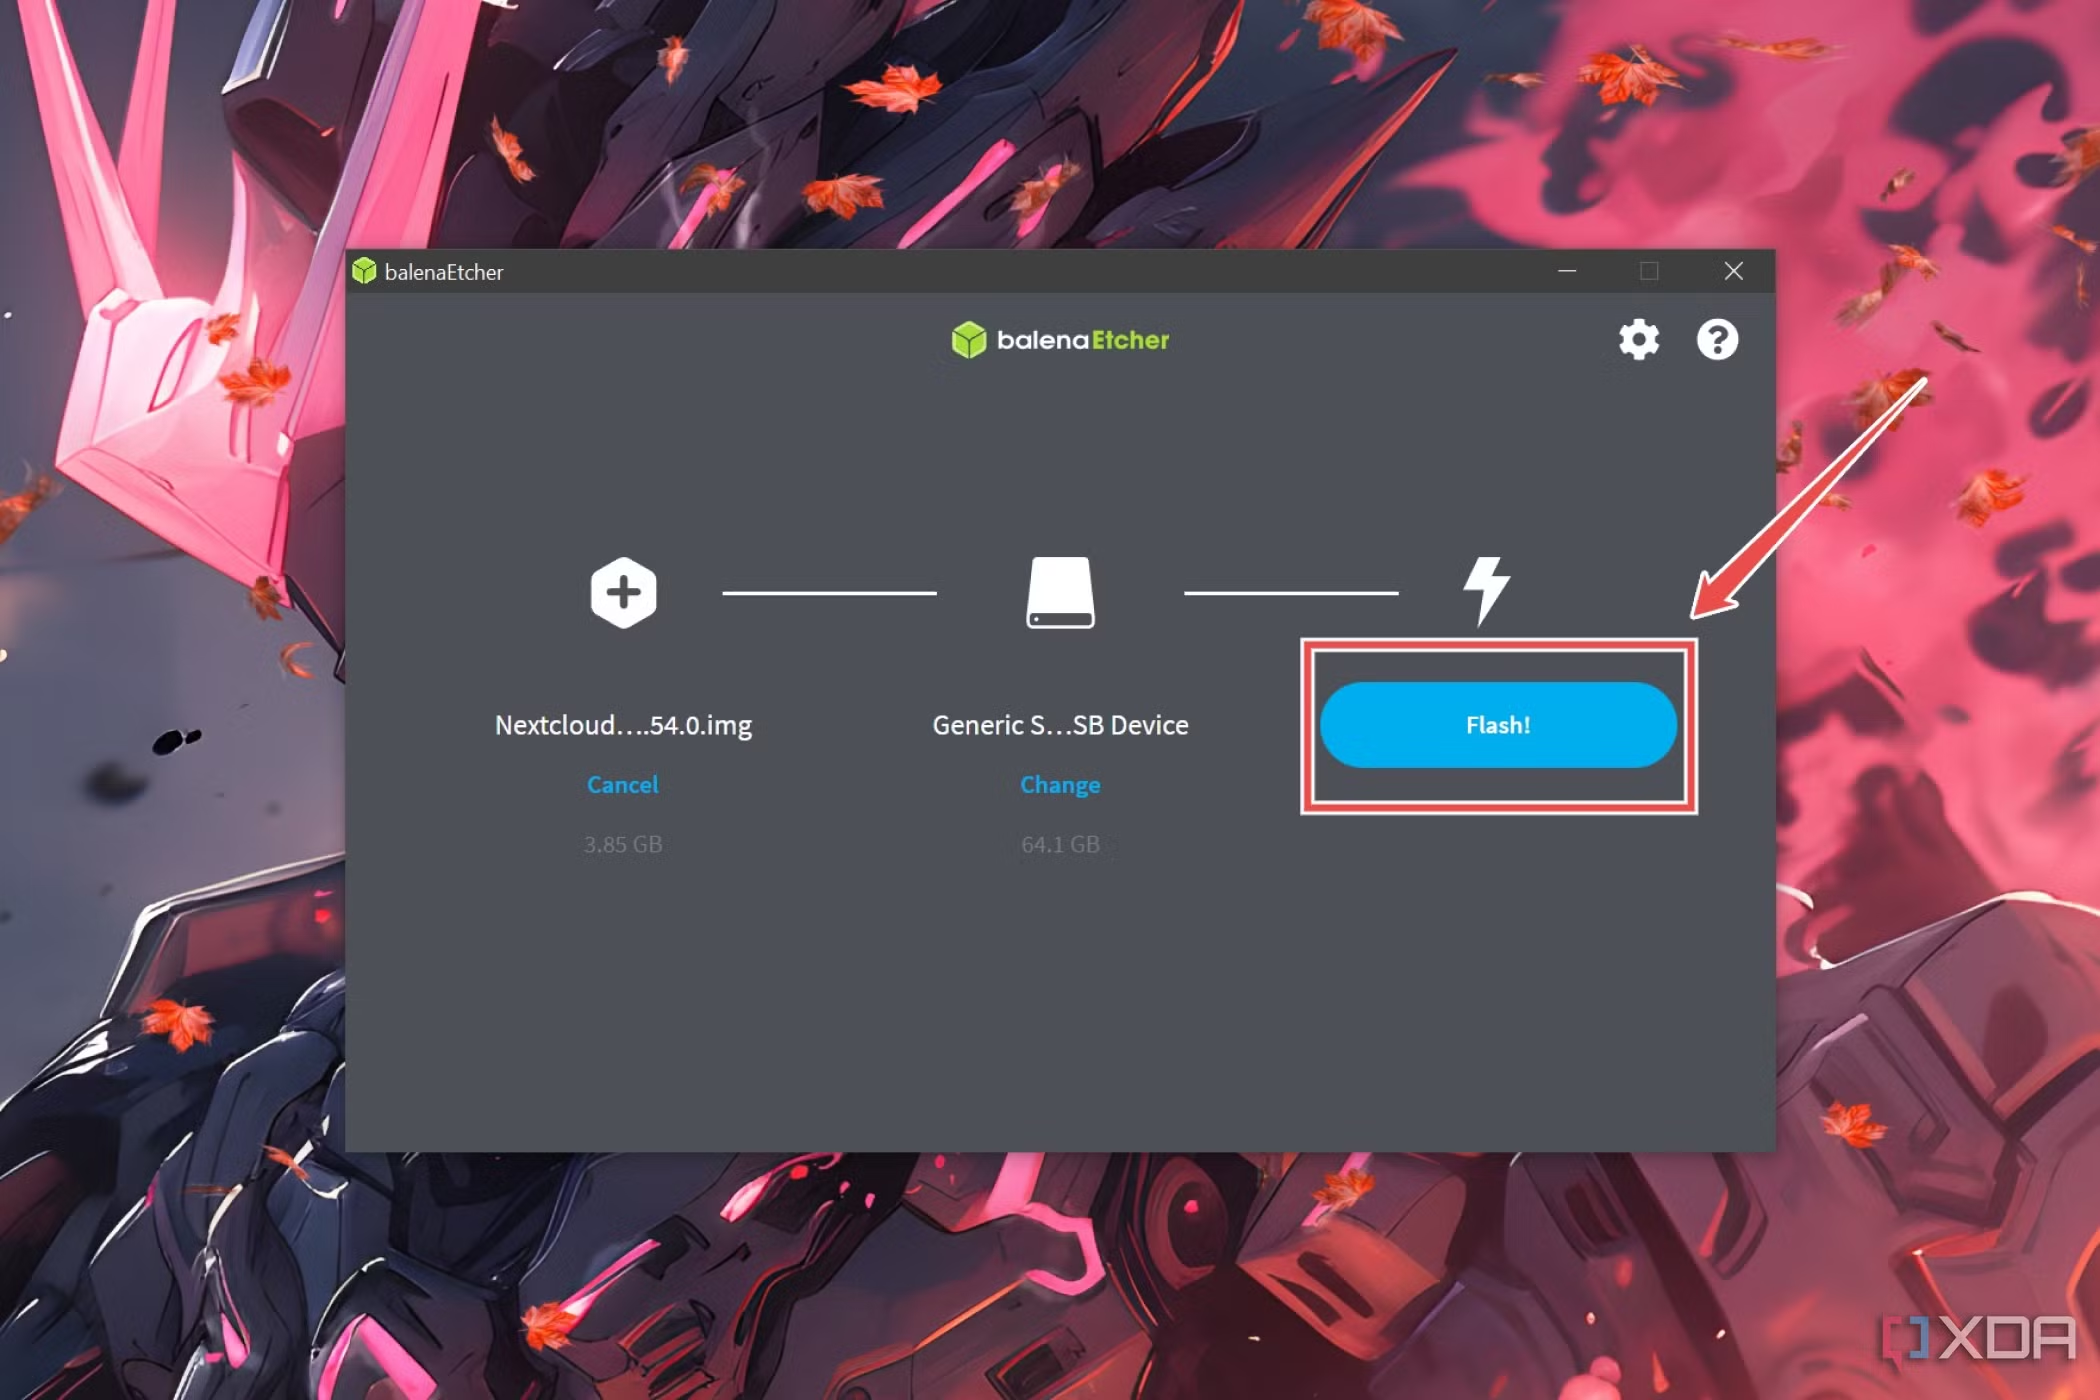
4.Click on Flash from file and press Open after choosing the NextCloudPi image you downloaded earlier.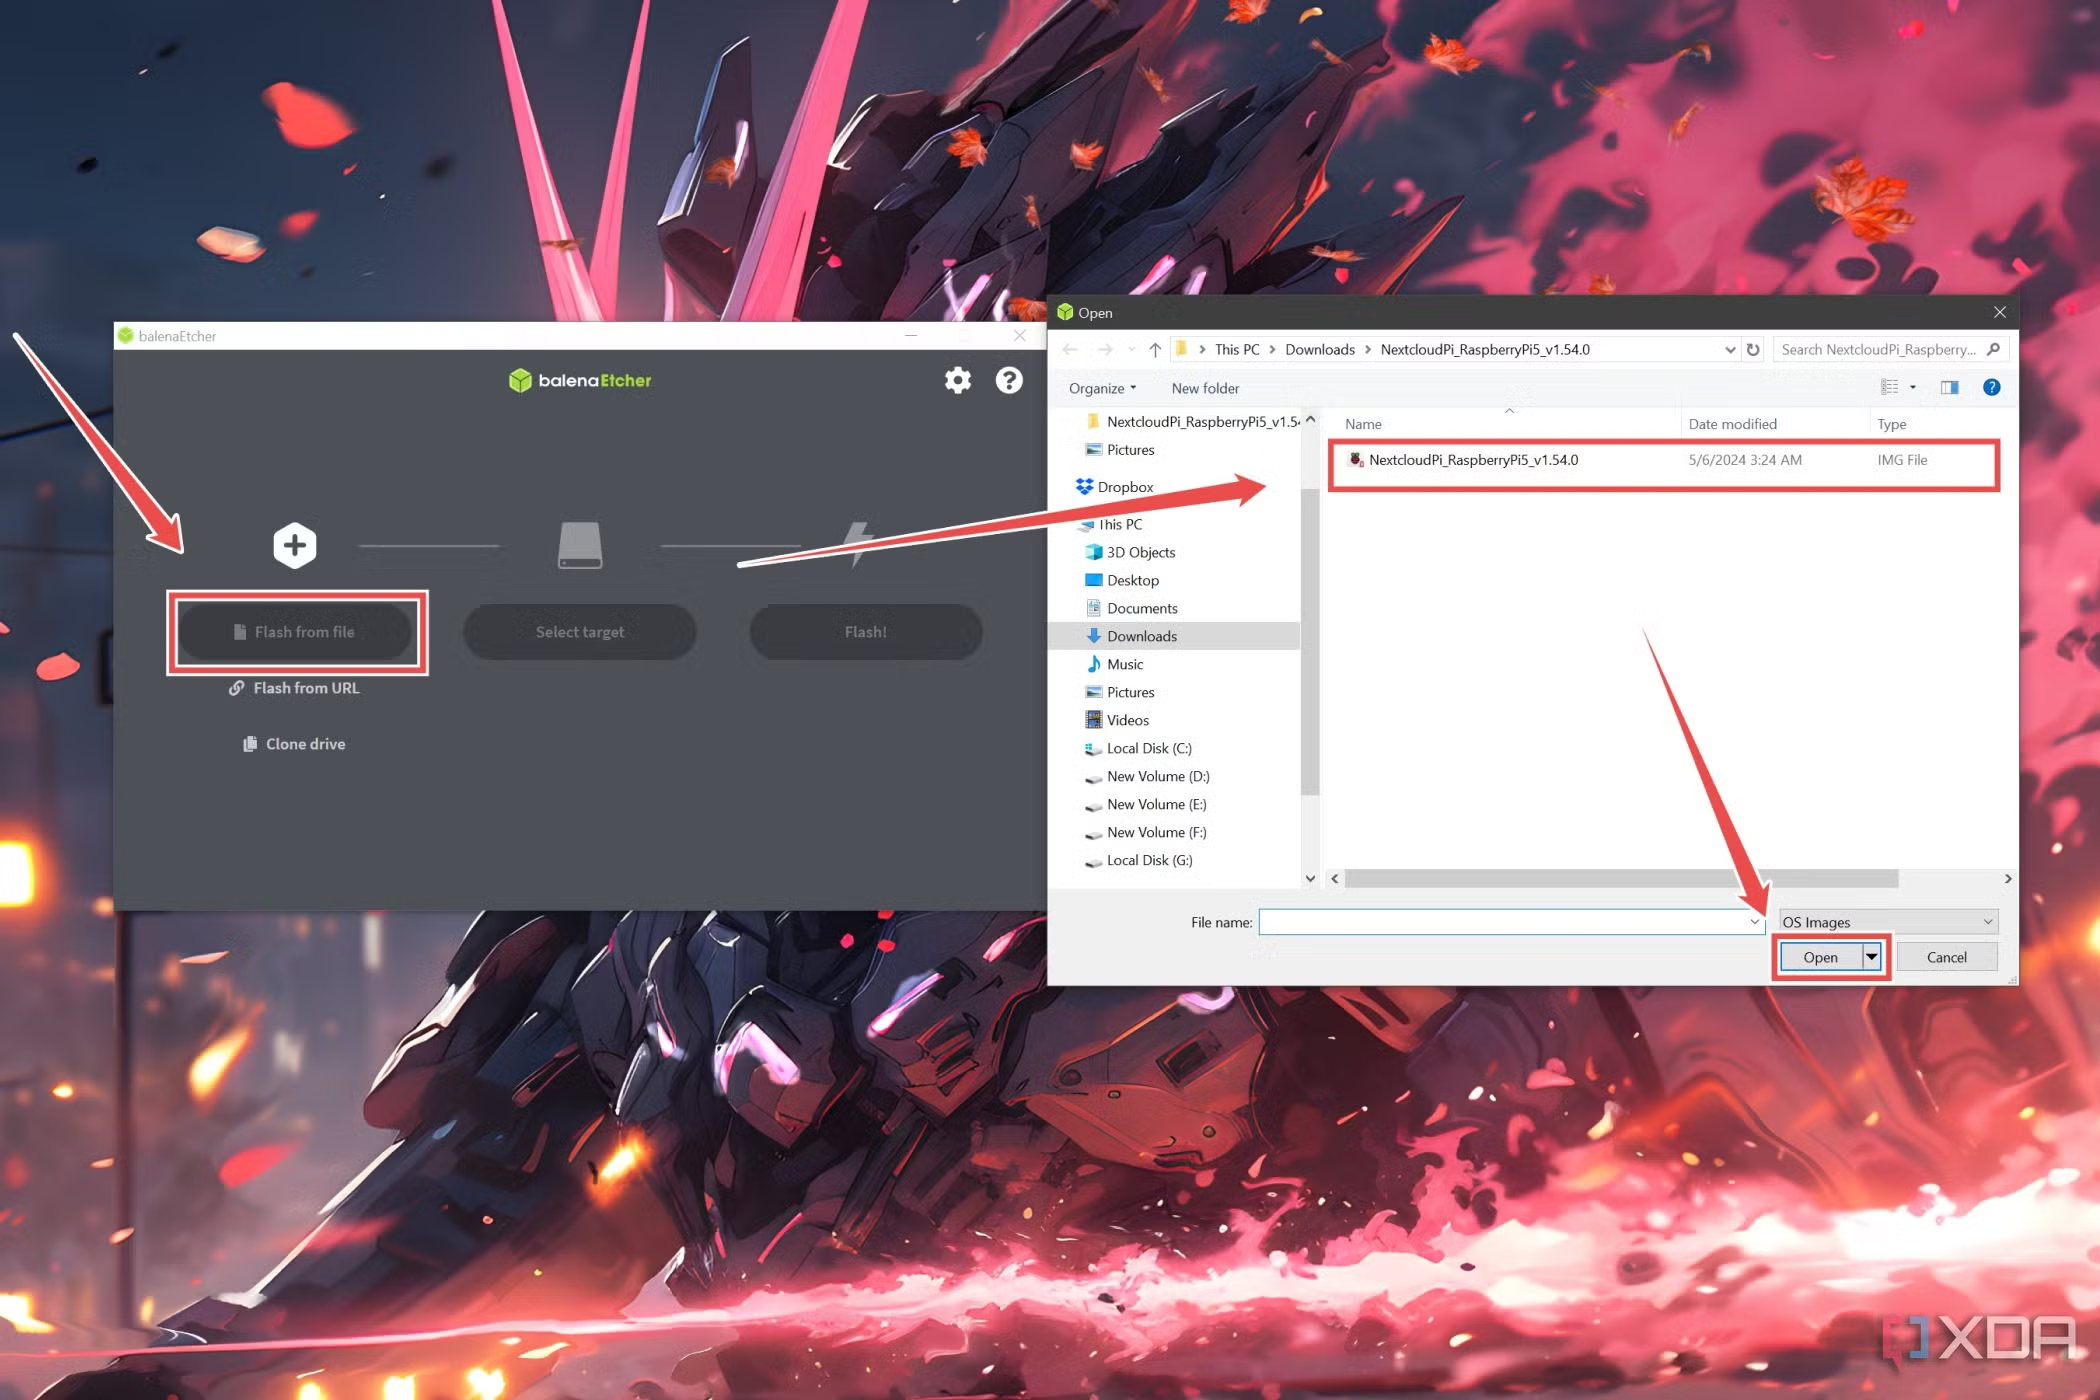
5.Hit the Select target button and pick your microSD card.
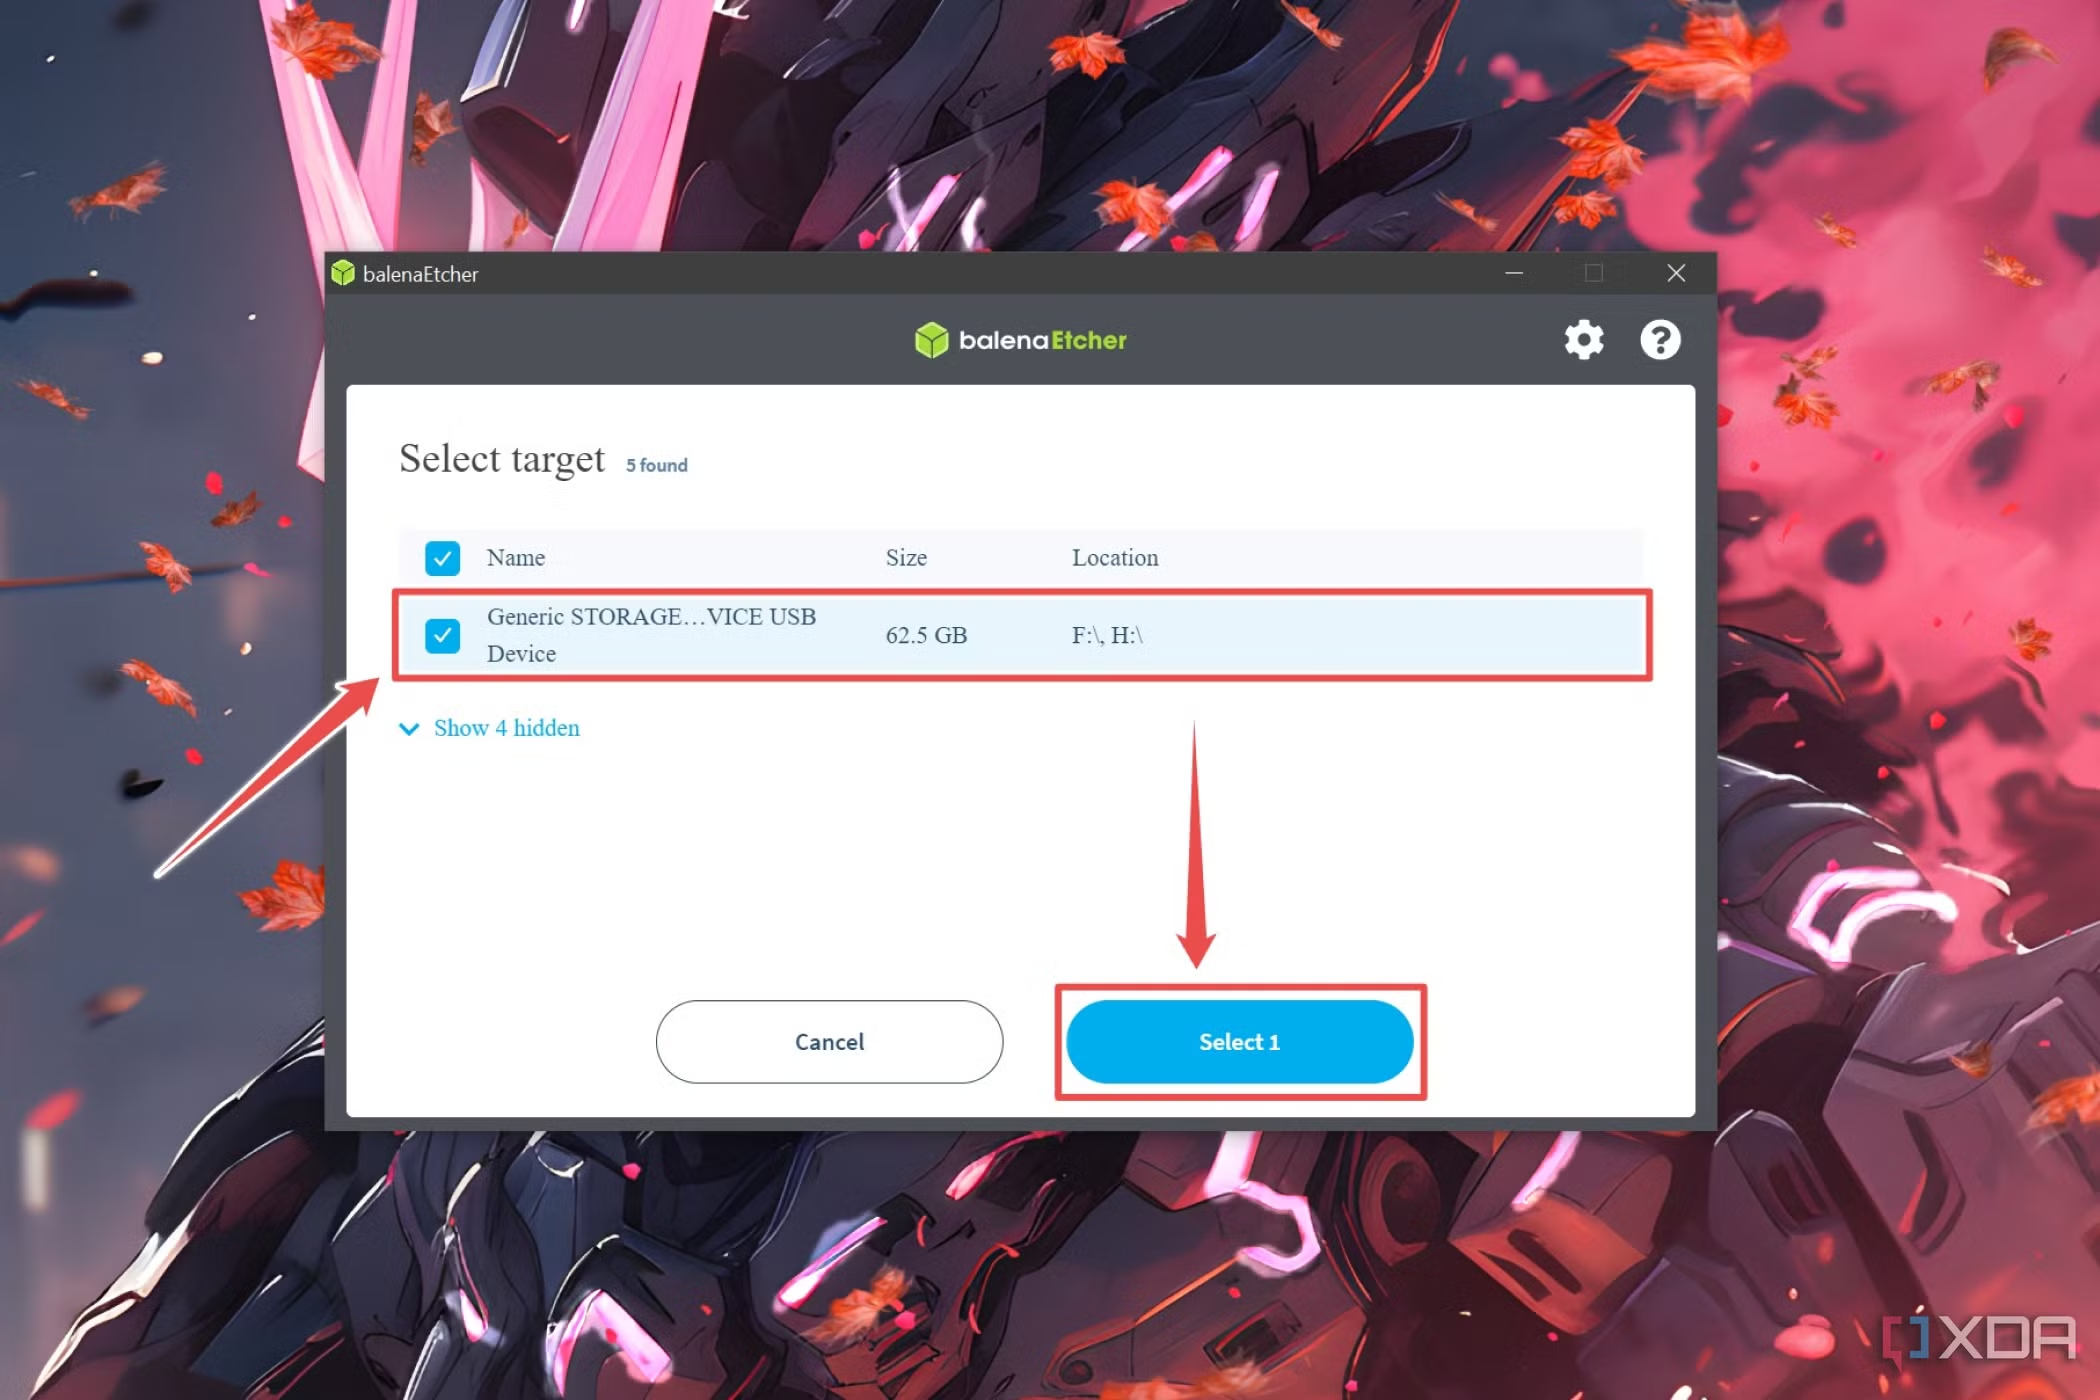 6.Press Flash and let Balena Etcher finish writing the OS files.
Signing in to the NextCloudPi web UI
Once Balena Etcher had worked its magic, it was time to boot into the OS for the first time. Since NextCloudPi uses a web interface, it meant I had to hook my Raspberry Pi up to a router and configure it from my PC. The entire procedure was as straightforward as using the Home Assistant web interface, and it involved these steps:
- Insert the microSD card into the Raspberry Pi and plug in the Ethernet and power cables into the SBC.
- Wait for the Raspberry Pi to initialize the NextCloudPi web app before switching to your PC and opening the following URL on your preferred web browser:

3.Agree to Proceed to the web interface when your browser complains about the connection not being private.
4.Press the Activate button to create a new NextCloudPi user.
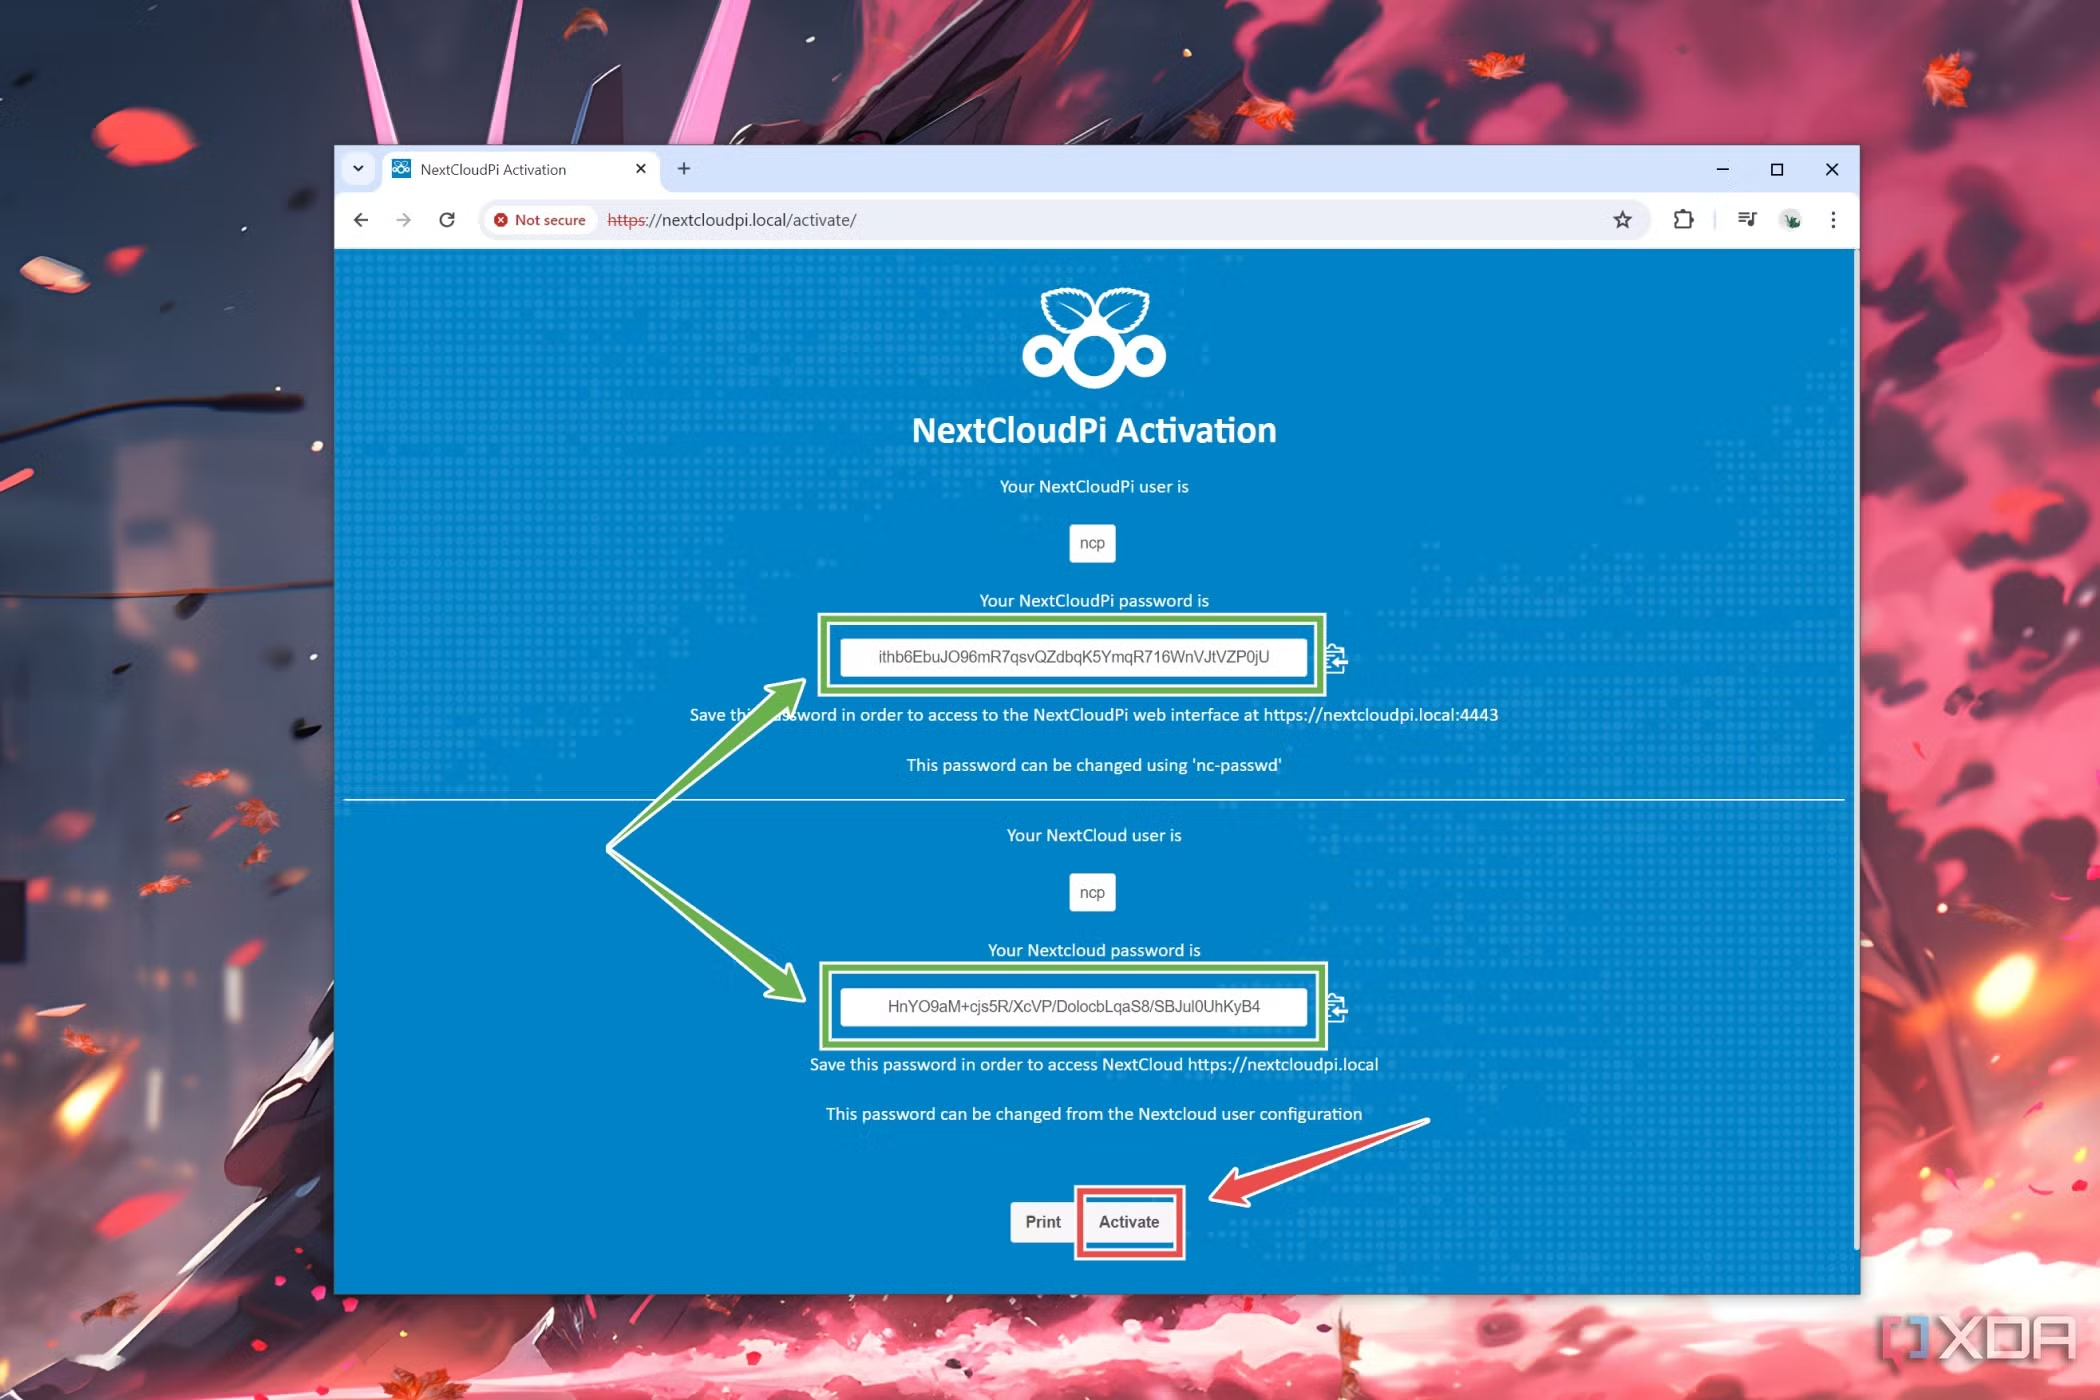
Be sure to copy both passwords as NextCloudPi will open the https://NextCloudPi.local:4443/ link when you click Activate.
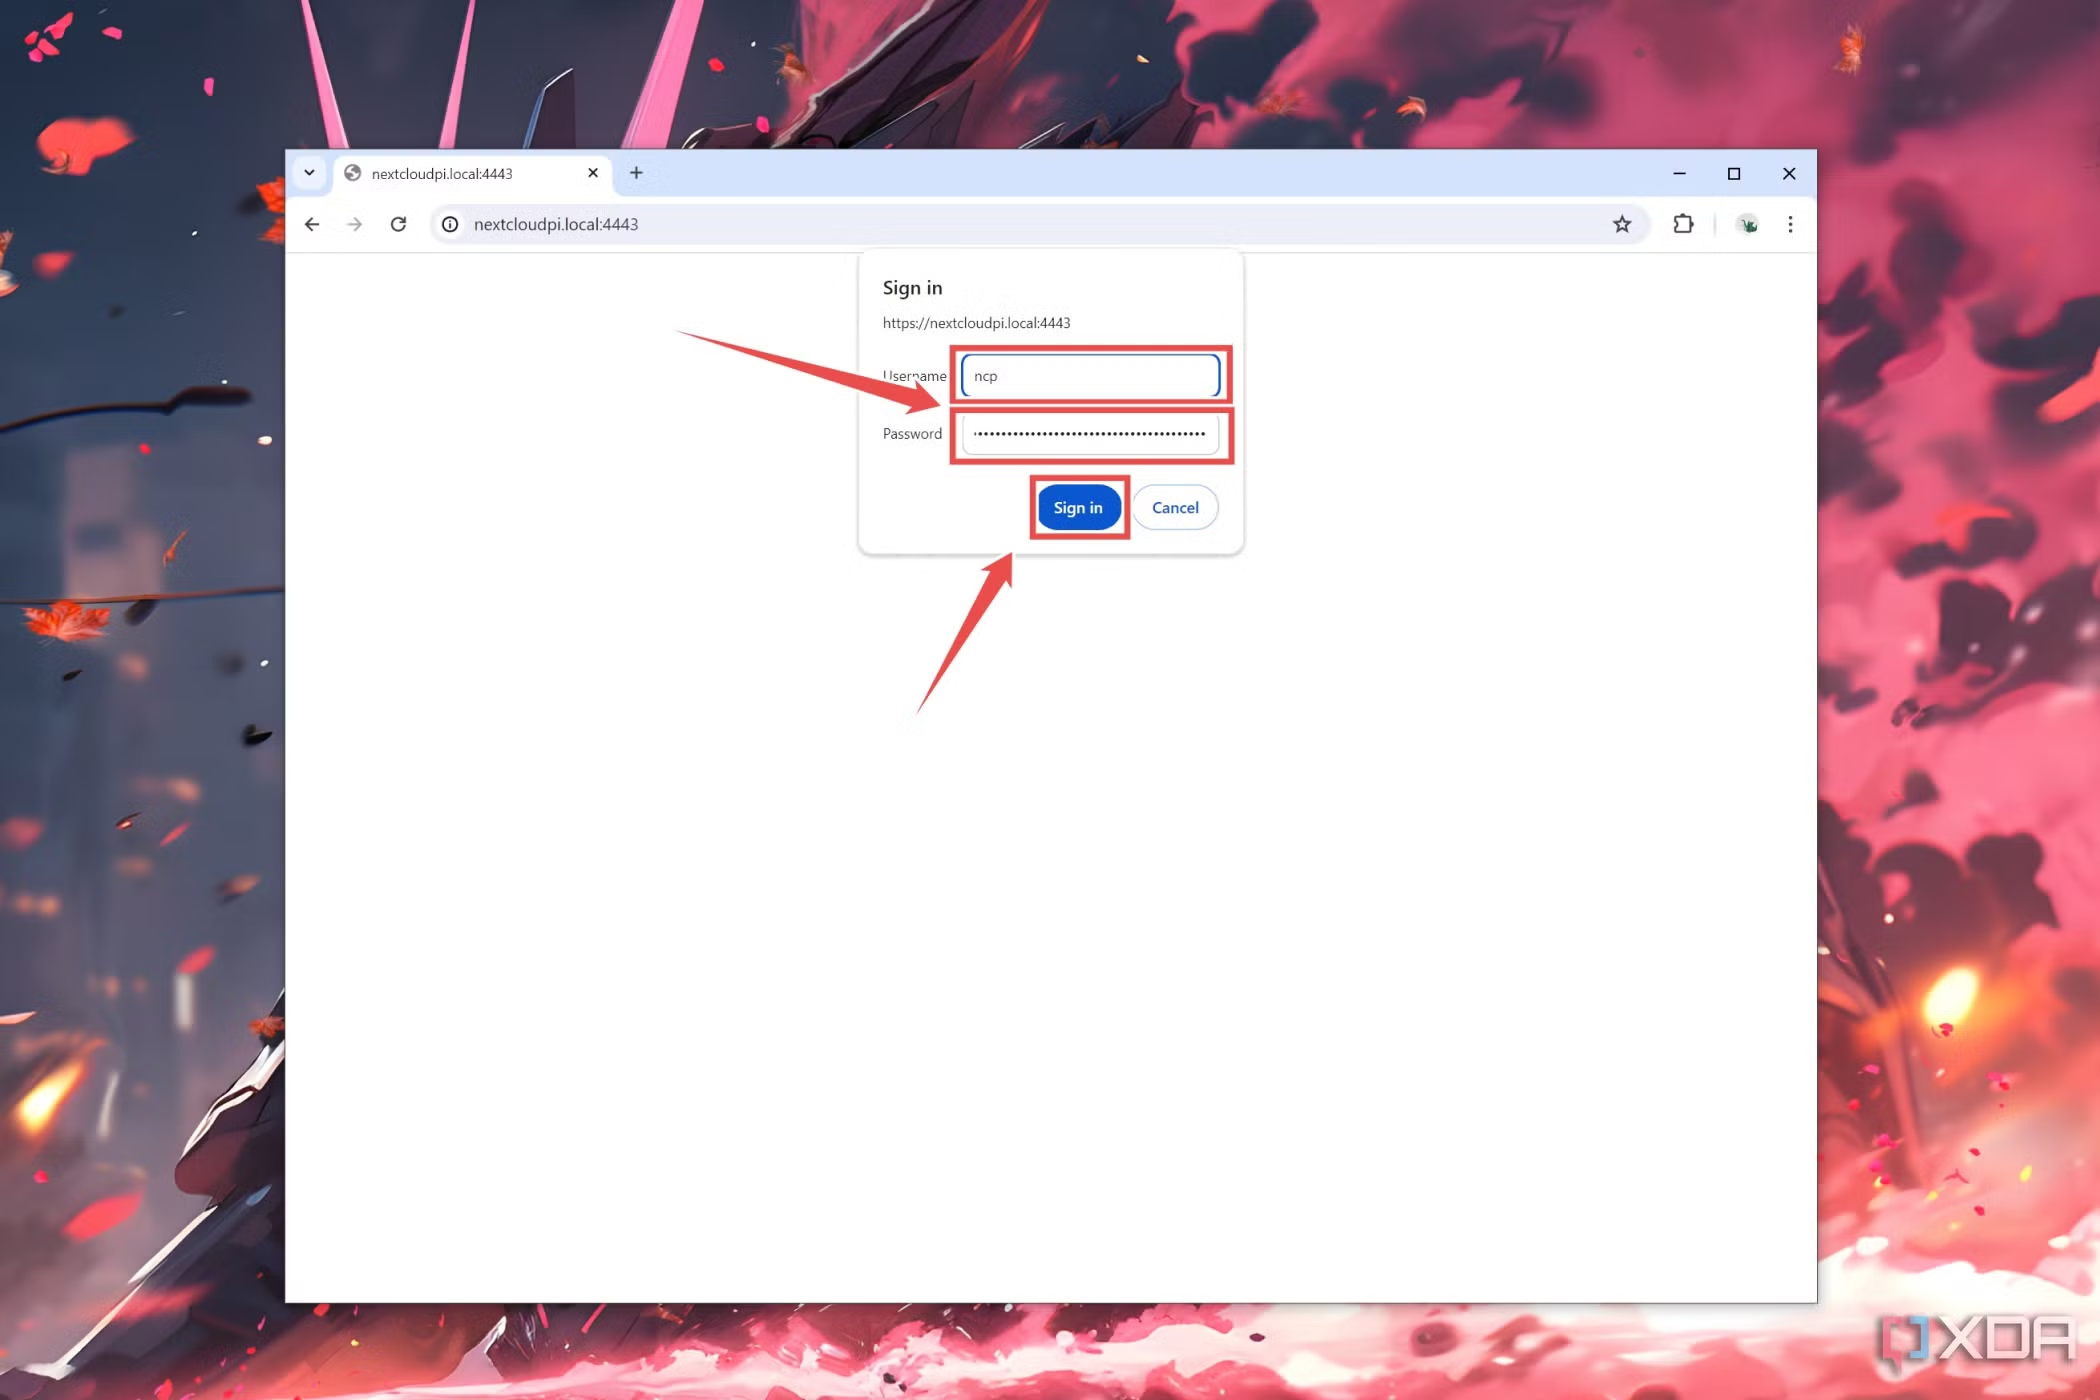
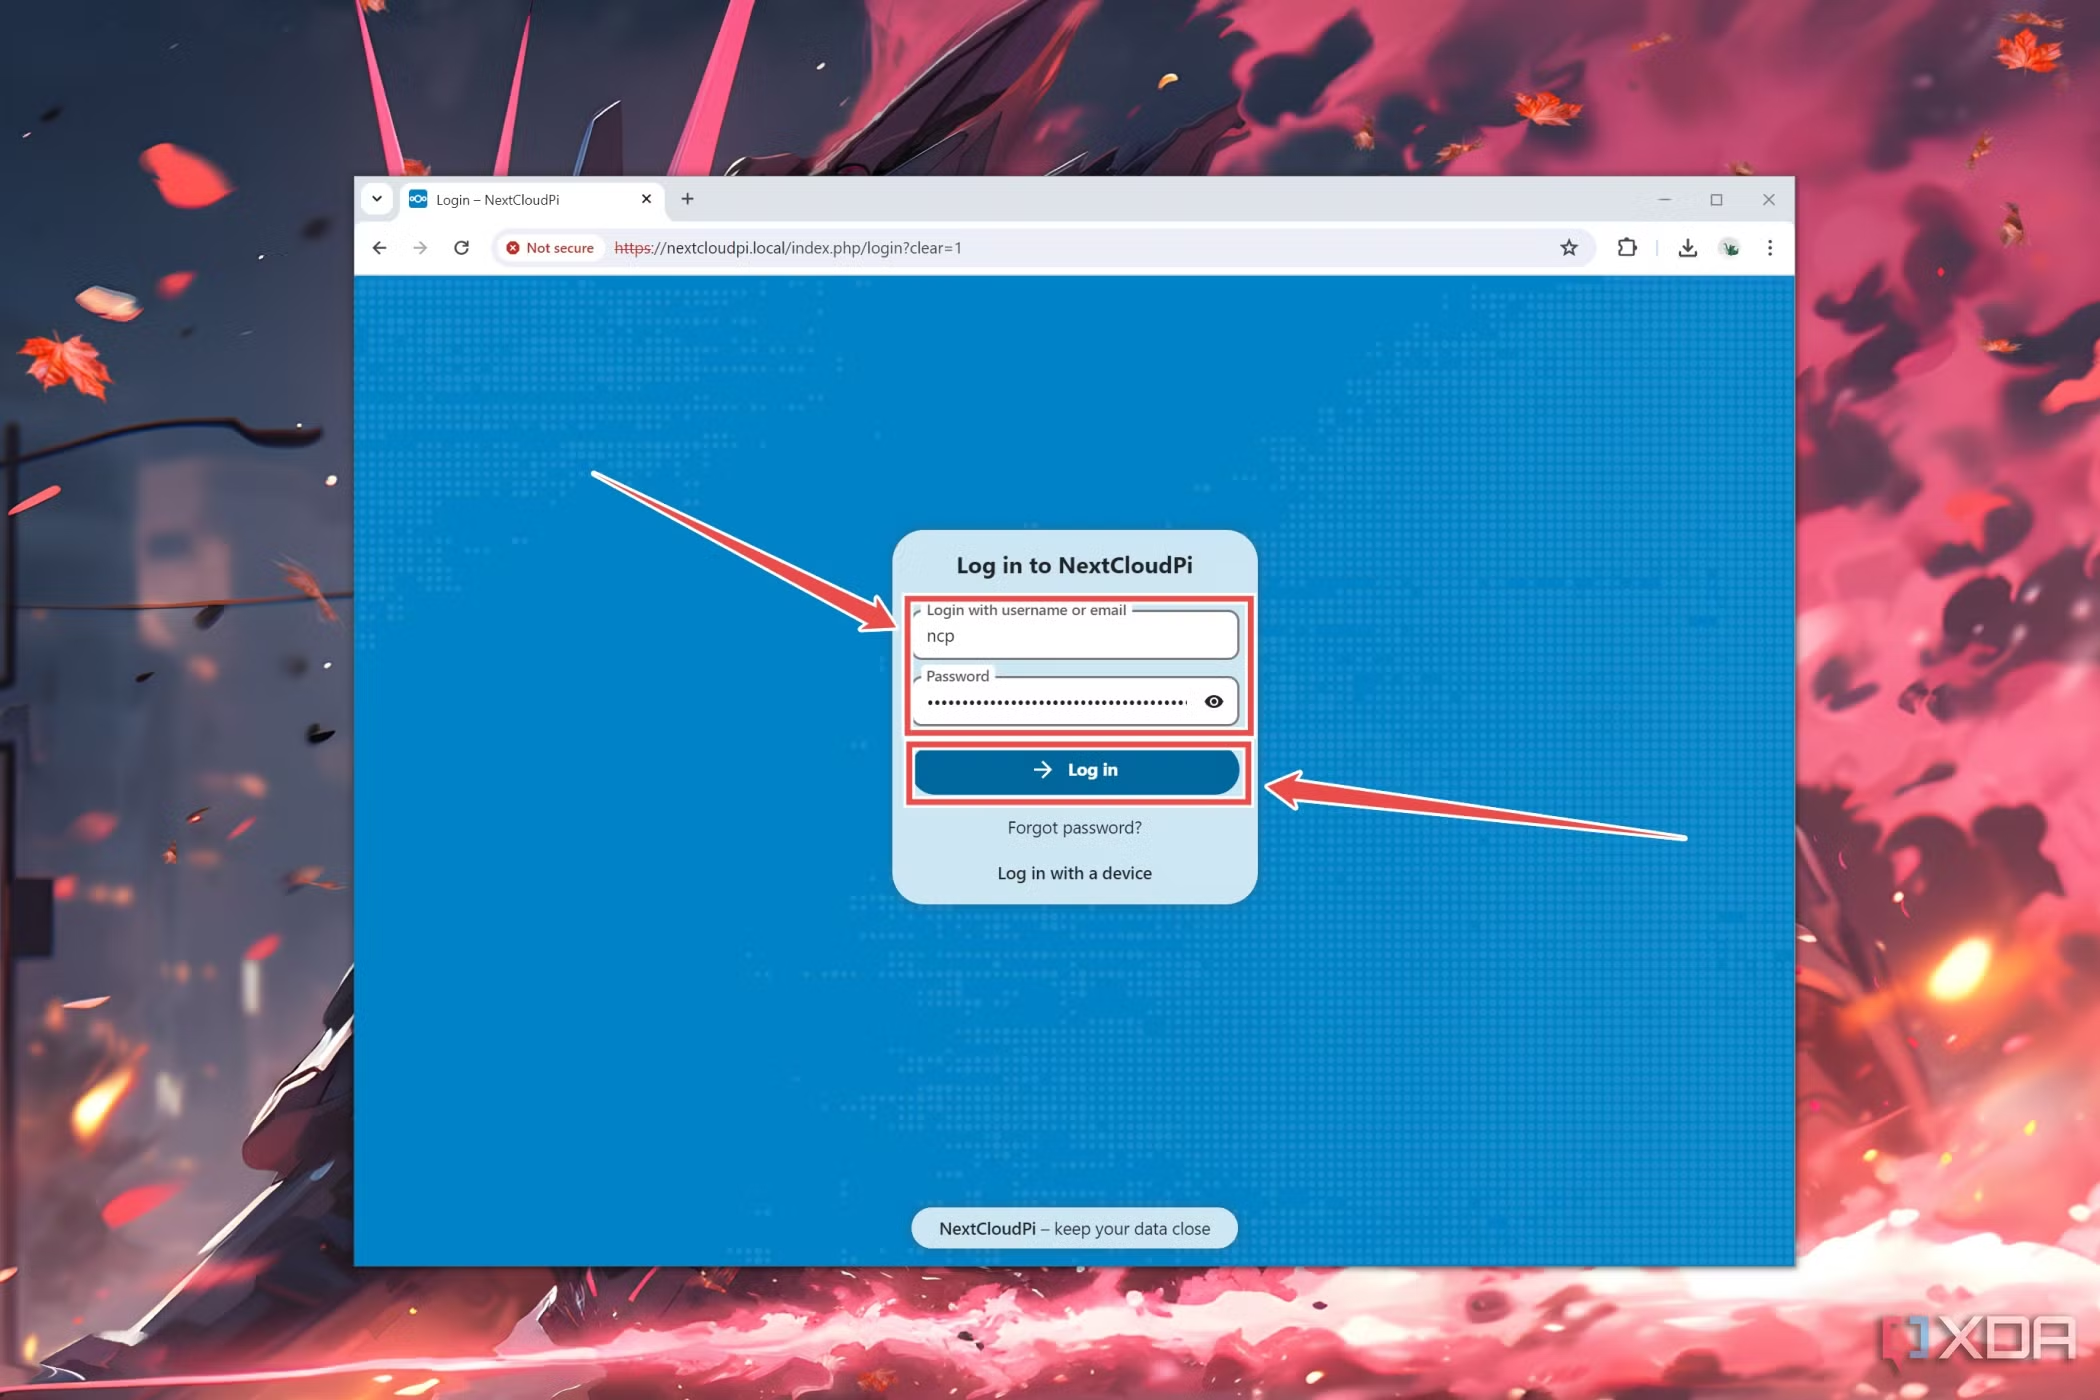
5.Type ncp as the username, enter the first password from the previous page, and tap Sign in.
Setting up the NextCloudPi server
Next, you’re free to modify the Raspberry Pi cloud to your heart’s content. I wanted to add my 2TB Seagate external HDD to save all the screenshots and photos from my phone. The general steps were as follows:
1.Head to the USB Configuration tab and tap Yes when asked to save your data on a USB drive.
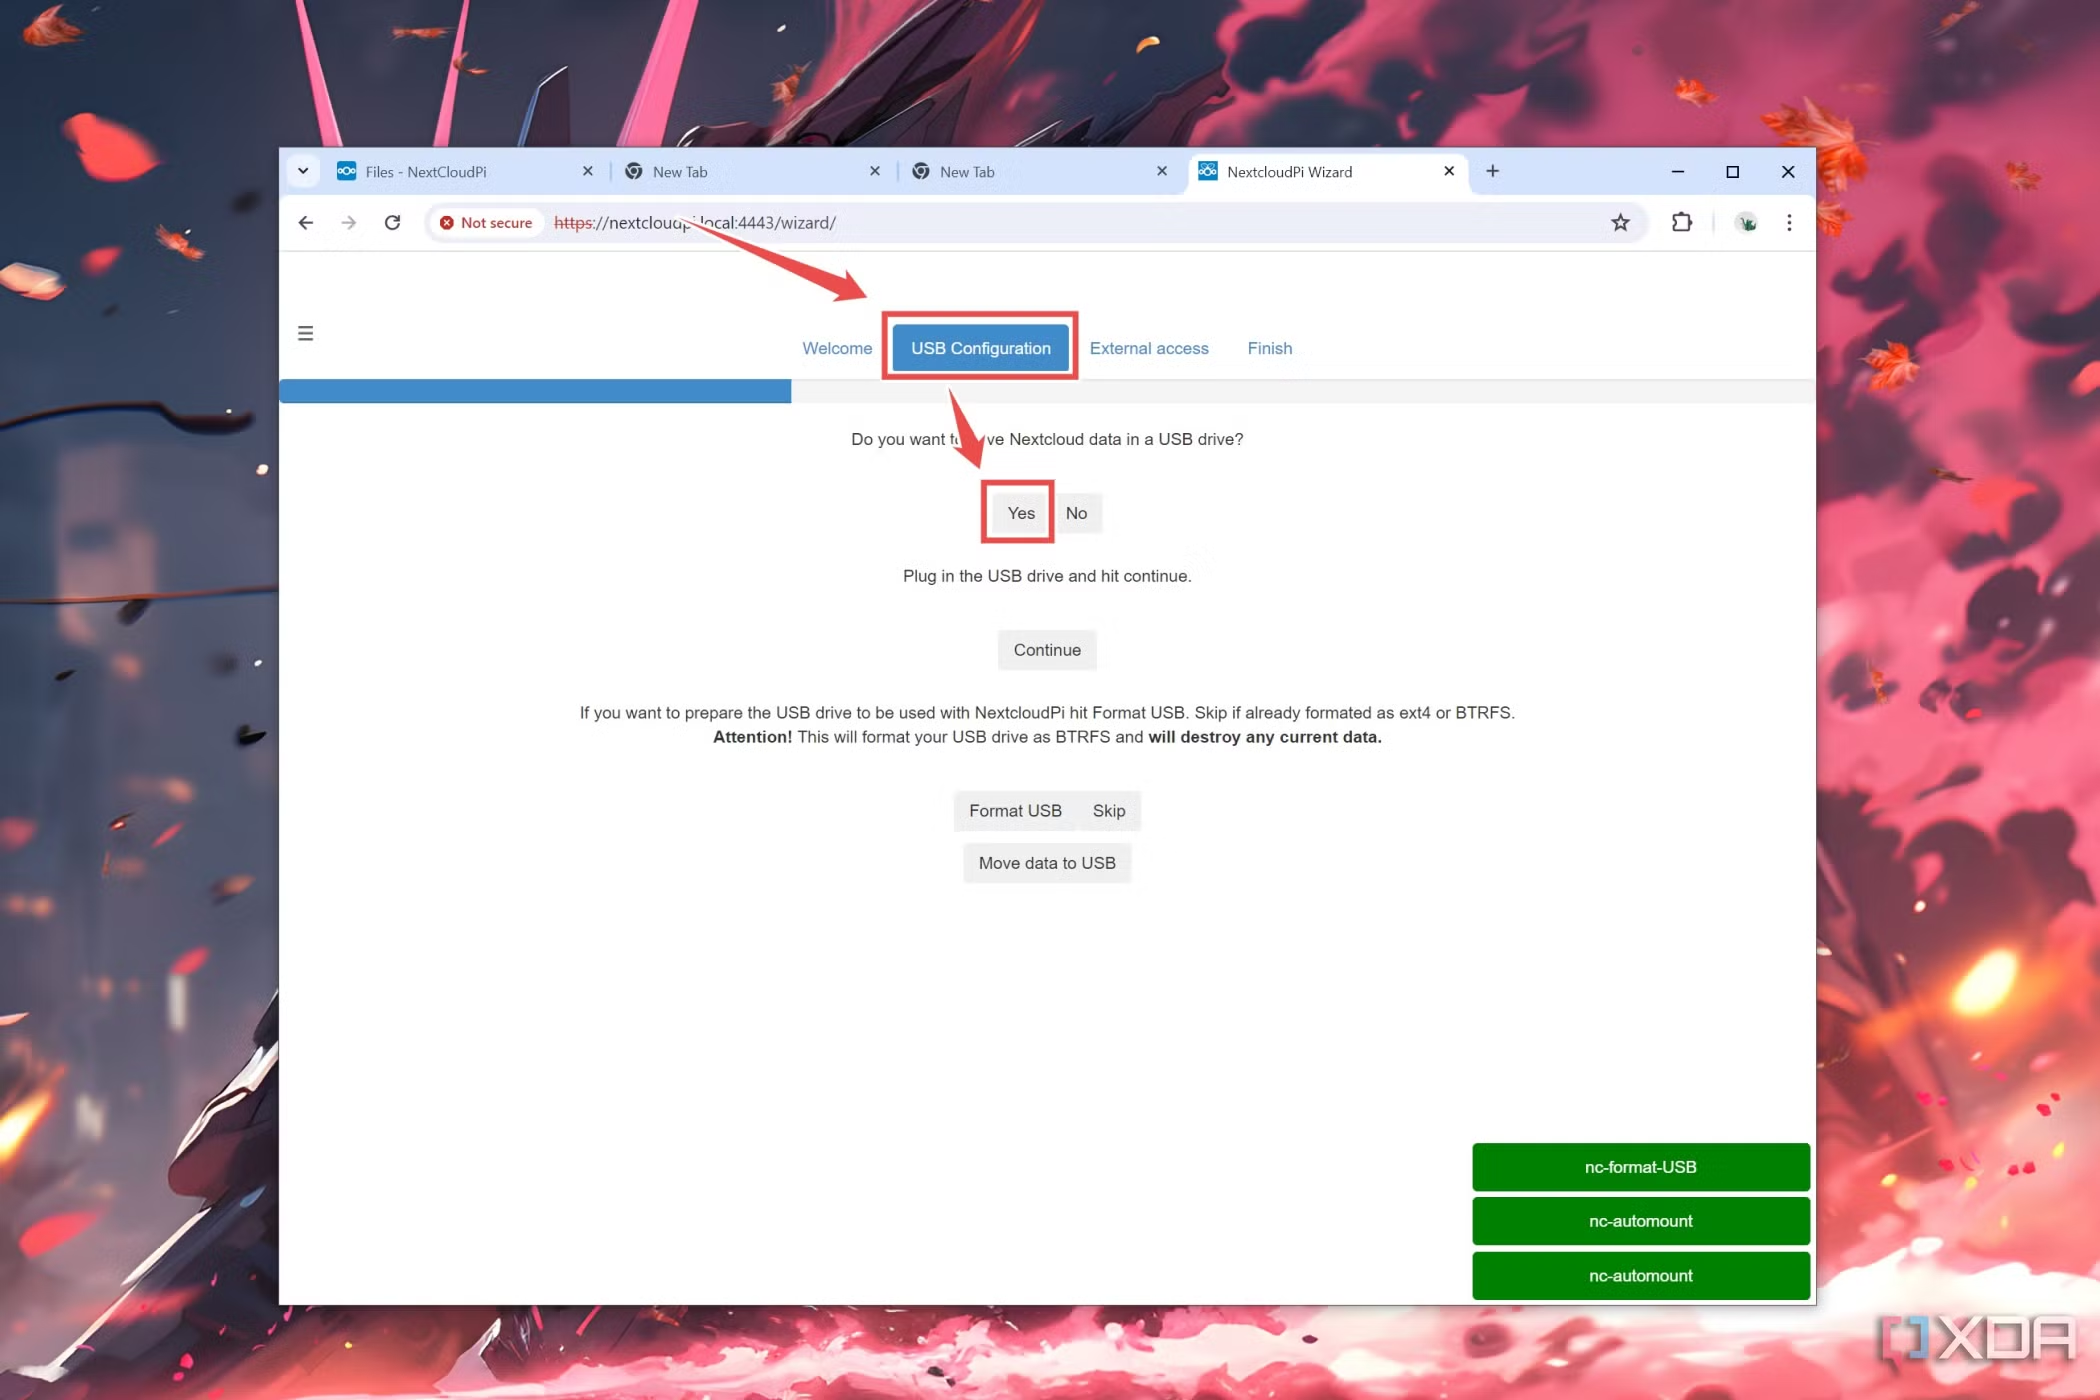 2.Plug your storage device into the Raspberry Pi before pressing Continue.
 3.If your drive isn’t already formatted as ext4 or BTRFS, select Format.
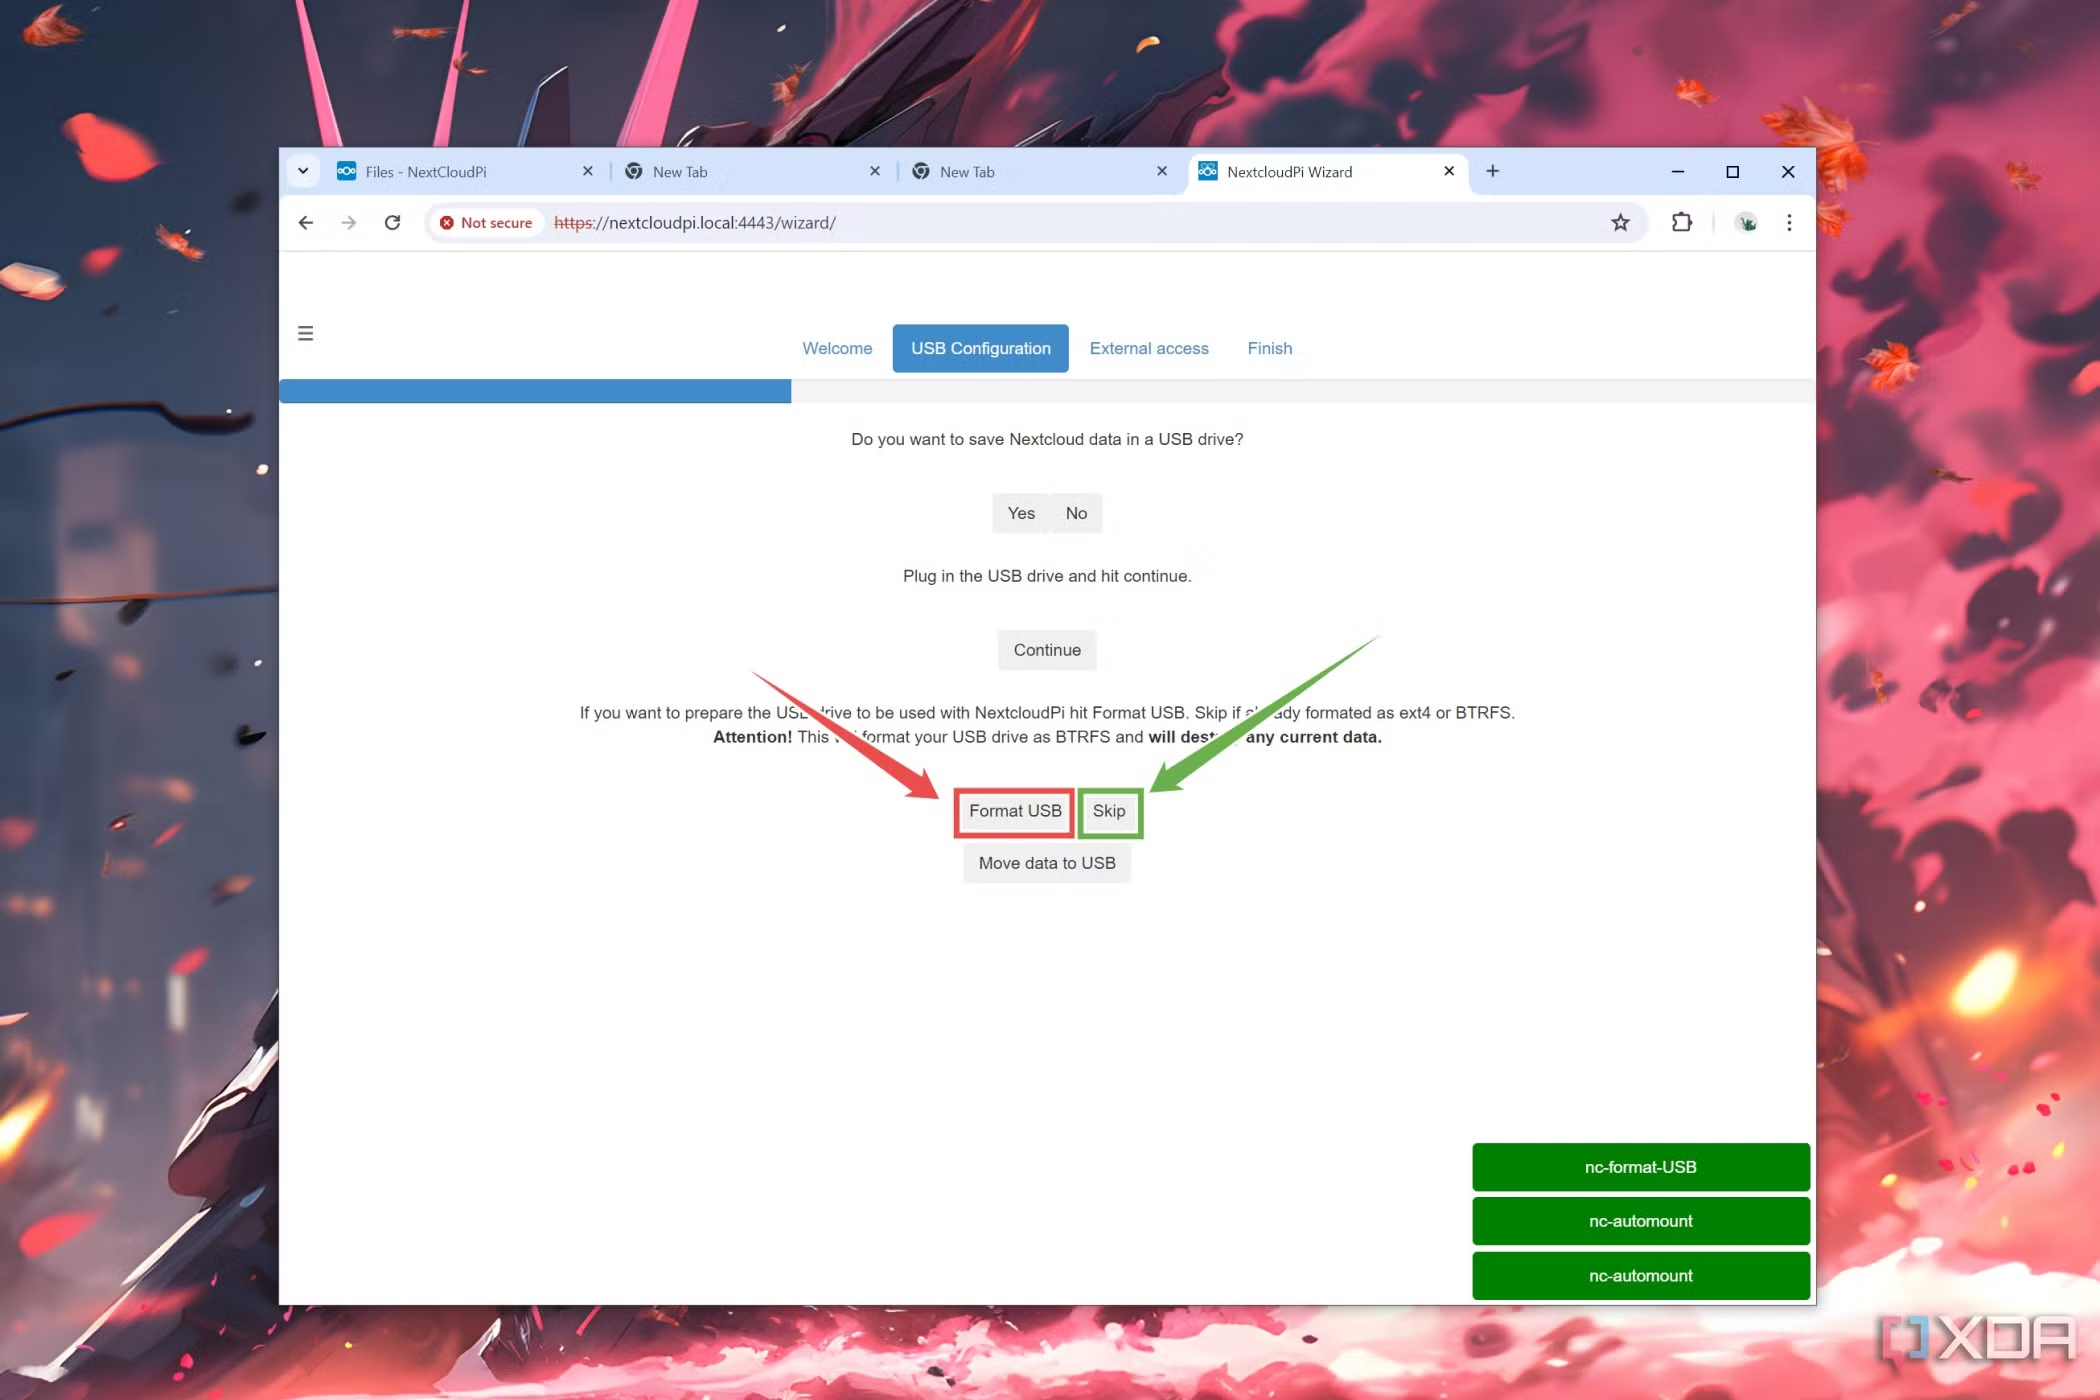
Otherwise, press Skip.
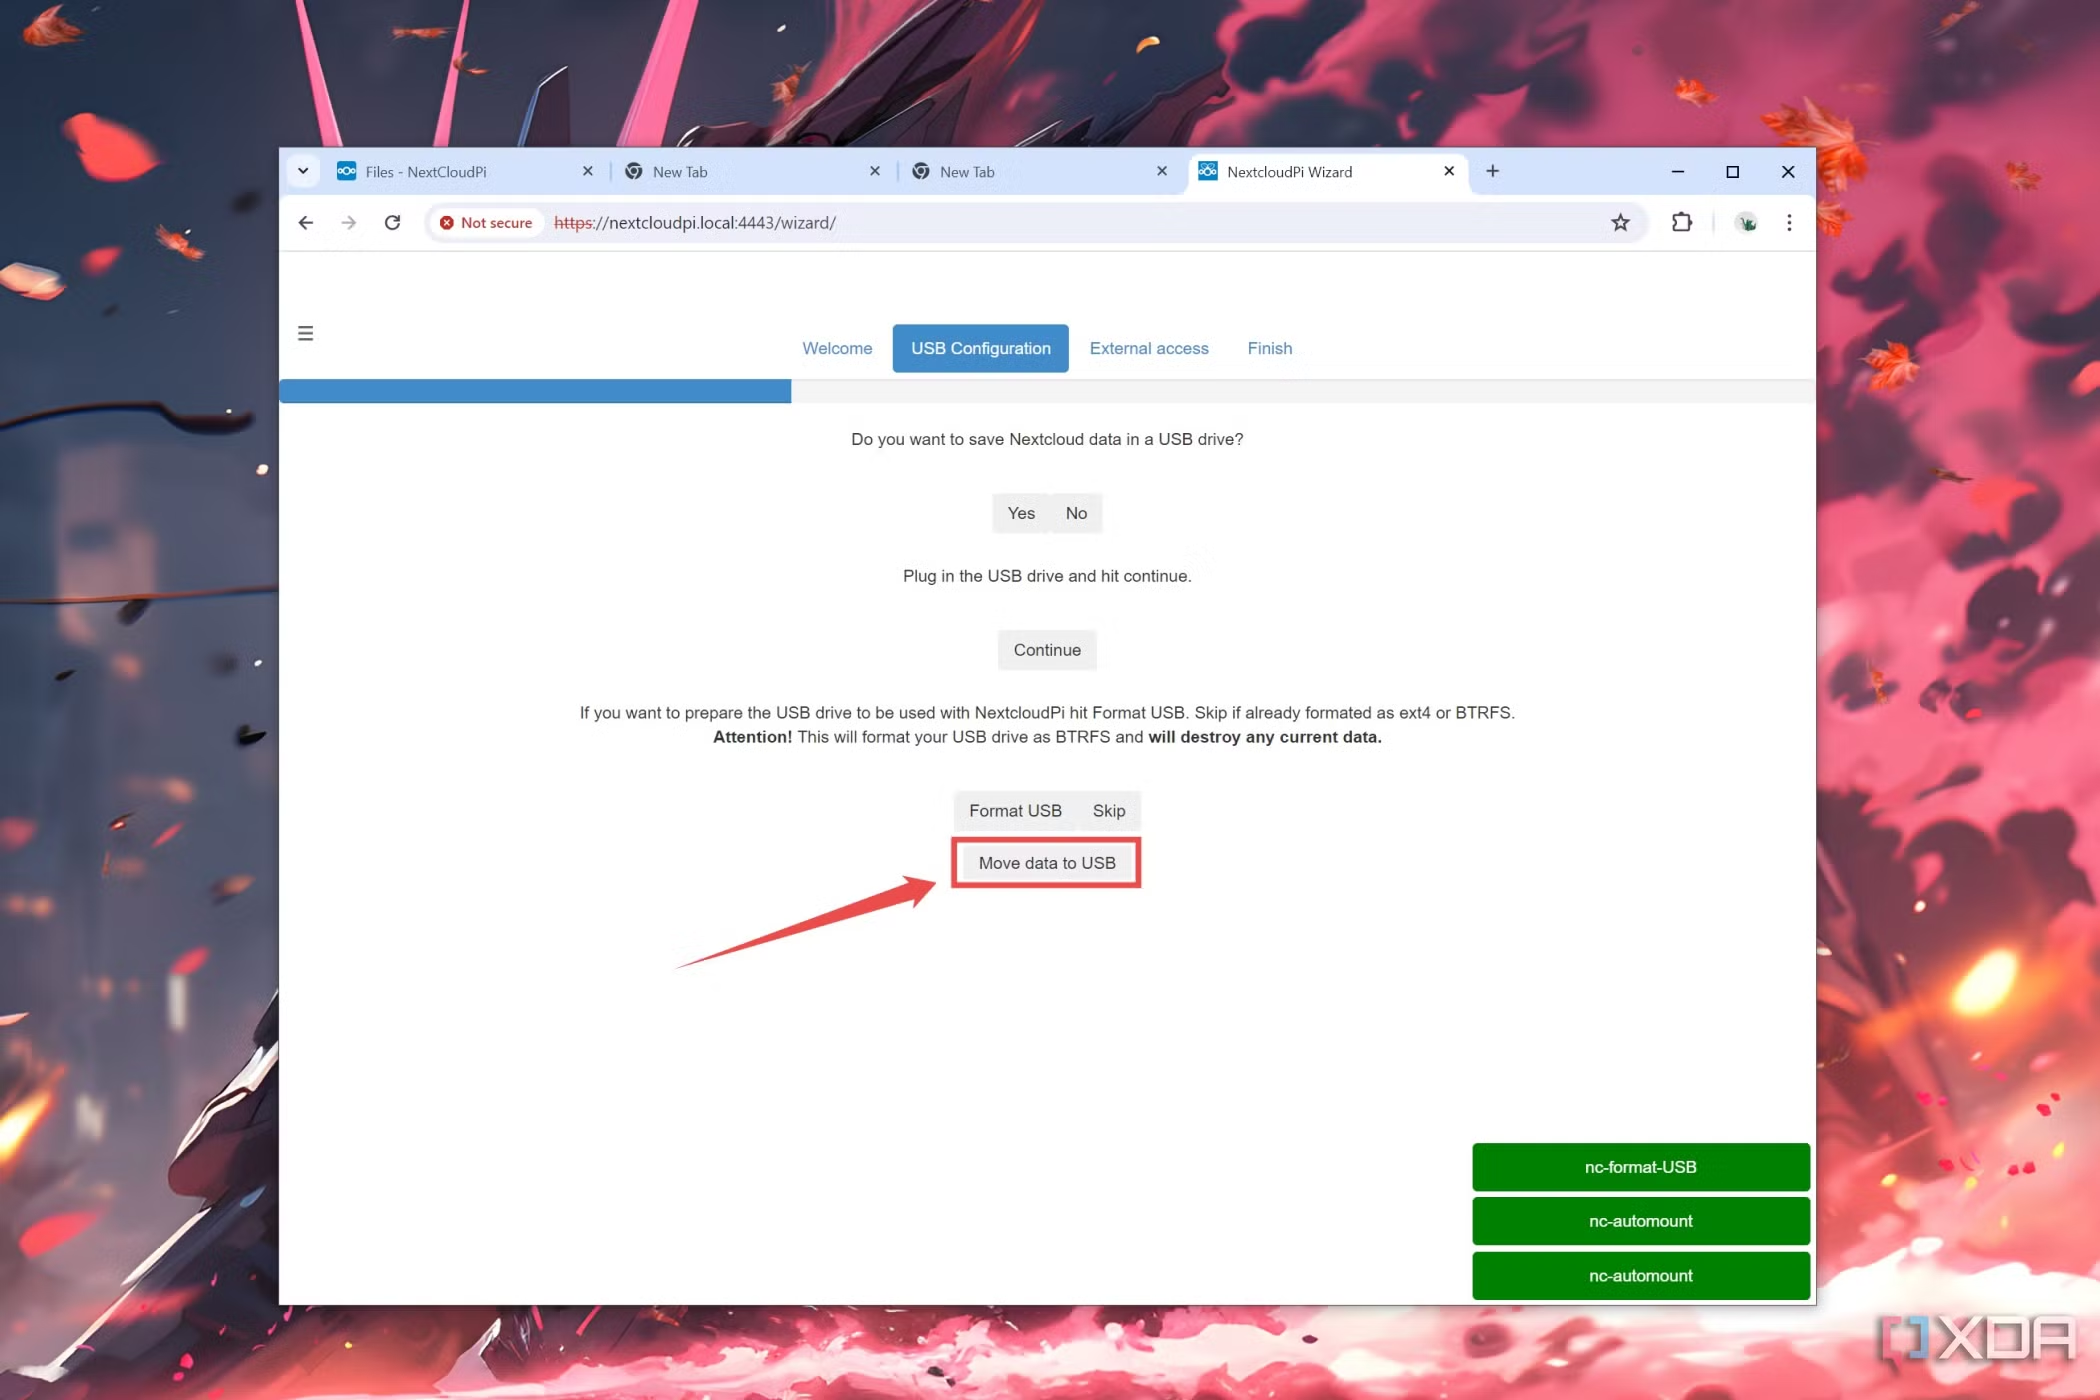
4.Click on Move data to USB.
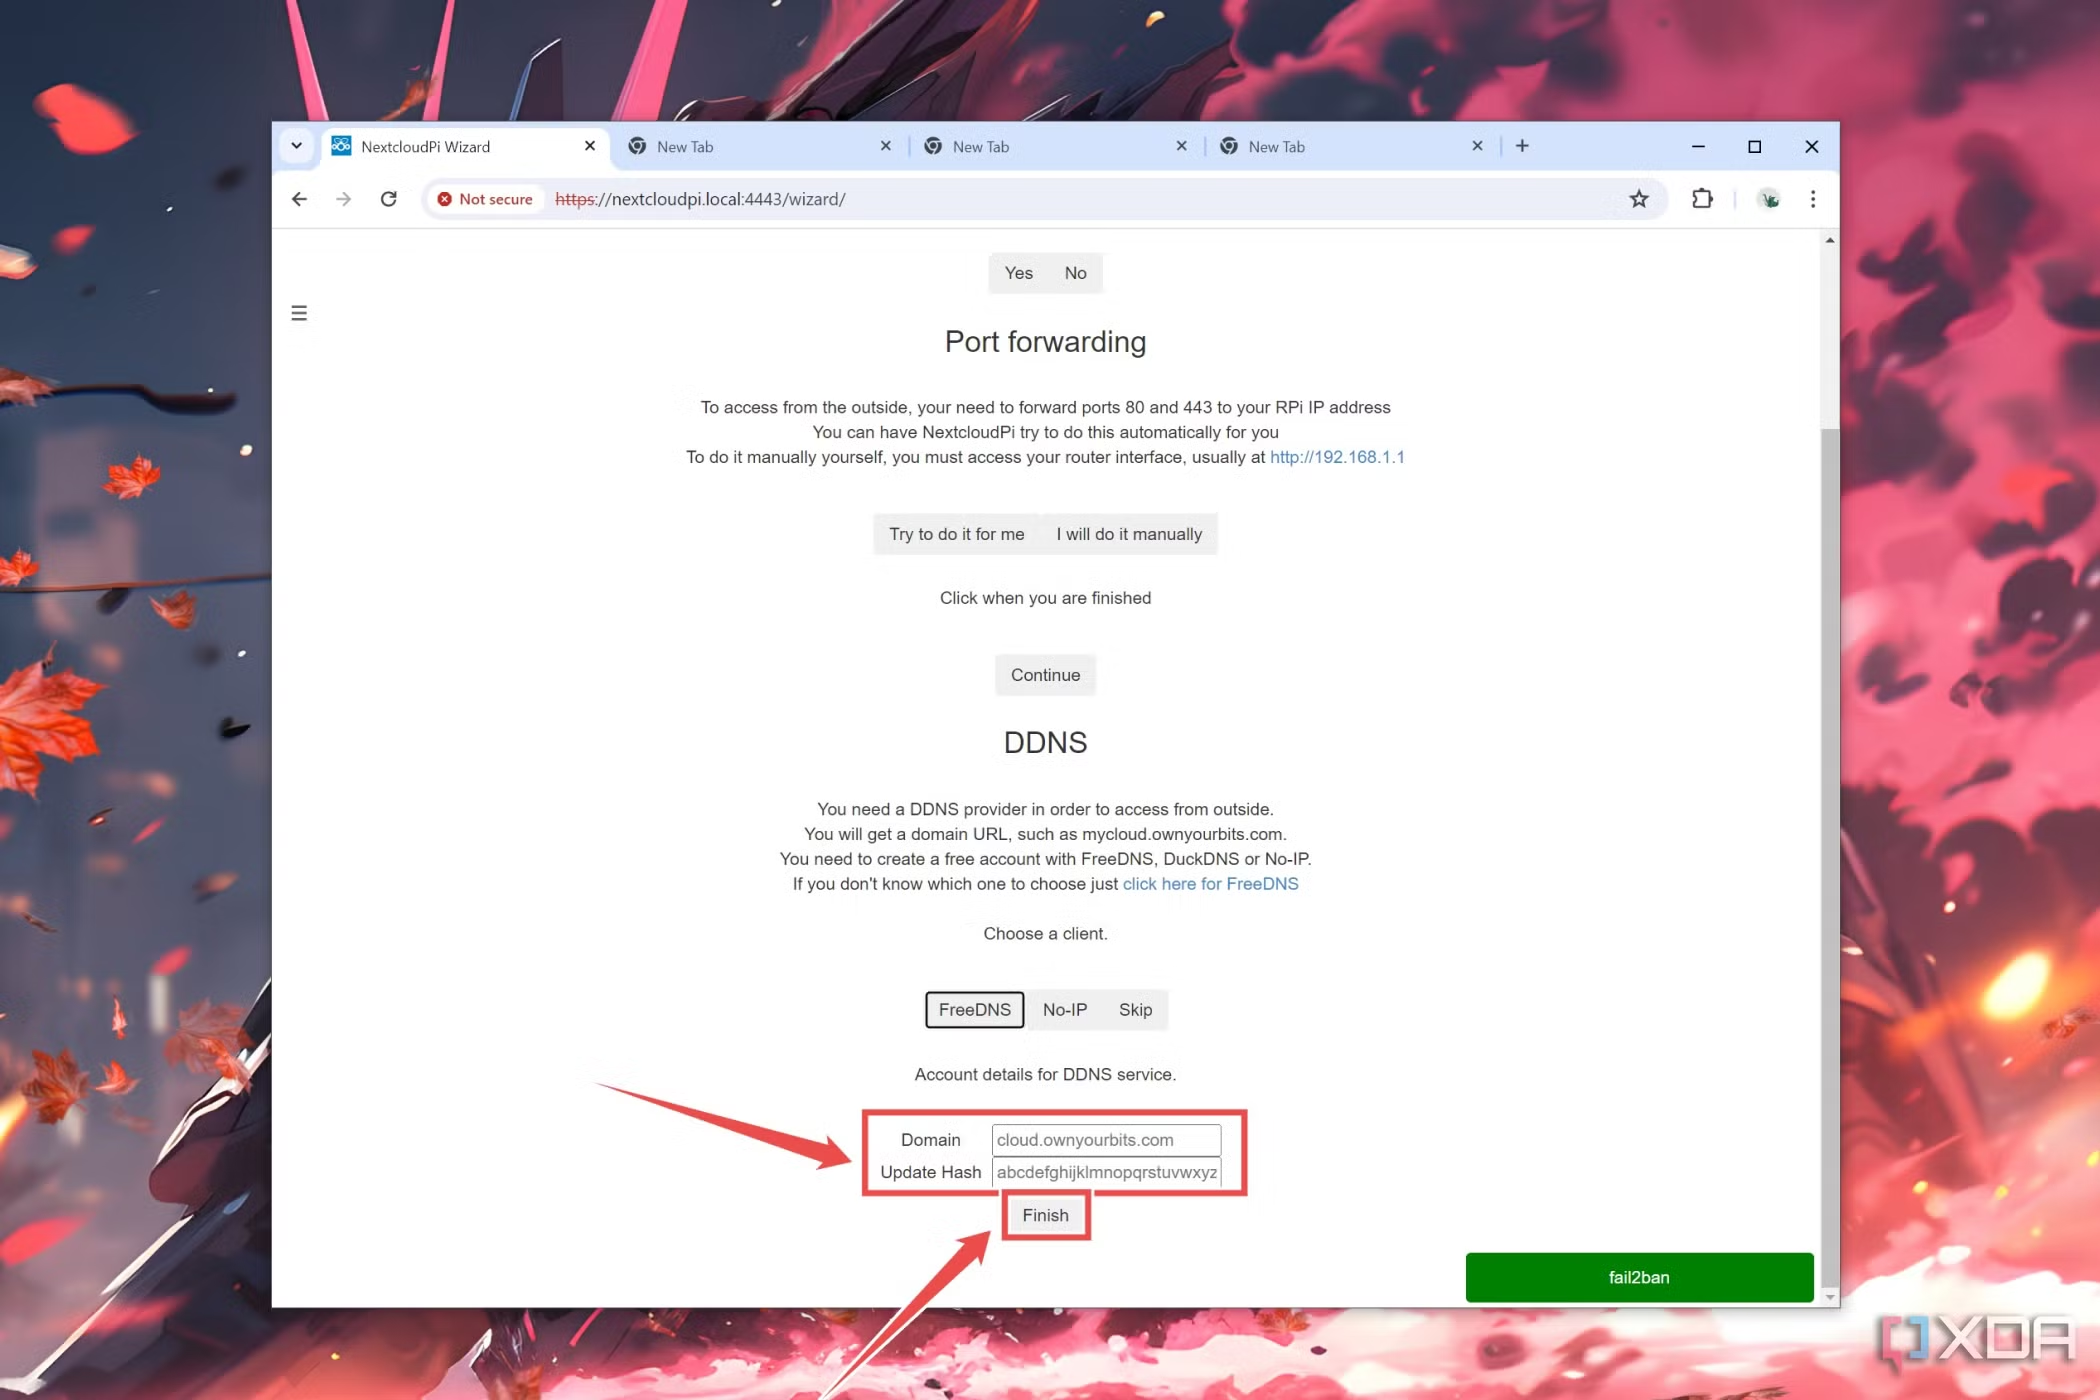
I also wanted to access my NextCloudPi from other networks besides my home LAN. The OS has an option to automatically enable port forwarding, though I had some mixed results with the facility. On my primary Wi-Fi connection, I had to manually enable port forwarding through my router’s page, while NextCloudPi didn’t have much of an issue turning on the feature on my second (and largely unused) network that has a different ISP.
1.Just like the last time, navigate to the External Access section and choose Yes.
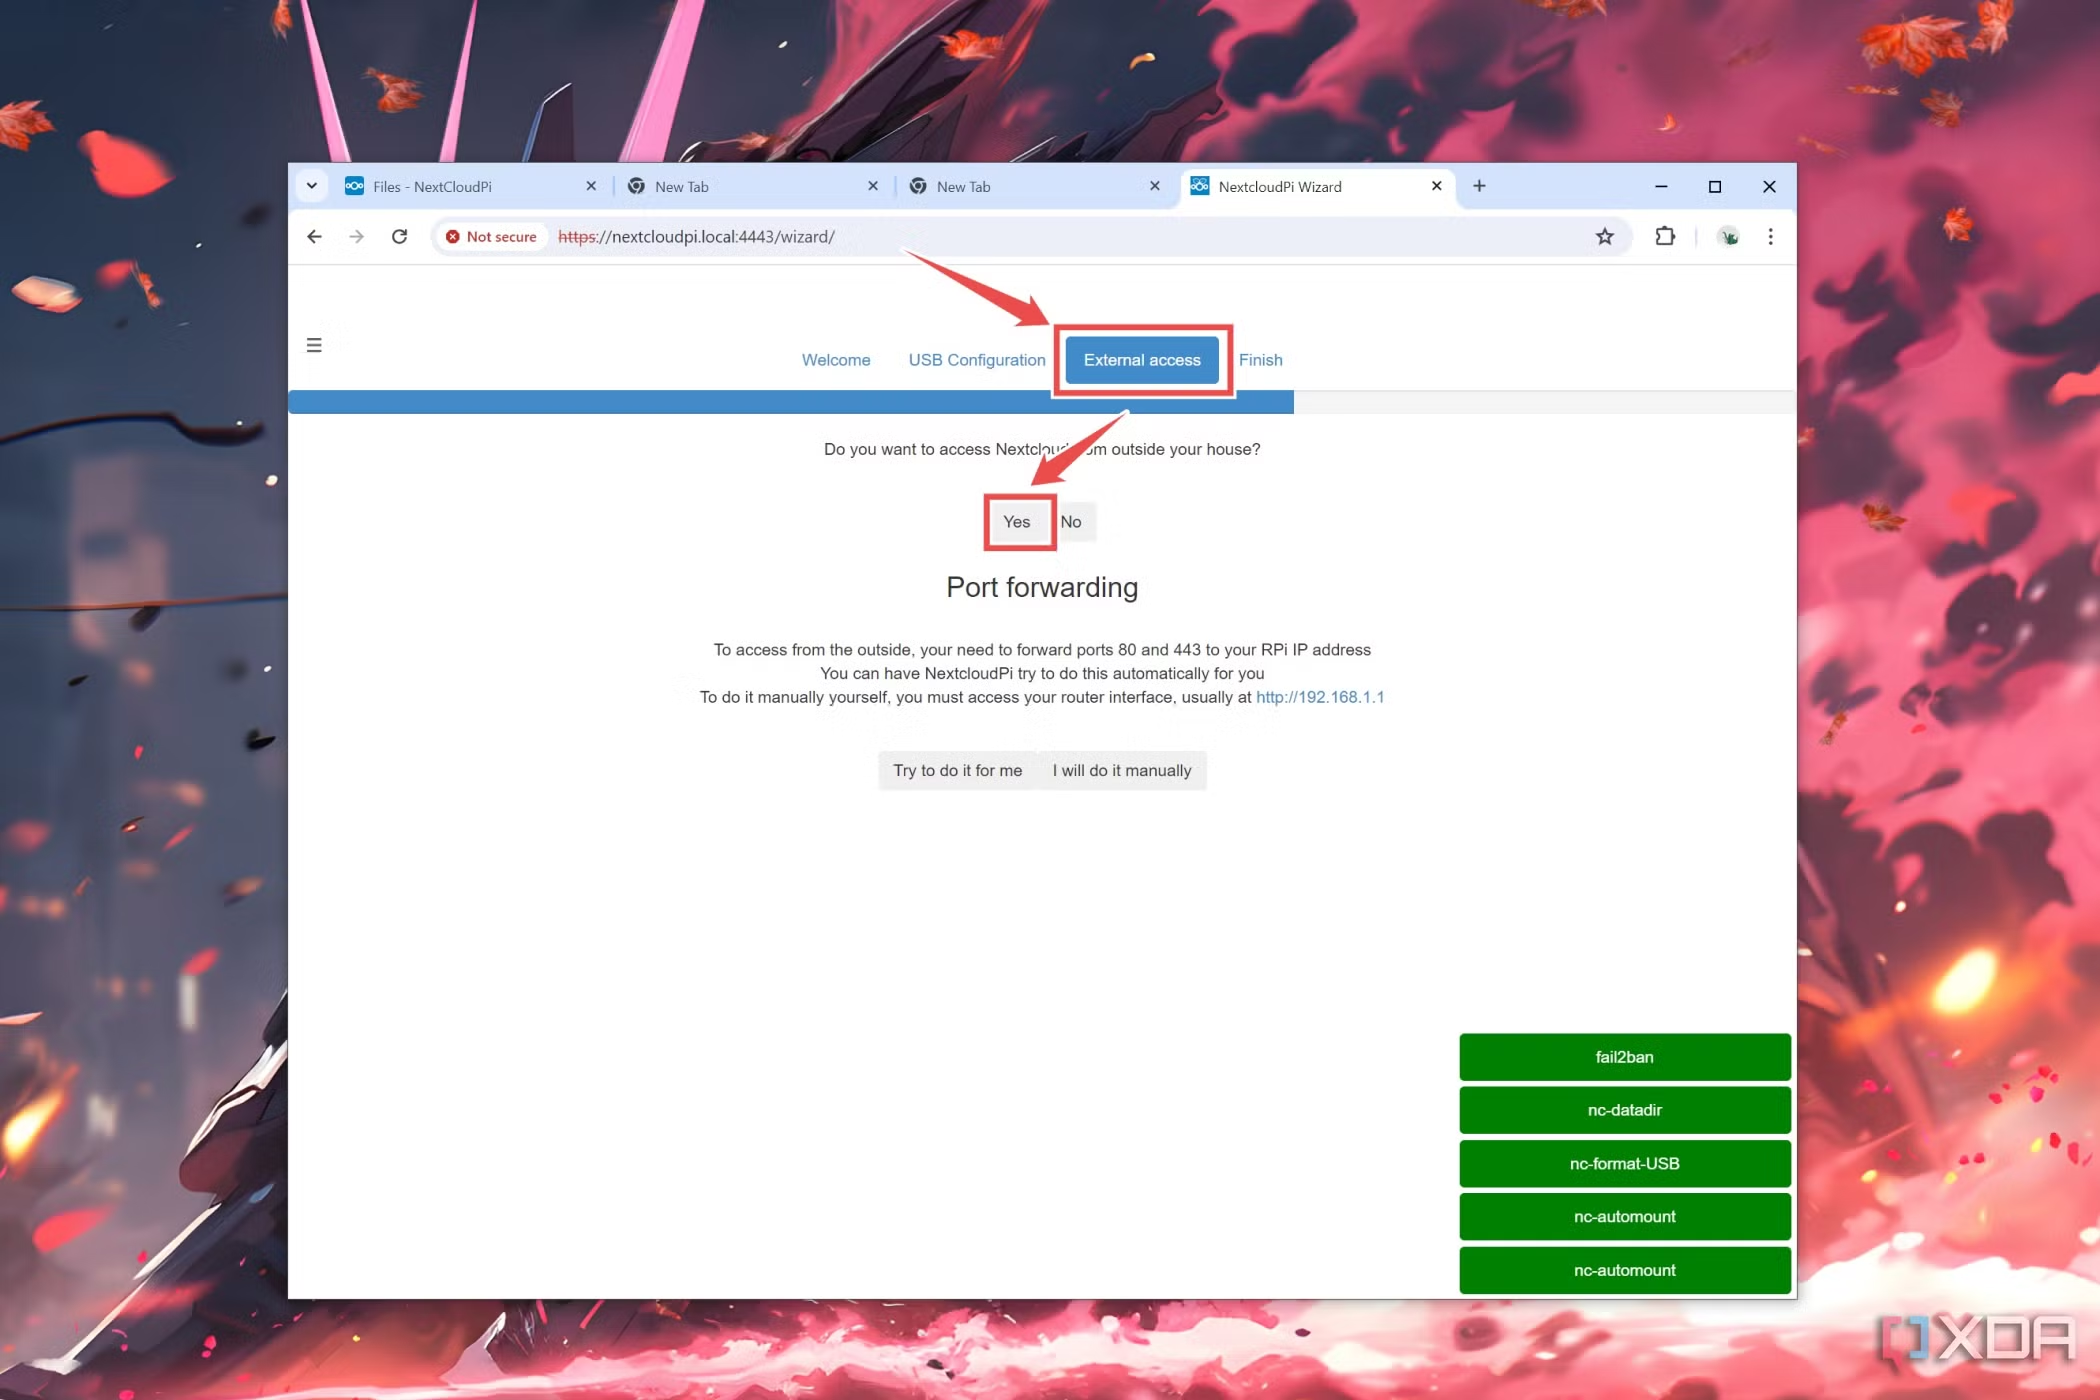
2.Click on the Try to do it for me button if you want NextCloudPi to set up port forwarding for you.

Otherwise, click on I will do it manually and choose Continue.
3.Finally, you’ll need to add a DNS client to set up a personal URL for your cloud server,
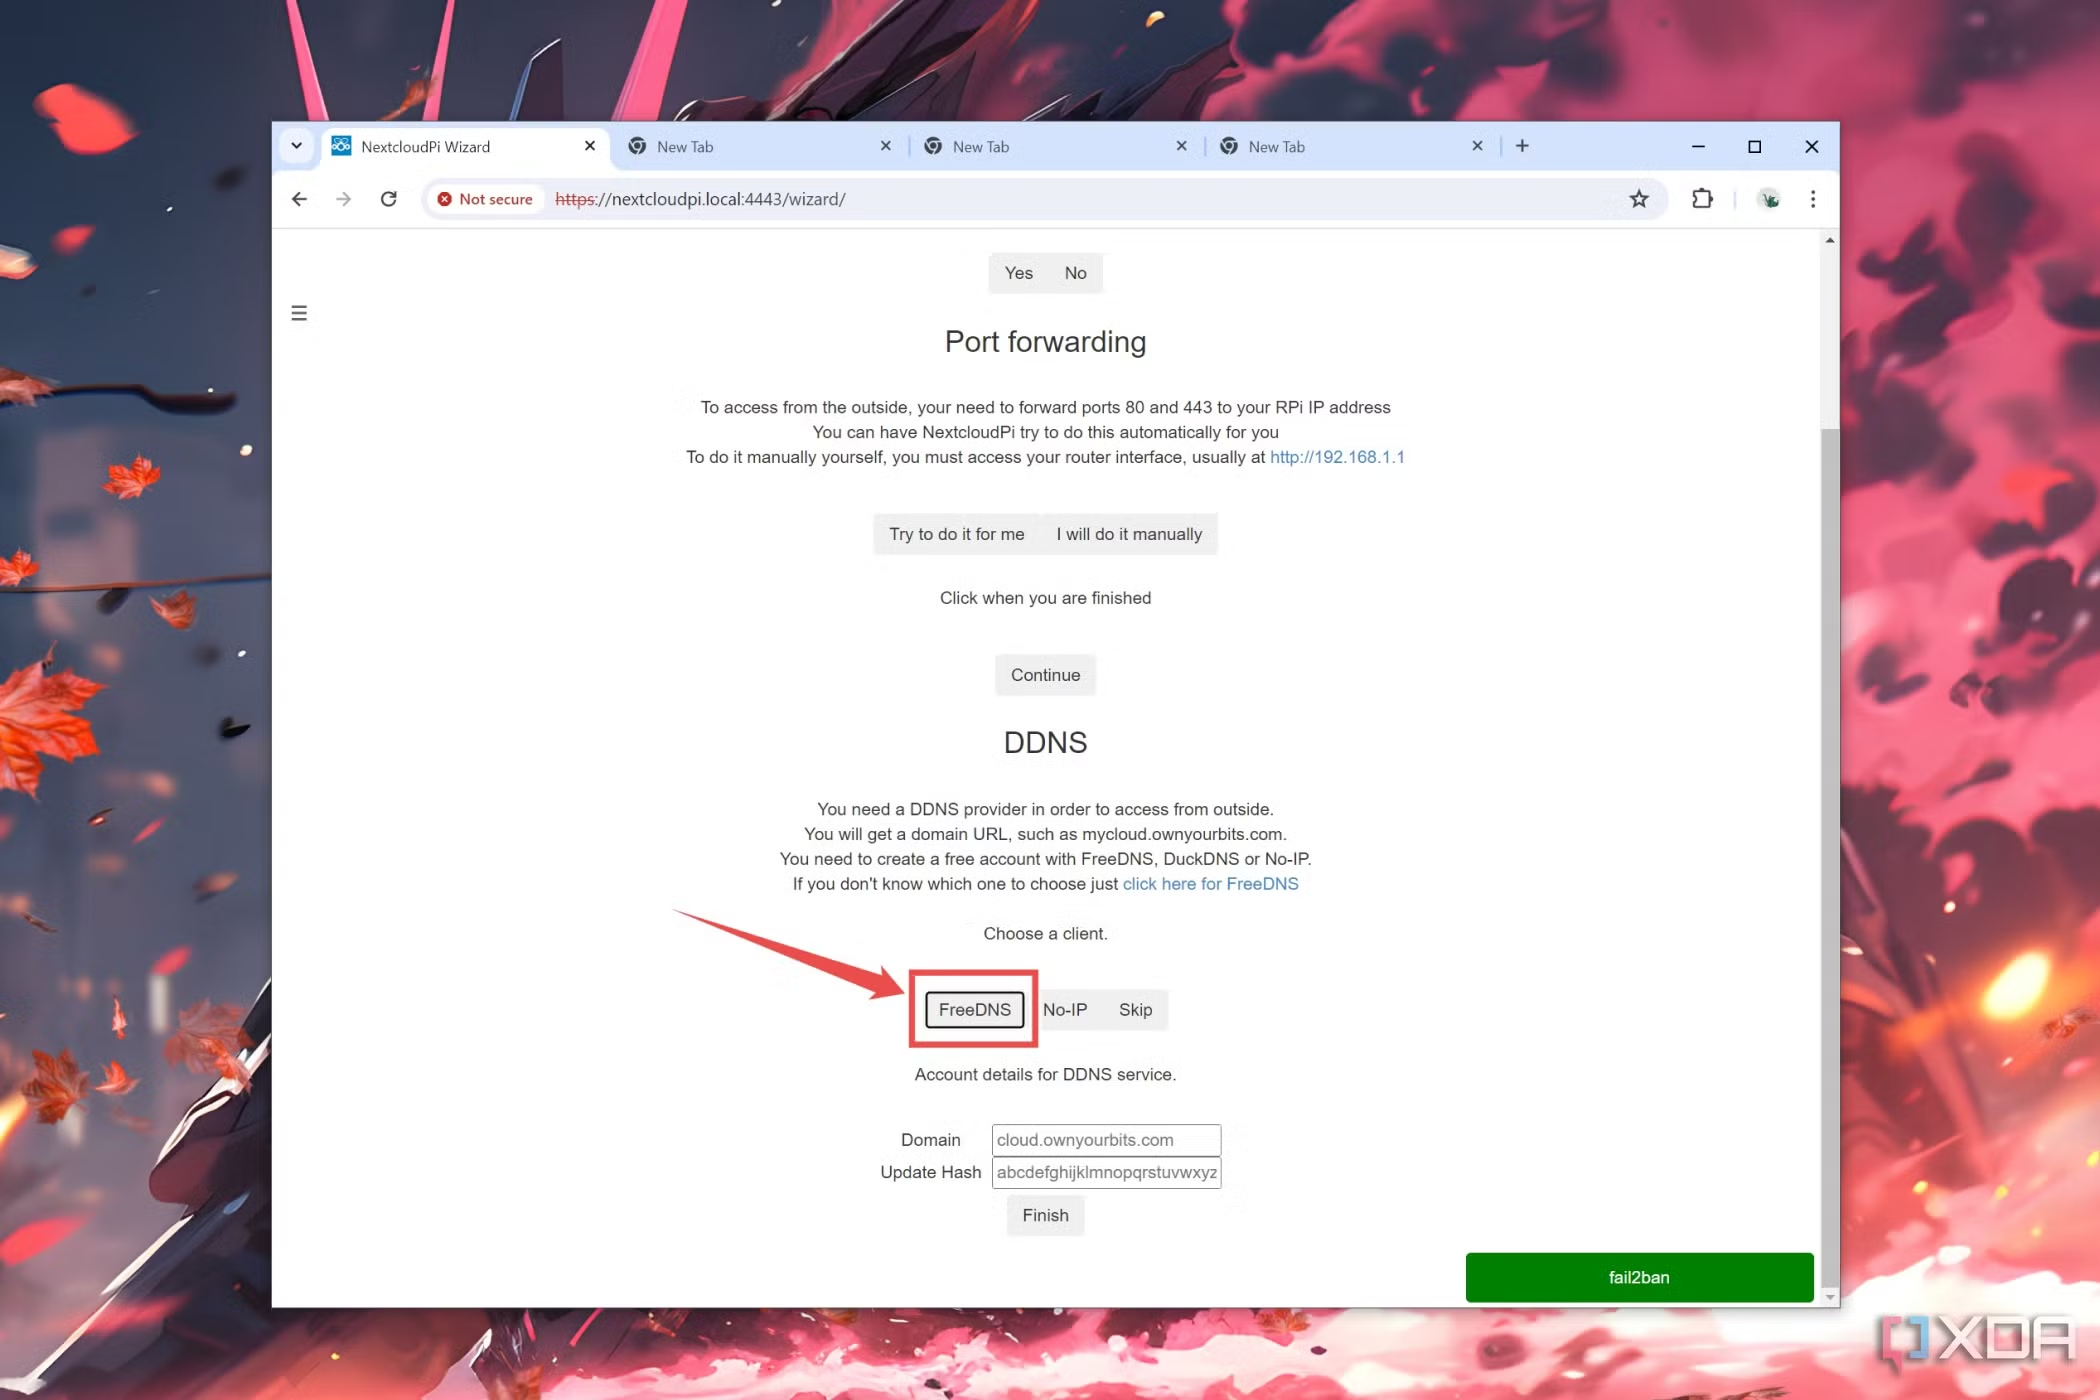 4.Enter the Domain and Update Hash, and click on Finish to set up your custom cloud URL.
Uploading files to the NextCloudPi server
With the cloud server configured, I headed over to the NextCloudPi dashboard to upload all my photos. If you’re used to the web UI of Dropbox, you’ll feel at ease with NextCloudPi.
1.Type the following URL into your web browser:https://nextcloudpi.local/
2.Enter ncp as the username and type the second password from the Activation page to proceed to the Dashboard.
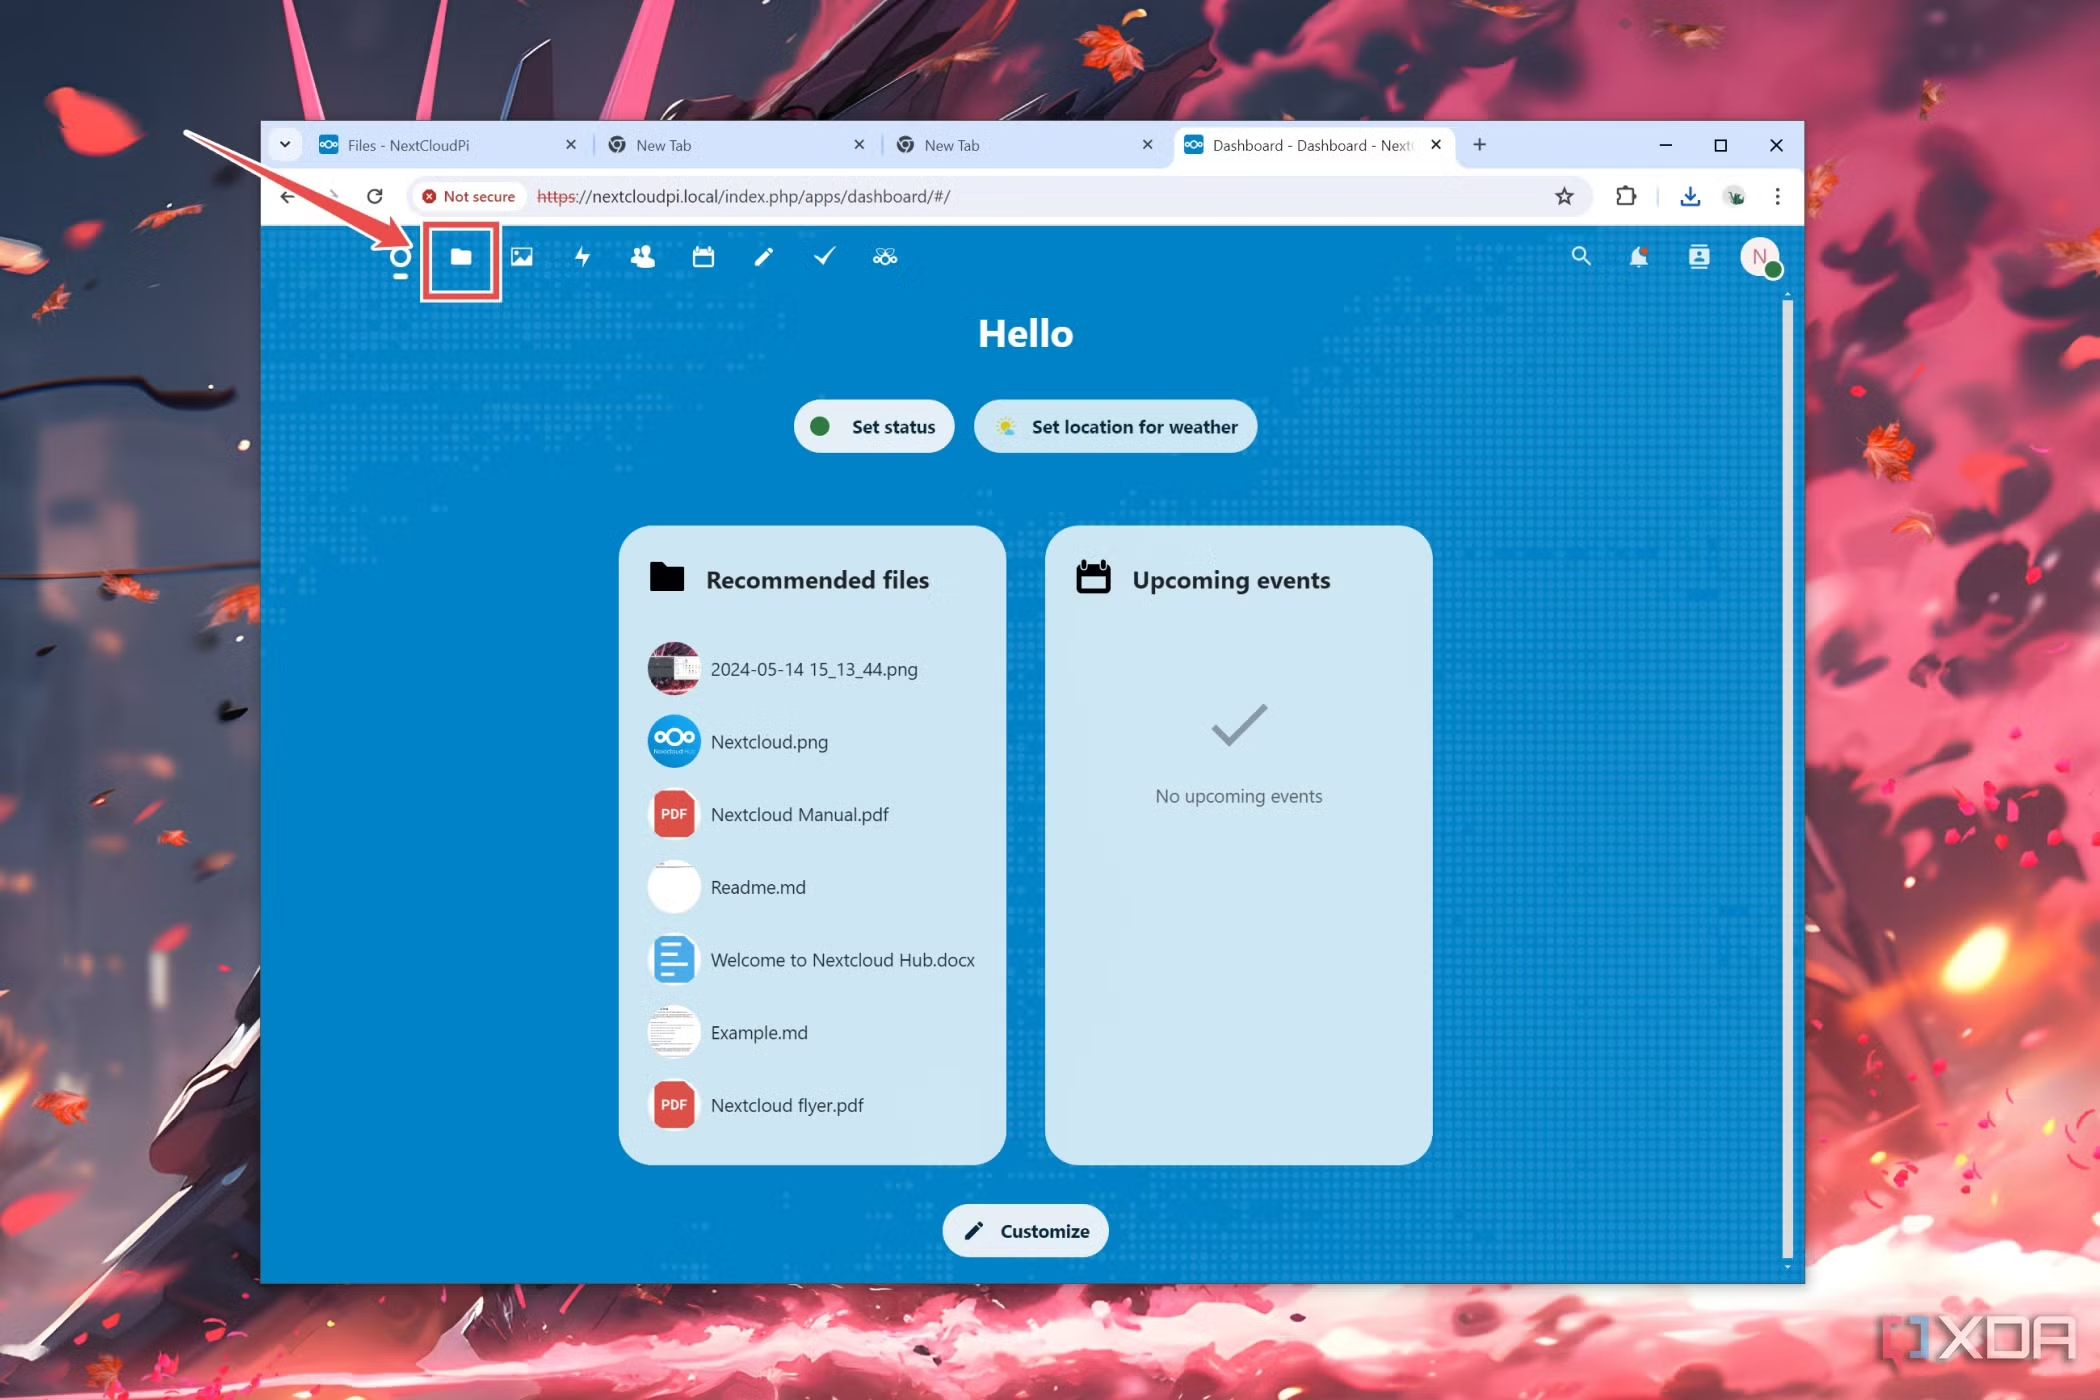
3.From the main page, click on the Files tab.
 4.Click on New and select Upload files.
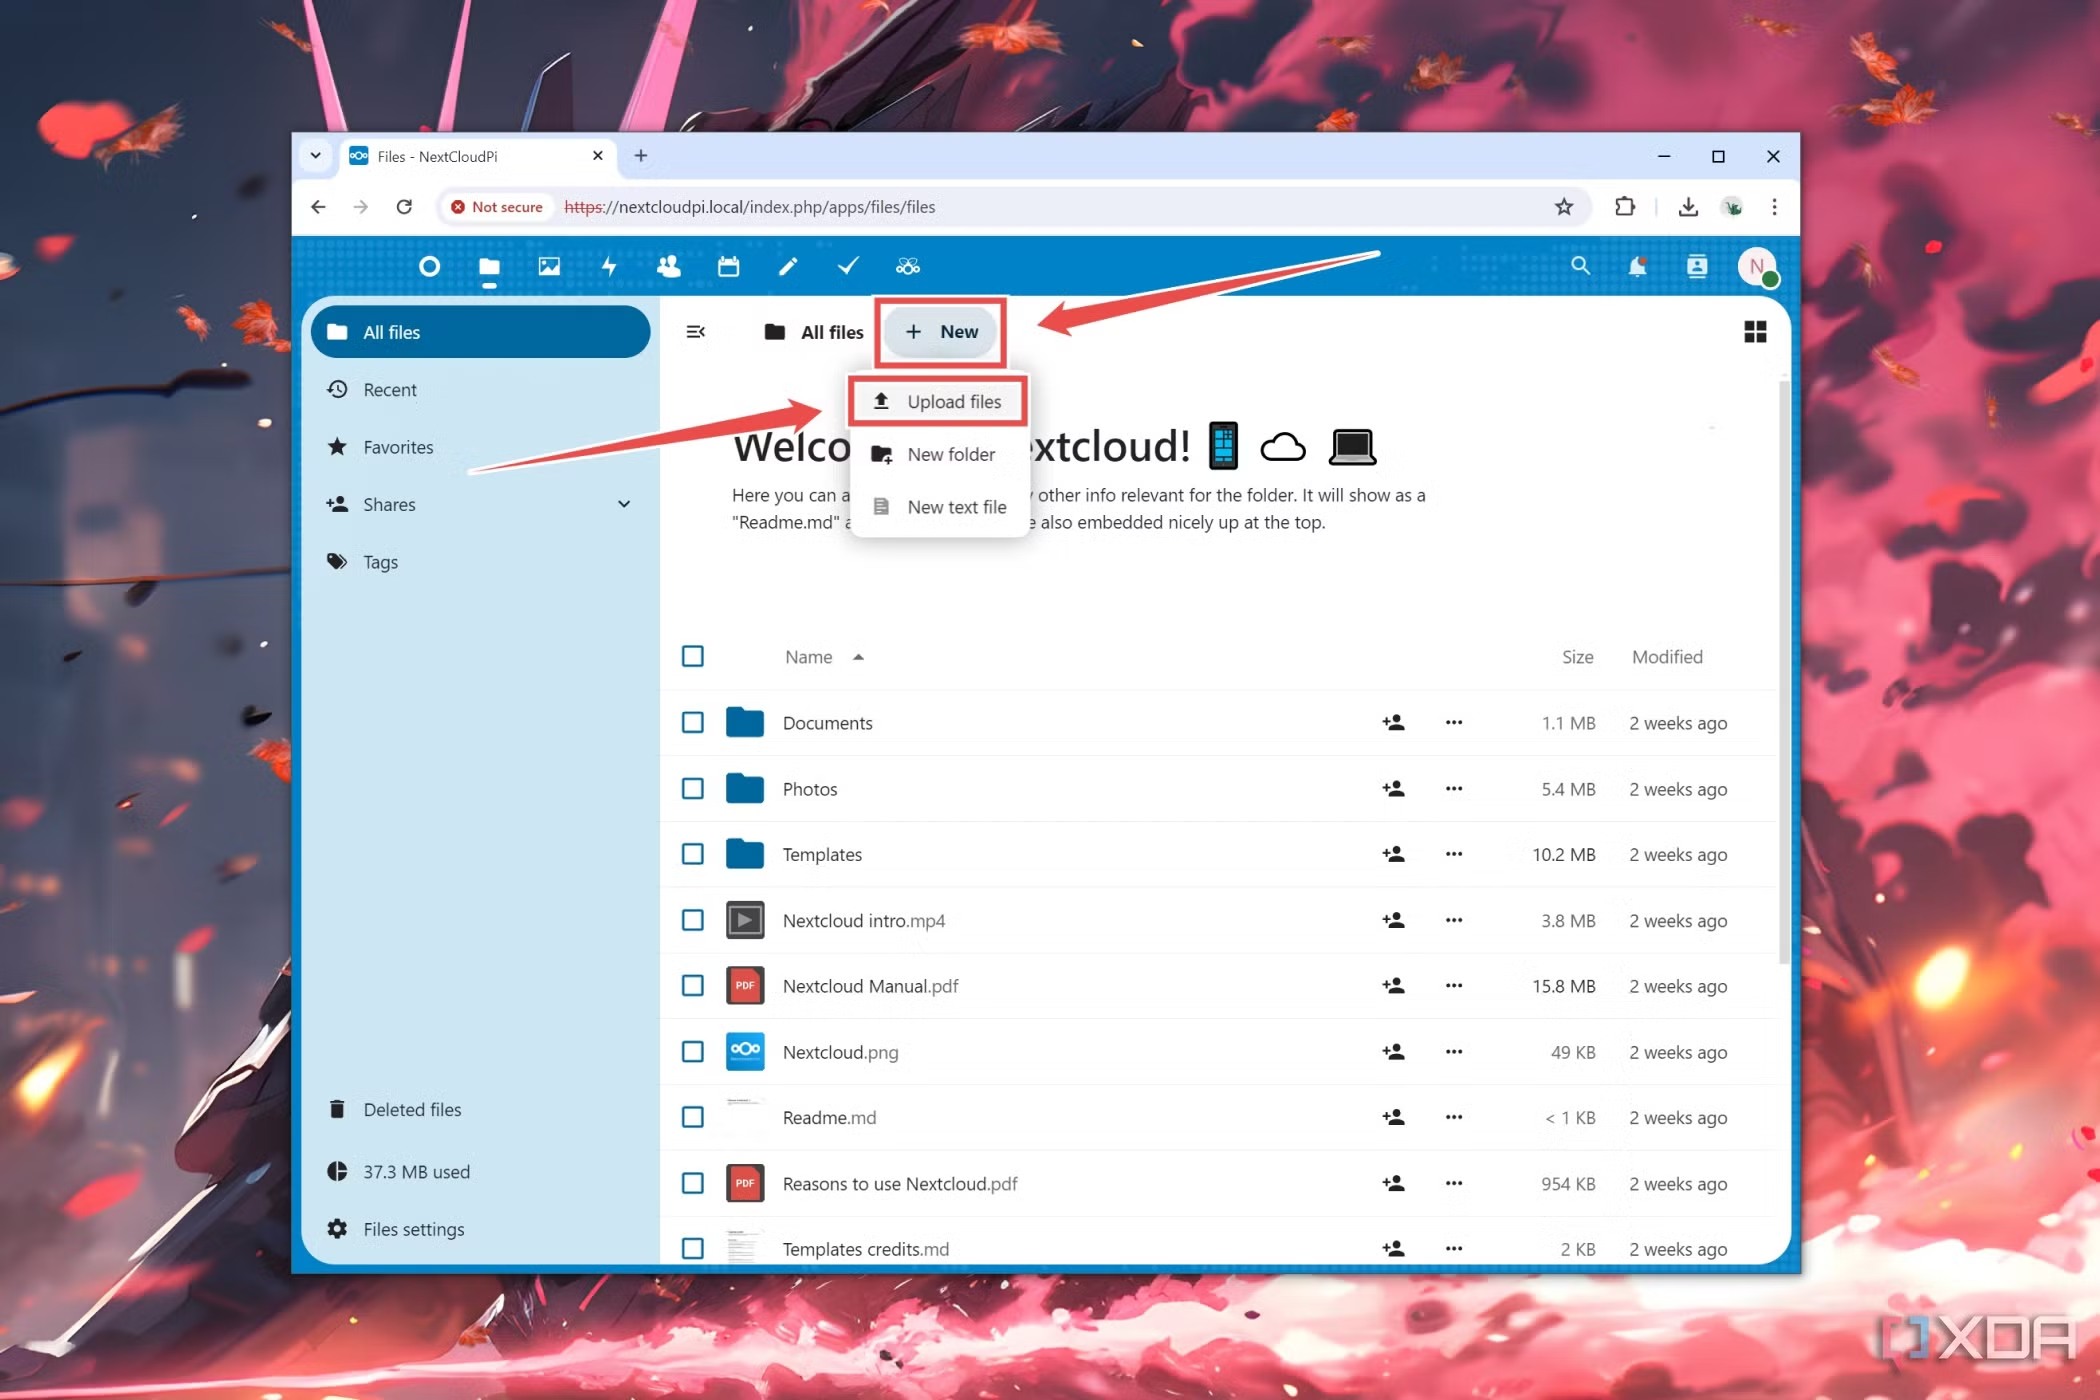
5.Press Open after choosing all the documents you wish to save to the cloud.
You can view these documents on the Files tab, and the media files will also show up under the Photos tab.
A self-hosted cloud on a Raspberry Pi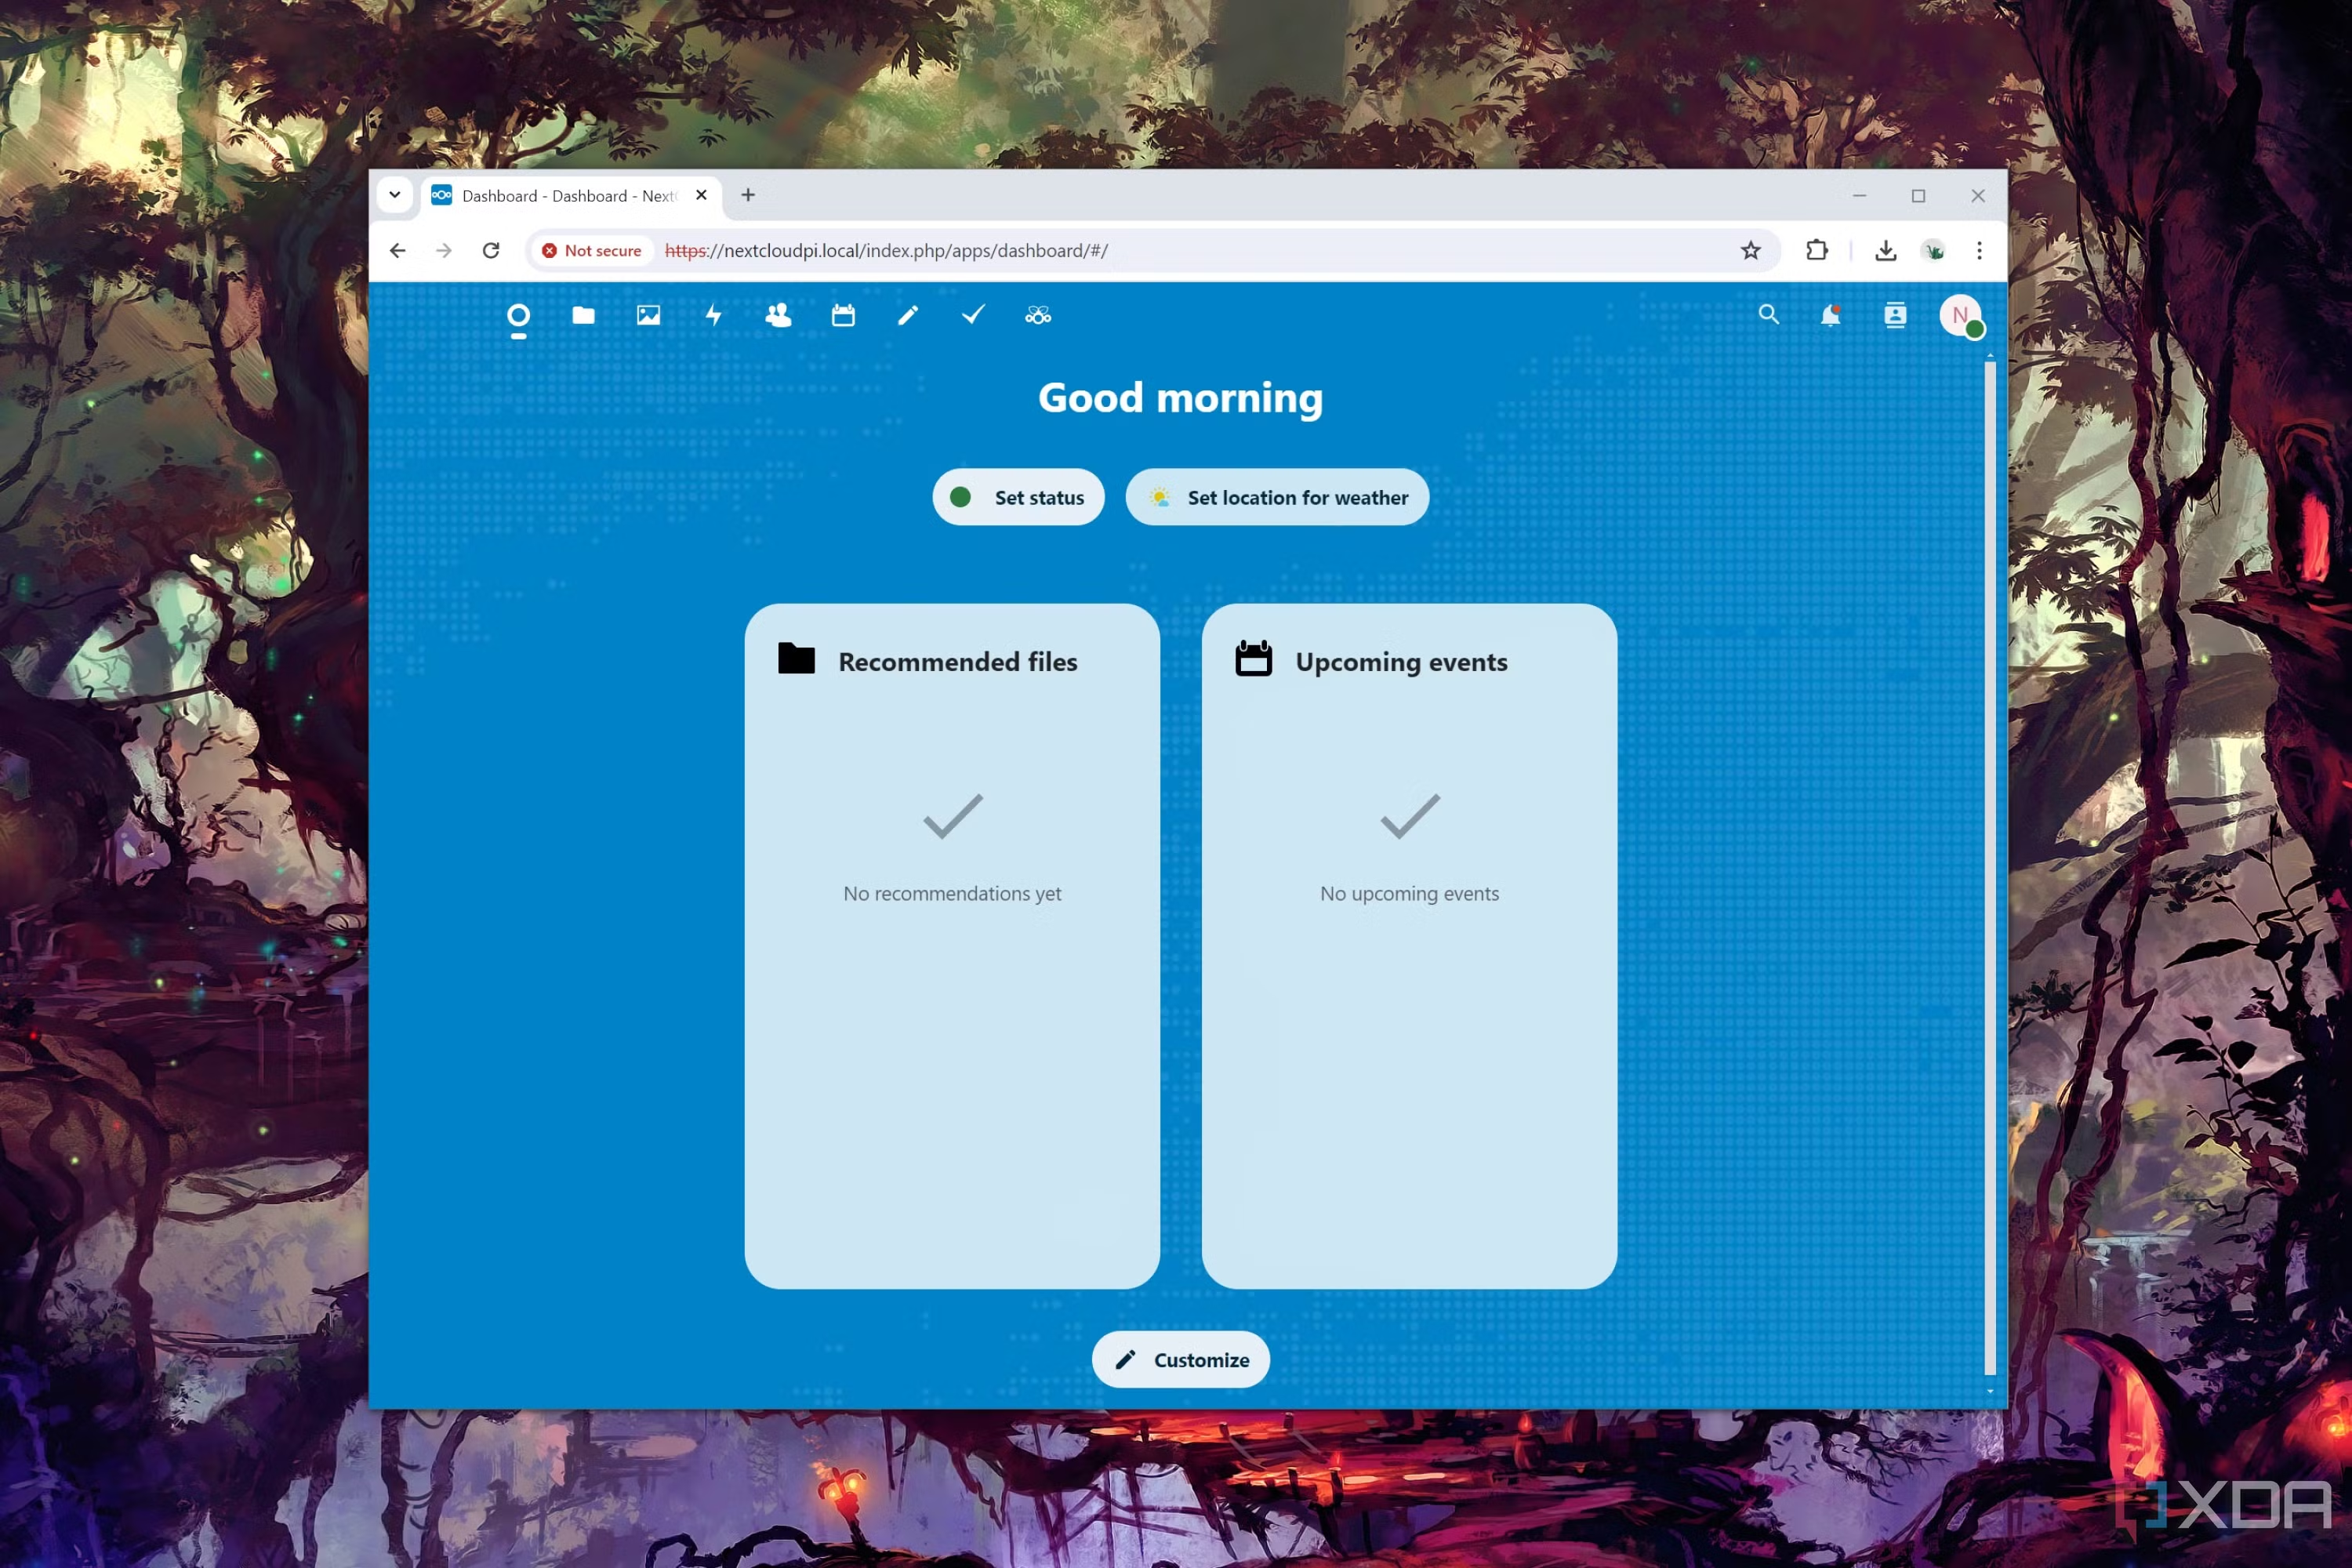 After the slightly underwhelming performance of my Raspberry Pi 5 in NAS-related workloads, I was pleasantly surprised by how well the NextCloudPi worked on the tiny SBC. I’ll admit that a NextCloudPi server running on the ARM Cortex RPi processor has a fraction of the computing prowess of a PC running NextCloud.
But when it came to backing up some important photographs, articles, video game save files, and Python codes, this miniature board provided an affordable and painless option. In fact, I can easily see myself investing in a cheaper Raspberry Pi 4 in the future just so I can create my own private cloud server.
Original URL: https://www.xda-developers.com/i-built-a-personal-cloud-using-my-raspberry-pi-and-heres-how-you-can-too/


