


 En
En

 Applications that use machine learning usually require high computing power. The calculations usually take place on the GPU of the graphics card. The Raspberry Pi is not necessarily designed to run computationally intensive applications. The Google Coral USB Accelerator provides help here! With the help of this device, we can use real-time calculations such as object recognition in videos.
In this tutorial, we will look at how we can integrate and use Google Coral on the Raspberry Pi. We will then create live object detection in a video stream from the Raspberry Pi camera.
Required Hardware Parts
I have used the following hardware parts in this tutorial. Many of the components we have already used in previous tutorials.
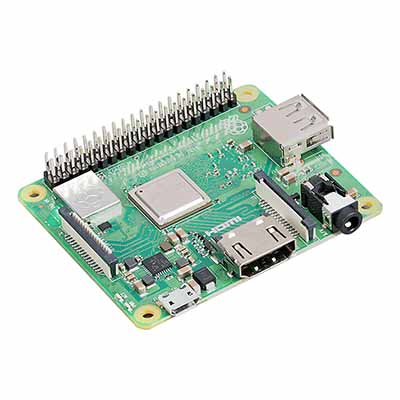
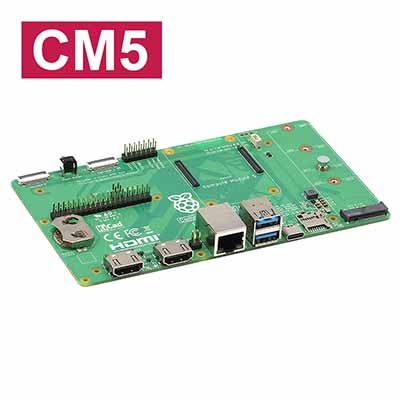
- Raspberry Pi*
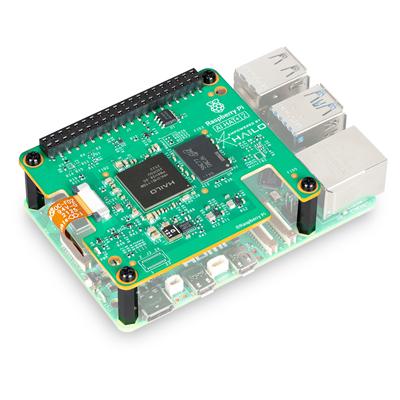
- Edge TPU: Google Coral USB Accelerator
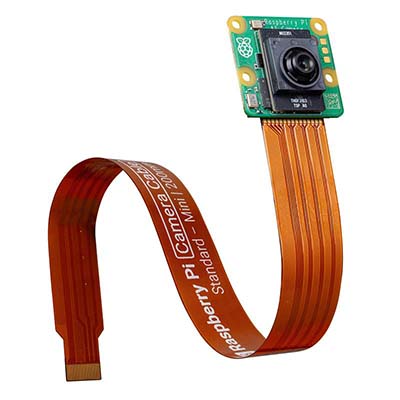
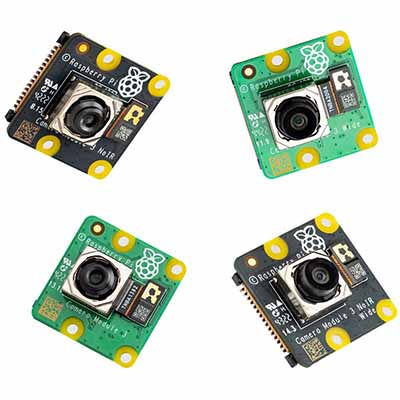
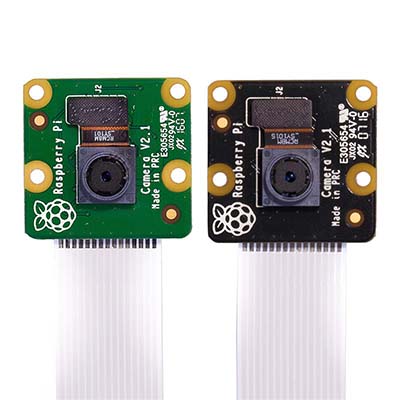
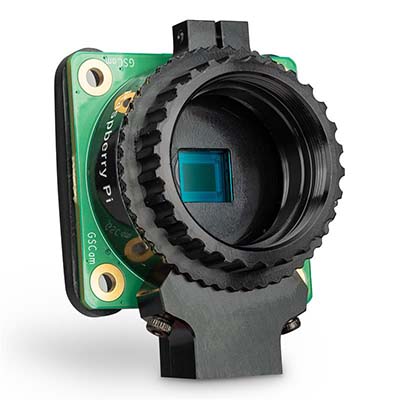
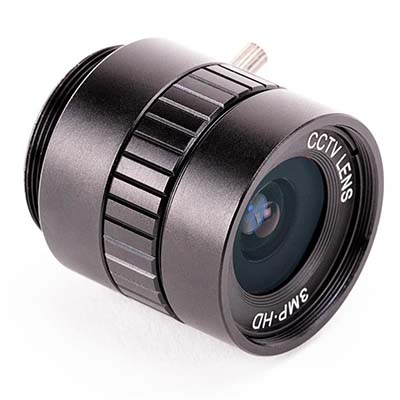
- Official Raspberry Pi camera module*
- alternativelly: USB Webcam*
- Simple objects for recognition (office objects, fruit, etc.)
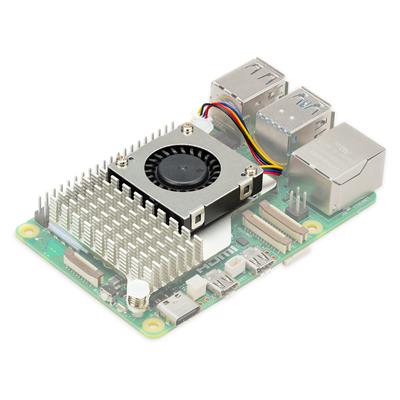
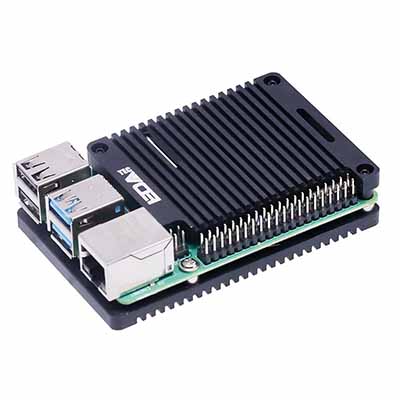
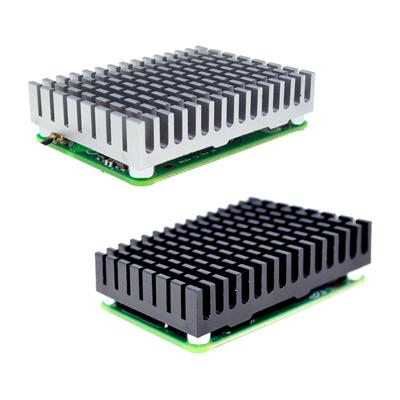
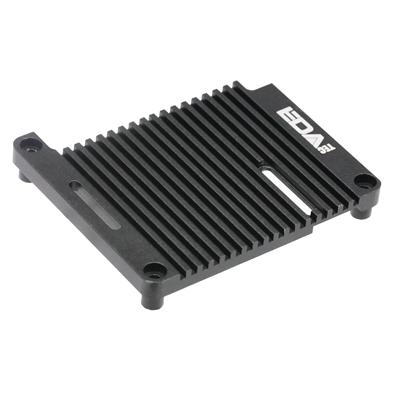
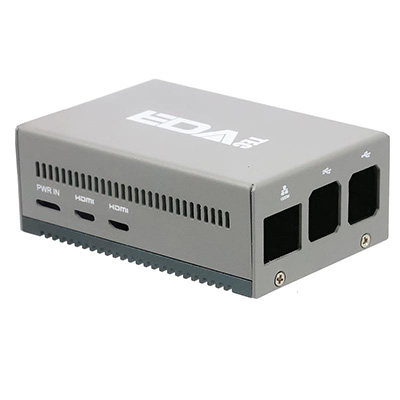
- Optimal: a case with coolers for the Pi and the USB Accelerator (can also be 3D-printed).
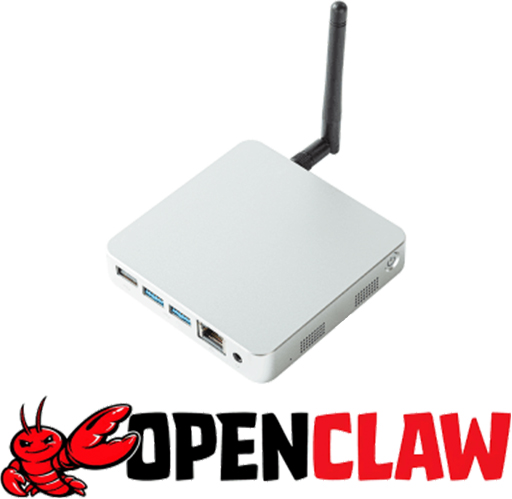
The Google Coral USB Accelerator is smaller than the Raspberry Pi 4 and should be connected via USB 3.0 port.

What is the Google Coral USB Accelerator Used for?
The Google Coral USB Accelerator contains a processor that is specialized for calculations on neural networks. This processor is called Edge-TPU (Tensor Processing Unit).
A very good explanation of neural networks, what they are exactly and why you read about them so often in connection with machine learning, can be found in the following video:
So one of the main tasks is to solve these neural networks (in the form of matrices) and this is done particularly well with an Edge TPU. Google provides special libraries so that we can benefit from the properties of the Coral USB Accelerator.
Google Coral Edge TPU Installation on the Raspberry Pi
So, in order to use the processing power of the Coral Edge TPU, we need to install a few packages. For this, we mainly follow the steps of the TPU website. To do this, open a terminal (or connect via SSH) and type the following:
Getting Started Using a USB Accelerator:https://coral.ai/docs/accelerator/get-started/
Remotely access the Raspberry Pi using SSH and Putty:https://tutorials-raspberrypi.com/raspberry-pi-remote-access-by-using-ssh-and-putty/
echo "deb https://packages.cloud.google.com/apt coral-edgetpu-stable main" |
sudo tee /etc/apt/sources.list.d/coral-edgetpu.list
curl https://packages.cloud.google.com/apt/doc/apt-key.gpg | sudo apt-key add
-
sudo apt-get update
After that we can install the Edge TPU Runtime:
sudo apt-get install libedgetpu1-stdNote: If you want to install a “faster” runtime (means: with higher frequency), use this command instead: Keep in mind, however, that you must not have both versions installed at the same time. In addition, the operating temperature will increase with the higher-frequency variant, which is why you should only use it with sufficiently good cooling.sudo apt-get install libedgetpu1-max
After the installation, you can connect the USB Accelerator to the Raspberry Pi (preferably to a blue USB 3.0 port). If it was already connected before the installation, remove it briefly and connect it again.
Now we install the Python packages. The following command is sufficient for this:
sudo apt-get install python3-pycoral --yesInstalling TensorFlow Lite
We will also need TensorFlow Lite. First, we check the version:
pip3 show tflite_runtimeFor me the result looks like this:
Name: tflite-runtime
Version: 2.5.0
Summary: TensorFlow Lite is for mobile and embedded devices.
Home-page: https://www.tensorflow.org/lite/
Author: Google, LLC
Author-email: packages@tensorflow.org
License: Apache 2.0
Location: /usr/lib/python3/dist-packages
Requires:
Required-by: pycoral
If you have not yet installed TensorFlow, you can do so as follows and then run the command again:
echo "deb https://packages.cloud.google.com/apt coral-edgetpu-stable main" |
sudo tee /etc/apt/sources.list.d/coral-edgetpu.list
curl https://packages.cloud.google.com/apt/doc/apt-key.gpg | sudo apt-key add
-
sudo apt-get update
sudo apt-get install python3-tflite-runtime
Object Recognition in Videos Using Google Coral and Raspberry Pi Camera
In the following, we would like to activate the object detection live in a video stream. The calculations run on the Edge TPU. To display the image, we have several options. We can use e.g. packages like PyGame, PiCamera or OpenCV. I prefer OpenCV because it allows us to use many more features from the computer vision field.
First, we connect the Raspberry Pi camera via CSI or a webcam via USB. Most webcams are automatically detected.
So let’s start with a sample project. Open the terminal again:
mkdir google-coral && cd google-coral
git clone https://github.com/google-coral/examples-camera --depth 1
In the next step, we load the pre-trained models. You can also use your own trained models instead. In our simple example, however, we load only the MobileNet SSD300 model, which can already recognize many objects.
cd examples-camera
sh download_models.sh
这个过程需要几分钟。 之后,我们切换到OpenCV文件夹并安装依赖项(如果你想使用另一个示例,这里有这个选项)。
cd opencv
bash install_requirements.sh
Now we can start the sample application. You need a desktop environment for this. If you are not working directly on the Raspberry Pi, I recommend a remote desktop connection.
remote desktop connection:https://tutorials-raspberrypi.com/raspberry-pi-remote-desktop-connection/
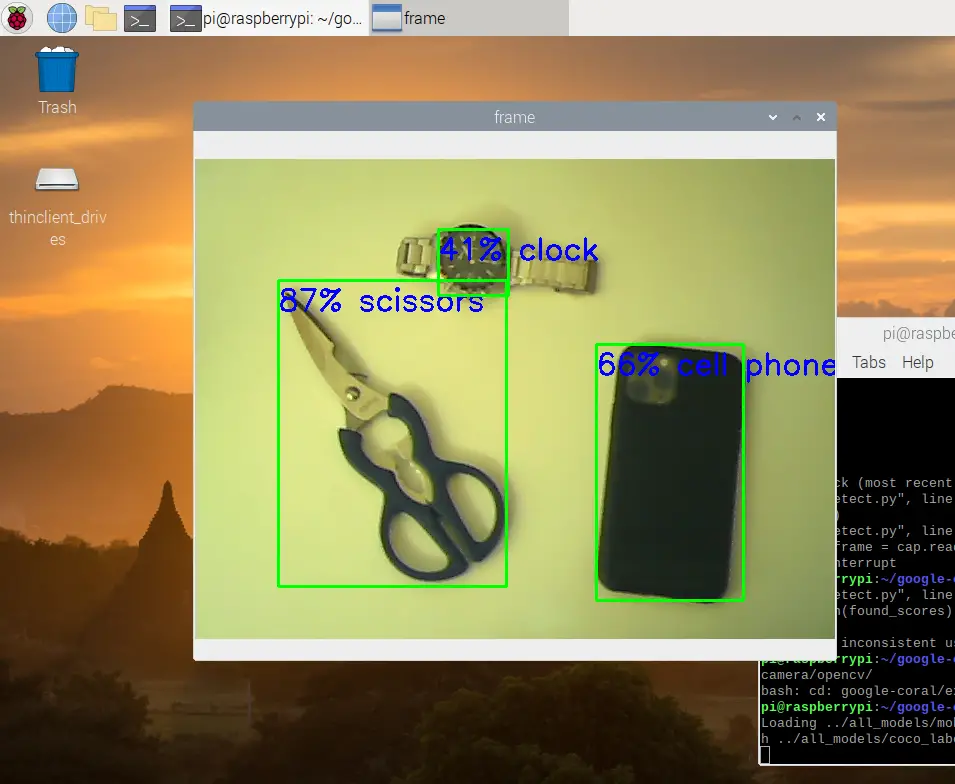
python3 detect.pyThis opens a new window with the video stream. In it, detected objects are marked with rectangles. You can also see the calculated probability (in percent) with which the object was detected (how likely it is to be this object, according to the algorithm).
 Now let’s take a closer look at the code to understand what happens:
# Copyright 2019 Google LLC
#
# Licensed under the Apache License, Version 2.0 (the "License");
# you may not use this file except in compliance with the License.
# You may obtain a copy of the License at
#
#     https://www.apache.org/licenses/LICENSE-2.0
#
# Unless required by applicable law or agreed to in writing, software
# distributed under the License is distributed on an "AS IS" BASIS,
# WITHOUT WARRANTIES OR CONDITIONS OF ANY KIND, either express or implied.
# See the License for the specific language governing permissions and
# limitations under the License.

"""A demo that runs object detection on camera frames using OpenCV.

TEST_DATA=../all_models

Run face detection model:
python3 detect.py \
  --model ${TEST_DATA}/mobilenet_ssd_v2_face_quant_postprocess_edgetpu.tflite

Run coco model:
python3 detect.py \
  --model ${TEST_DATA}/mobilenet_ssd_v2_coco_quant_postprocess_edgetpu.tflite \
  --labels ${TEST_DATA}/coco_labels.txt

"""
import argparse
import cv2
import os

from pycoral.adapters.common import input_size
from pycoral.adapters.detect import get_objects
from pycoral.utils.dataset import read_label_file
from pycoral.utils.edgetpu import make_interpreter
from pycoral.utils.edgetpu import run_inference

def main():
    default_model_dir = '../all_models'
    default_model = 'mobilenet_ssd_v2_coco_quant_postprocess_edgetpu.tflite'
    default_labels = 'coco_labels.txt'
    parser = argparse.ArgumentParser()
    parser.add_argument('--model', help='.tflite model path',
                        default=os.path.join(default_model_dir,default_model))
    parser.add_argument('--labels', help='label file path',
                        default=os.path.join(default_model_dir, default_labels))
    parser.add_argument('--top_k', type=int, default=3,
                        help='number of categories with highest score to display')
    parser.add_argument('--camera_idx', type=int, help='Index of which video source to use. ', default = 0)
    parser.add_argument('--threshold', type=float, default=0.1,
                        help='classifier score threshold')
    args = parser.parse_args()

    print('Loading {} with {} labels.'.format(args.model, args.labels))
    interpreter = make_interpreter(args.model)
    interpreter.allocate_tensors()
    labels = read_label_file(args.labels)
    inference_size = input_size(interpreter)

    cap = cv2.VideoCapture(args.camera_idx)

    while cap.isOpened():
        ret, frame = cap.read()
        if not ret:
            break
        cv2_im = frame

        cv2_im_rgb = cv2.cvtColor(cv2_im, cv2.COLOR_BGR2RGB)
        cv2_im_rgb = cv2.resize(cv2_im_rgb, inference_size)
        run_inference(interpreter, cv2_im_rgb.tobytes())
        objs = get_objects(interpreter, args.threshold)[:args.top_k]
        cv2_im = append_objs_to_img(cv2_im, inference_size, objs, labels)

        cv2.imshow('frame', cv2_im)
        if cv2.waitKey(1) & 0xFF == ord('q'):
            break

    cap.release()
    cv2.destroyAllWindows()

def append_objs_to_img(cv2_im, inference_size, objs, labels):
    height, width, channels = cv2_im.shape
    scale_x, scale_y = width / inference_size[0], height / inference_size[1]
    for obj in objs:
        bbox = obj.bbox.scale(scale_x, scale_y)
        x0, y0 = int(bbox.xmin), int(bbox.ymin)
        x1, y1 = int(bbox.xmax), int(bbox.ymax)

        percent = int(100 * obj.score)
        label = '{}% {}'.format(percent, labels.get(obj.id, obj.id))

        cv2_im = cv2.rectangle(cv2_im, (x0, y0), (x1, y1), (0, 255, 0), 2)
        cv2_im = cv2.putText(cv2_im, label, (x0, y0+30),
                             cv2.FONT_HERSHEY_SIMPLEX, 1.0, (255, 0, 0), 2)
    return cv2_im

if __name__ == '__main__':
    main()
- First of all, the required PyCoral libraries are included.
- In the main function, arguments are defined which can be passed from the command line (specifying the model etc.)
- The model is loaded with its labels and the dimensions are determined based on the model (here: 300×300)
- Then the video stream will be opened (
cap = cv2.VideoCapture(args.camera_idx)) - The interesting part happens here:
objs = get_objects(interpreter, args.threshold)[:args.top_k]The 3 elements with the highest “classification score” (above a threshold value) are determined in the process.
- Subsequently, each detected object is marked on the image.
Responding to Specific Objects
What do we do now if we want to trigger an action as soon as a certain object has been detected (e.g. a person)?
To do this, let’s first take a look at the return value of the function:get_objects
[
Object(id=16, score=0.5, bbox=BBox(xmin=-2, ymin=102, xmax=158, ymax=296)),
Object(id=0, score=0.16015625, bbox=BBox(xmin=6, ymin=114, xmax=270, ymax=300)),
Object(id=61, score=0.12109375, bbox=BBox(xmin=245, ymin=166, xmax=301, ymax=302))
]
We see that each detected object contains an id, a score and a bounding box with coordinates. To determine which object was detected, we take a look at the labels:
{0: 'person', 1: 'bicycle', 2: 'car', 3: 'motorcycle', 4: 'airplane', 5: 'bus',
6: 'train', 7: 'truck', 8: 'boat', 9: 'traffic light', 10: 'fire hydrant', 1
2: 'stop sign', 13: 'parking meter', 14: 'bench', 15: 'bird', 16: 'cat', 17: 'dog',
18: 'horse', 19: 'sheep', 20: 'cow', 21: 'elephant', 22: 'bear', 23: 'zebra',
24: 'giraffe', 26: 'backpack', 27: 'umbrella', 30: 'handbag', 31: 'tie',
32: 'suitcase', 33: 'frisbee', 34: 'skis', 35: 'snowboard', 36: 'sports ball',
37: 'kite', 38: 'baseball bat', 39: 'baseball glove', 40: 'skateboard',
41: 'surfboard', 42: 'tennis racket', 43: 'bottle', 45: 'wine glass', 46: 'cup',
47: 'fork', 48: 'knife', 49: 'spoon', 50: 'bowl', 51: 'banana', 52: 'apple',
53: 'sandwich', 54: 'orange', 55: 'broccoli', 56: 'carrot', 57: 'hot dog',
58: 'pizza', 59: 'donut', 60: 'cake', 61: 'chair', 62: 'couch', 63: 'potted plant',
64: 'bed', 66: 'dining table', 69: 'toilet', 71: 'tv', 72: 'laptop', 73: 'mouse',
74: 'remote', 75: 'keyboard', 76: 'cell phone', 77: 'microwave', 78: 'oven',
79: 'toaster', 80: 'sink', 81: 'refrigerator', 83: 'book', 84: 'clock', 85: 'vase',
86: 'scissors', 87: 'teddy bear', 88: 'hair drier', 89: 'toothbrush'}
So in my case the objects Cat (id=16), Person (id=0) and Chair (id=61) were recognized.
In case you’re wondering where all the labels come from: These were trained in the model and are therefore included. If you create your own model, you can also include only one or only a few objects that are important for you. It would also be possible, for example, to recognize your own face.
If you are interested in a tutorial on how to train such a model on the Raspberry Pi with the Google Coral USB Accelerator, feel free to ask about it in the comments.
In the above example, we want to trigger an action as soon as a certain object (e.g. a bus with ID=5) is detected. To do this, we first look up the ID. Next, we need to check if an object with this ID was found. We can also add a threshold value (e.g. 0.8) for the score. The pseudo-code would look like this:
found_scores = [o.score for o in objs if o.id == 5]
if len(found_scores) > 0 and max(found_scores) >= 0.8:
# do something
As you can see, reacting to it is very simple. After that, we can save the photo for example.
Conclusion
The Edge TPU from Google offers a great opportunity for all those for whom the Raspberry Pi’s computing capacity is not enough. The USB Accelerator is also very cheap compared to high-end graphics cards. These cost over a thousand dollars on average.
The object detection runs very smoothly with a resolution of 300x300px. A higher resolution is also possible, but you have to pay attention to the temperature of the device. I recommend an additional fan for continuous operation.
Google also offers other repositories with learning content. For further use cases with the Coral, this repo is still interesting and among other things equipped with examples for image recognition.
https://github.com/google-coral/pycoral
By the way, we can also create our own object recognition model with TensorFlow. For this, we first need to annotate images and then train a model. If you are interested, a tutorial will follow in the future.
What other machine learning applications and use cases are you interested in? I had thought about projects like auto-recognition of license plates and the like, but am eager to hear more creative suggestions for the Raspberry Pi with Google Coral TPU.
Original URL: https://tutorials-raspberrypi.com/using-tensorflow-lite-with-google-coral-tpu-on-raspberry-pi-4/


