4 Configuring System

This chapter describes the specific operations for system configuration.

4.1 Finding Device IP

Finding Device IP

4.2 Remote Login

Remote Login

4.3 Configuring Storage Devices

Configuring Storage Devices

4.4 Configuring Ethernet IP

Configuring Ethernet IP

4.5 Configuring Wi-Fi

Configuring Wi-Fi

4.6 Configuring Bluetooth

Configuring Bluetooth

4.7 Configuring Audio

The ED-CLAWBOX includes one audio port (supporting headphone connection) and one external Speaker output. Both headphone and Speaker volumes are adjustable, and it supports recording input audio.

4.7.1 Adjusting Volume

The headphone and Speaker volumes can be adjusted manually.

4.7.1.1 Adjusting Volume via Desktop Icon

If you are using the Desktop version of the OS, you can directly adjust the headphone and Speaker volume via the desktop icon.

Steps:

  1. Click the line or mic icon in the top-right corner of the desktop to open the volume control bar.
image-20240605114526654
  1. Drag the slider of the volume control bar up or down to adjust the volume. Check or uncheck the Mute checkbox to mute or unmute the audio.

4.7.1.2 Adjusting Volume via Command Line

Supports adjusting the volume by opening the volume control interface via the command line.​

Steps:

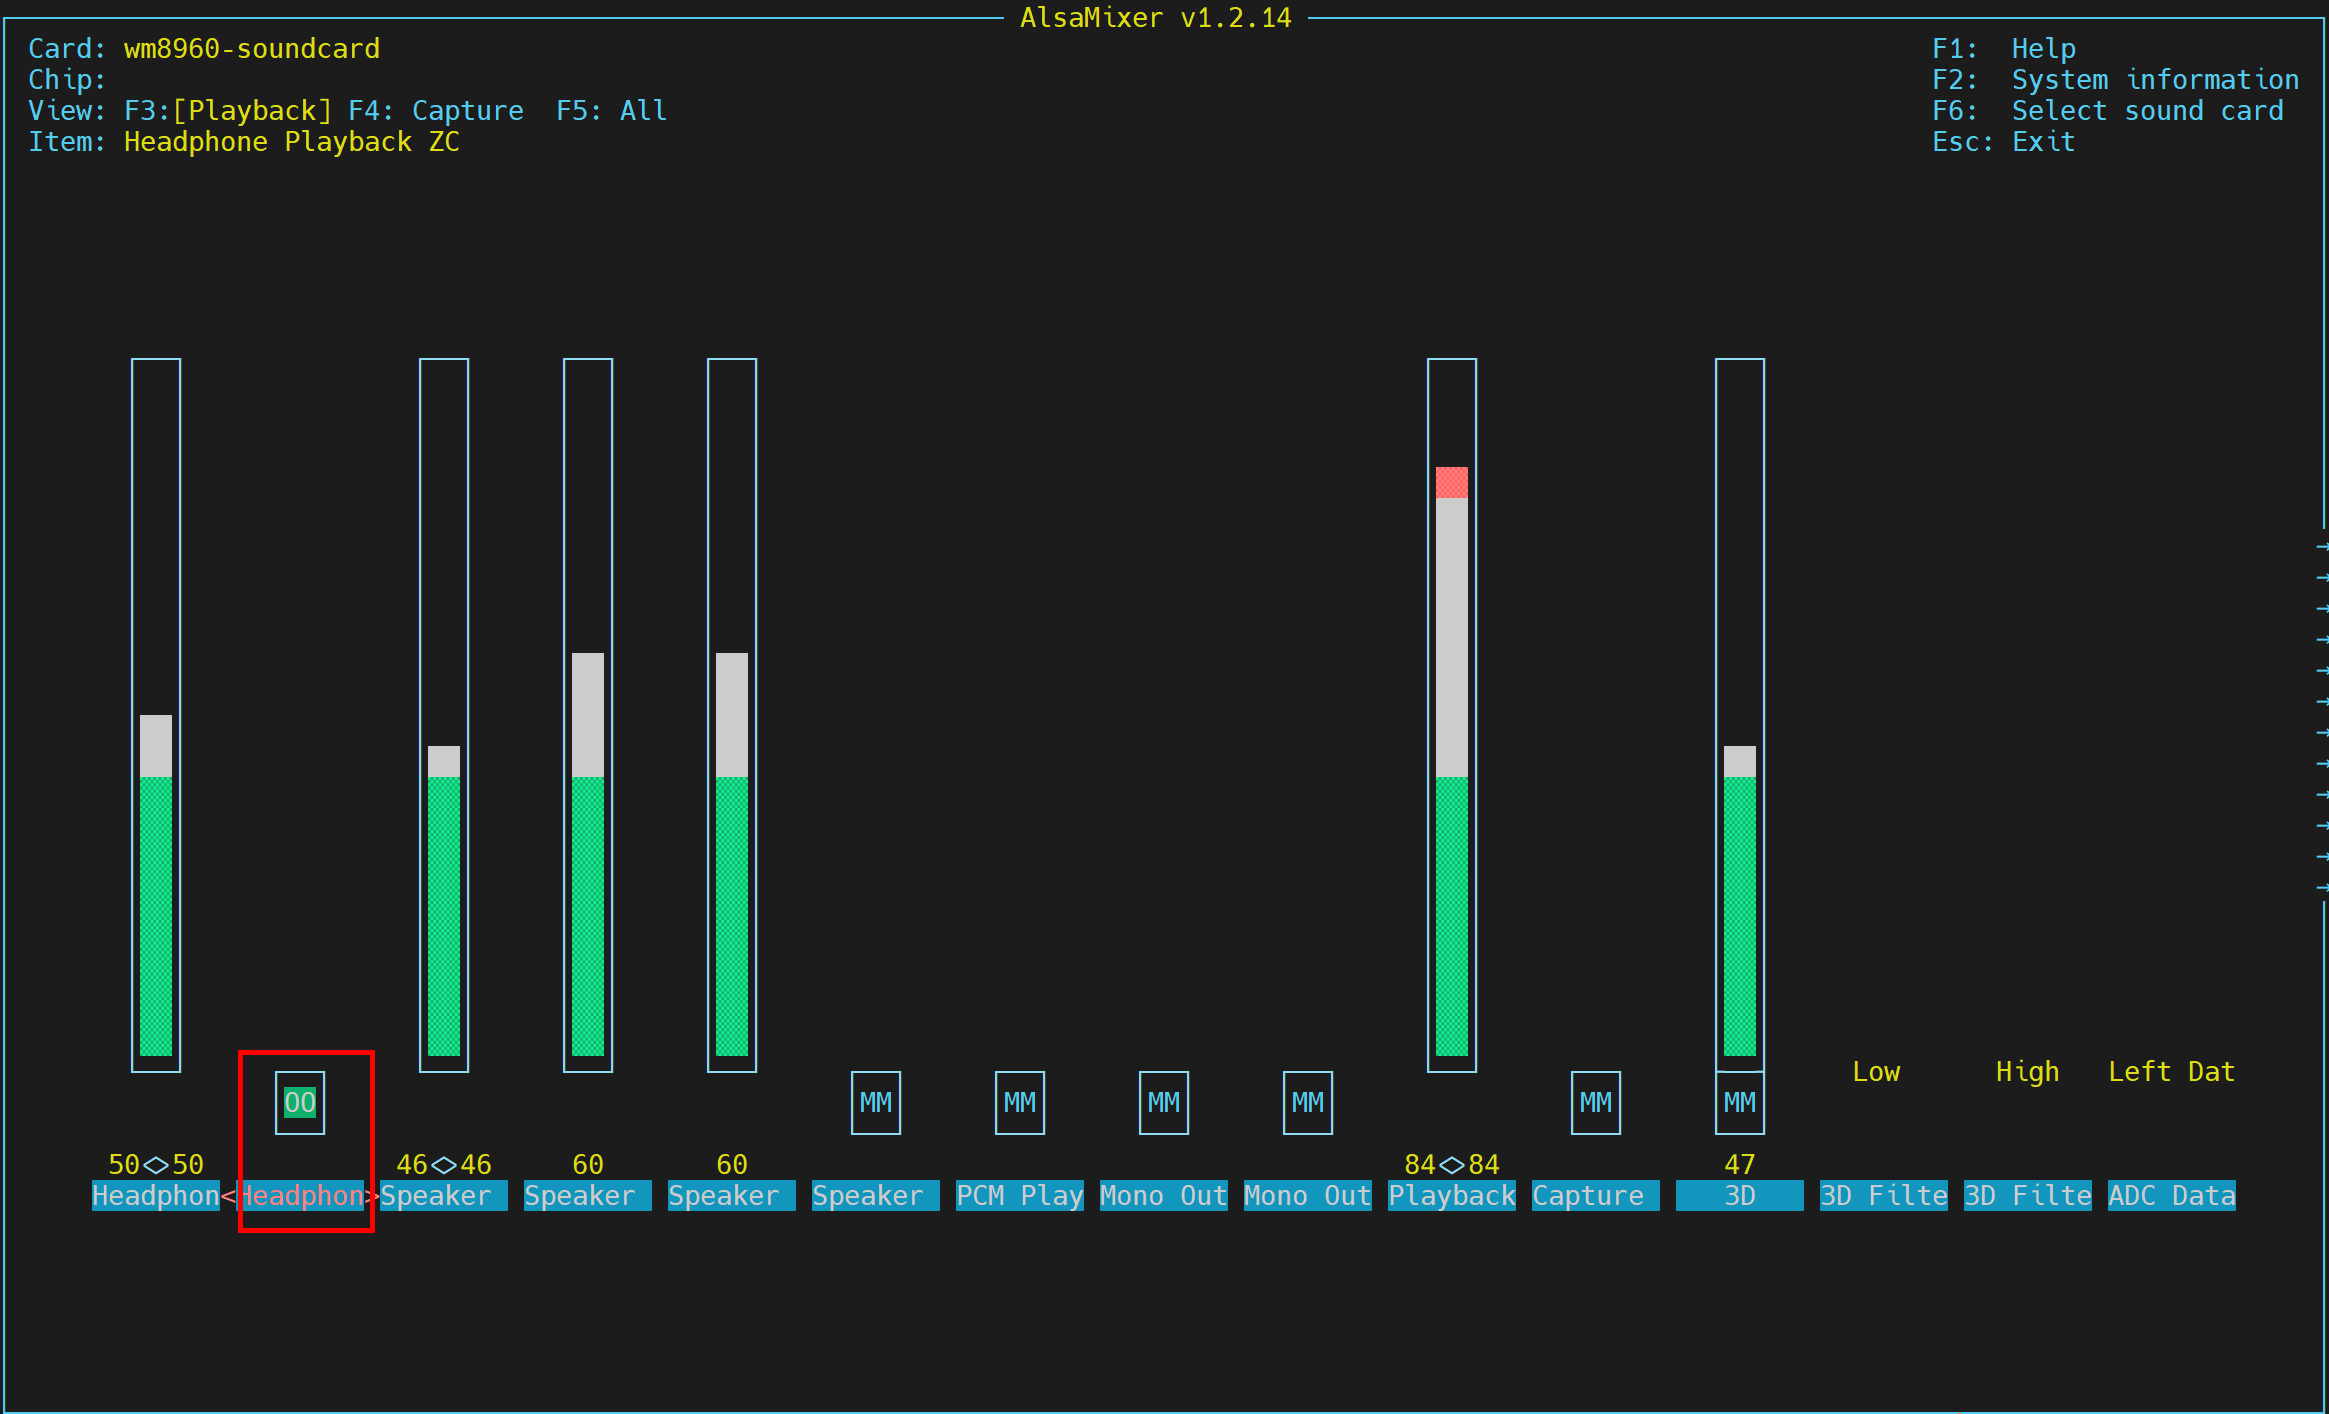
  1. Execute the following command in the command window to open the volume control interface.
alsamixer
volume-1
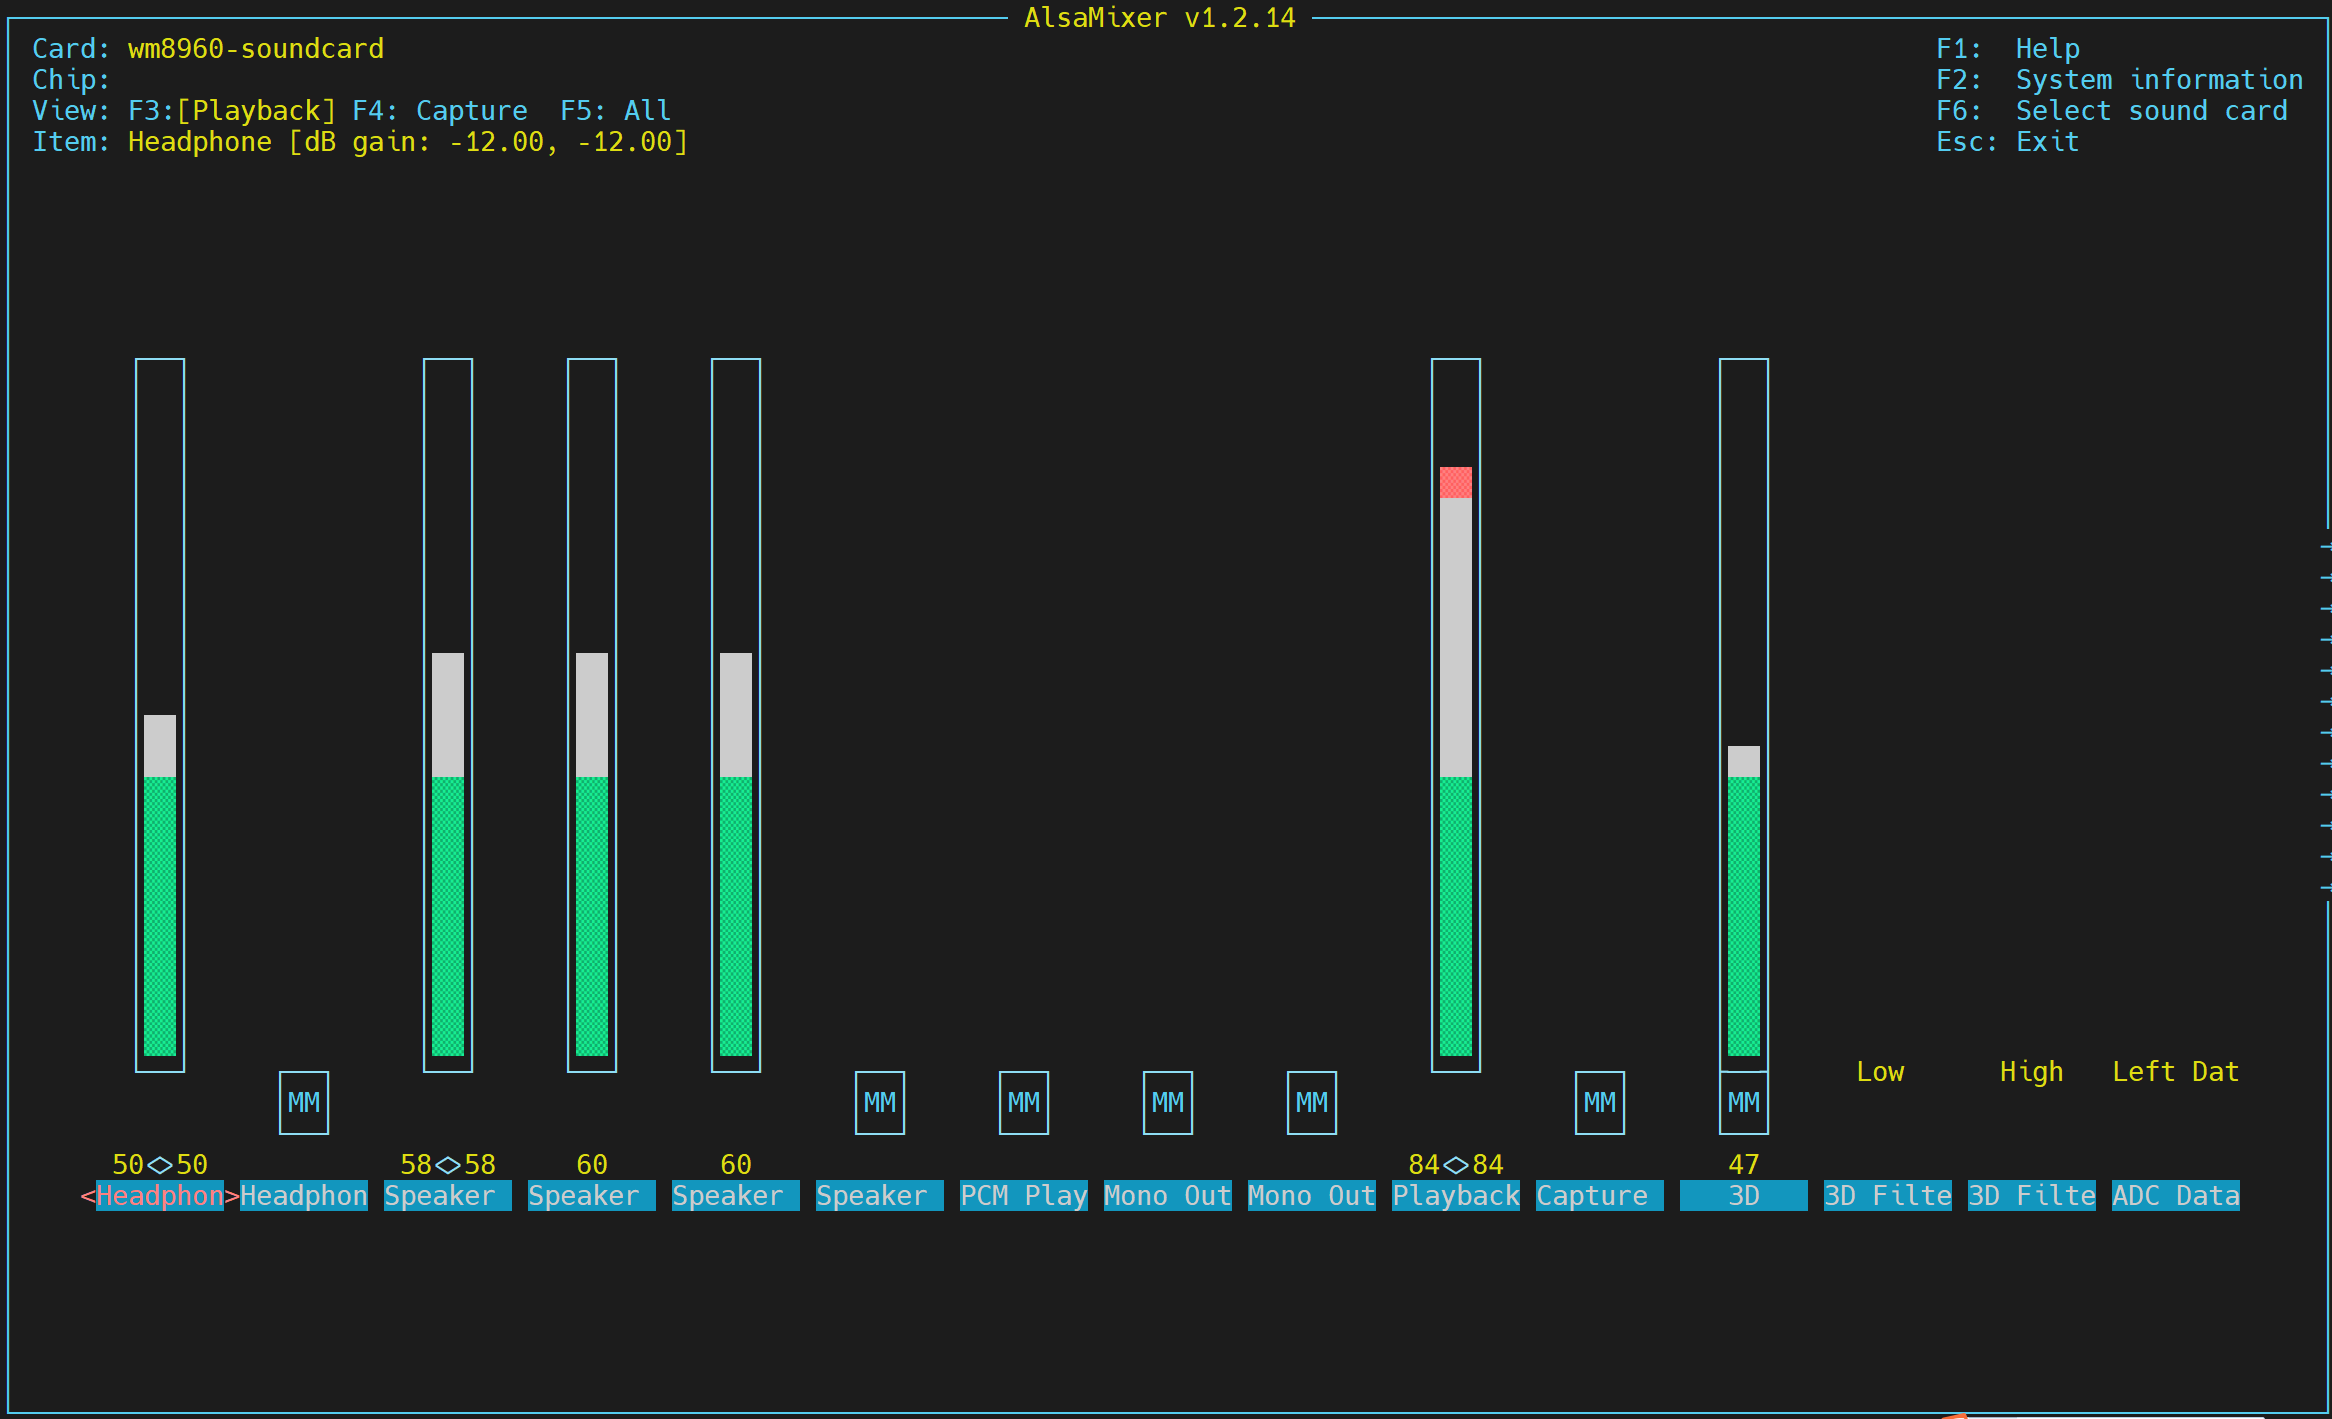
  1. In the opened interface, view the current volume levels for the headphone and Speaker. Use the Left (←) and Right (→) arrow keys on the keyboard to select the option to adjust, and then use the Up (↑) and Down (↓) arrow keys to adjust the volume level. Press the M key to mute or unmute the audio.
KeyFunction
Volume Up
Volume Down
MMute or Unmute

4.7.2 Configuring Recording

Supports recording input audio.

Preparation:

  • Headphone (with MIC input capability) is connected to the audio port.
  • Ensure the headphone volume is not muted.

Steps:

  1. In the command window, execute the following command to open the volume control interface, and ensure the headphone volume is not muted.
alsamixer
volume-1
  1. Press ESC to return to the command window. Execute the following command to query the device's sound card number.
aplay -l
arecord-1
  1. After obtaining the sound card number, execute the following command to start recording an audio file named "test" in MP3 format with a duration of 10 seconds.
arecord -f S16_LE -d 10 -D plughw:2 -q test.mp3 
  • 10 represents the recording duration, in seconds (s), customizable.
  • 2 represents the sound card number, obtained from the query.
  • test represents the recorded audio file name, customizable.
  • mp3 represents the audio format. WAV format is also supported, customizable.
  1. Press Ctrl+C to stop recording.

TIP

The recorded audio file is saved in the /home/pi/ directory by default.

  1. Execute the following command to play the recorded audio.
aplay test.mp3 

4.8 Connecting to the MiniMax Model Based on OpenClaw

The ED-CLAWBOX has OpenClaw deployed by default. Users can connect to various large language models (LLMs) as needed. The following is a step-by-step guide using the MiniMax model as an example.

TIP

OpenClaw supports connecting to various LLMs. Only the MiniMax model is introduced here as an example.

Preparation:

  • The ED-CLAWBOX has started normally.

  • A Windows PC is available. Both the Windows PC and the ED-CLAWBOX are connected to the same router, placing their IP addresses on the same subnet.

  • The API Key for the MiniMax model is obtained.

    1. On the Windows PC's browser, enter the URL: https://platform.minimax.io to access the MiniMax official website.

    2. Apply for an API key as needed.

Steps:

  1. Open the command terminal on the ED-CLAWBOX device and execute the following command to query the device's IP address (e.g., 192.168.X.X).
ifconfig
ifconfig
  1. In the Windows PC's browser, enter the URL: http://192.168.X.X:8090, then press Enter to access the JishuShell login interface.

TIP

http://192.168.X.X is the ED-CLAWBOX device IP address obtained in Step 1.

1
  1. Set a password as prompted, then click "Complete Setup".
2
  1. In the "Select a provider" field, select "MiniMax(China)".
4
  1. In the "API Key" field, enter the obtained MiniMax model API Key, then click "Save & Continue".
5
  1. After configuration is complete, click "Enter Panel" to access the JishuShell configuration interface.
7
  1. Click "New Instance", enter an Instance Name, and finally click "Create Instance".
7
  1. After the instance is successfully created, it will start automatically. The following figure shows the chat interface after the instance starts.
7
  1. Chat in the dialog box as needed.

  2. If you need to add a new model, switch models, or connect to other chat software during use, refer to the following instructions.

  • Adding a Model and Switching Models (using the DeepSeek model as an example).

    1. Log in to the DeepSeek official website (https://platform.deepseek.com/usageopen in new window) and obtain an API key.

    2. Click "Settings" in the left menu bar, then click "Add" in the "Model Providers" section.

    7
    1. In the expanded "Add Provider" section, first set the Model Provider to DeepSeek, then enter the obtained API Key, and finally click "Save".
    7
    1. After successful addition, the interface will display as shown below.
    7
    1. Return to the instance chat window. Switch the model in the model selection menu at the top.
    7
  • Connecting to Other Chat Software.

    1. In the upper right menu bar of the instance chat window, click "Quick Skills", then select "Feishu/Lark" or "WeChat".
    7
    1. Follow the prompts to install the corresponding plugin, log in, and configure permissions as needed.