5 Installing OS (Optional)
The device comes with the operating system pre-installed at the factory. If the operating system becomes corrupted during use, or if the user needs to replace it, the system image must be downloaded again and flashed. The following section describes the specific steps to download the image and flash the SD card.
5.1 Downloading OS File
Our company provides a pre-installed OpenClaw system image. The download link is provided in the table below.
| Product Model | Download Link |
|---|---|
| ED-CLAWBOX-504S ED-CLAWBOX-504P | raspios-trixie-arm64-clawbox-DEV-v20260611.2.img |
5.2 Flashing to SD Card
It is recommended to use the Raspberry Pi official tools. The download paths are as follows:
- Raspberry Pi Imager : https://downloads.raspberrypi.org/imager/imager_latest.exe
- SD Card Formatter : https://www.sdcardformatter.com/download/
Preparation:
- The flashing tools have been downloaded and installed on a Windows PC.
- The image file to be written is ready.
- An SD card reader is prepared.
- The device is powered off.
Steps:
The procedure is described using a Windows system as an example.
- Locate the Micro SD card, as indicated in the following figure.

Press the Micro SD card into the slot to release it, and then pull it out.
Insert the removed SD card into the card reader, and then plug the card reader into a USB port on the Windows PC.
Open
SD Card Formatter, select the drive letter to be formatted, and click "Format" at the bottom right to begin formatting.
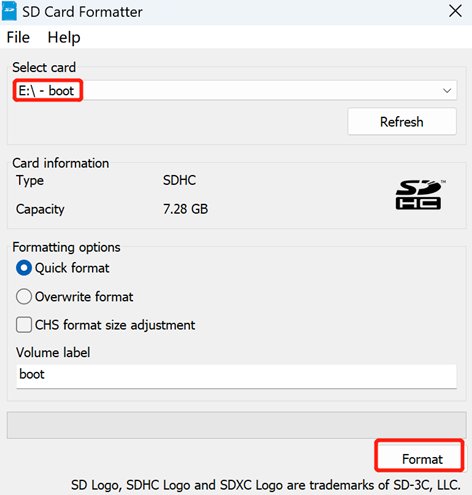
In the pop-up dialog box, click "Yes".
When the formatting is completed, click "OK" in the prompt box.
Close
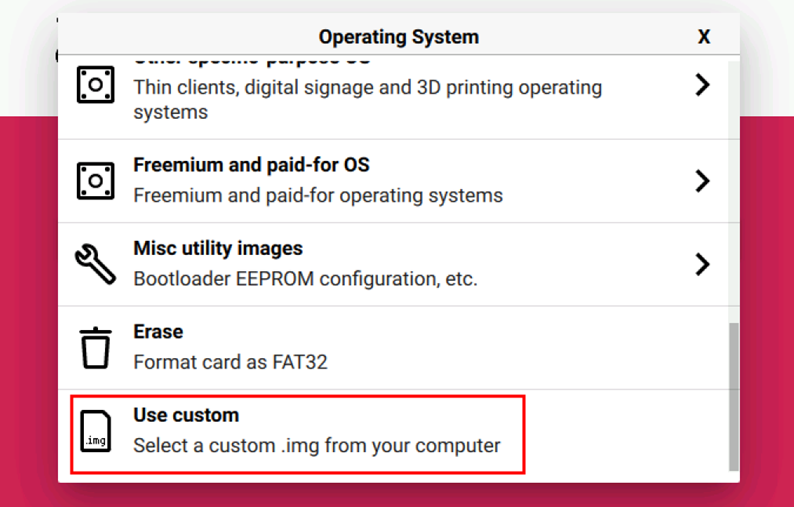
SD Card Formatter.Open
Raspberry Pi Imager, select "CHOOSE OS" and select "Use Custom" in the pop-up pane.
According to the prompt, select the OS file under the user-defined path and return to the main page.
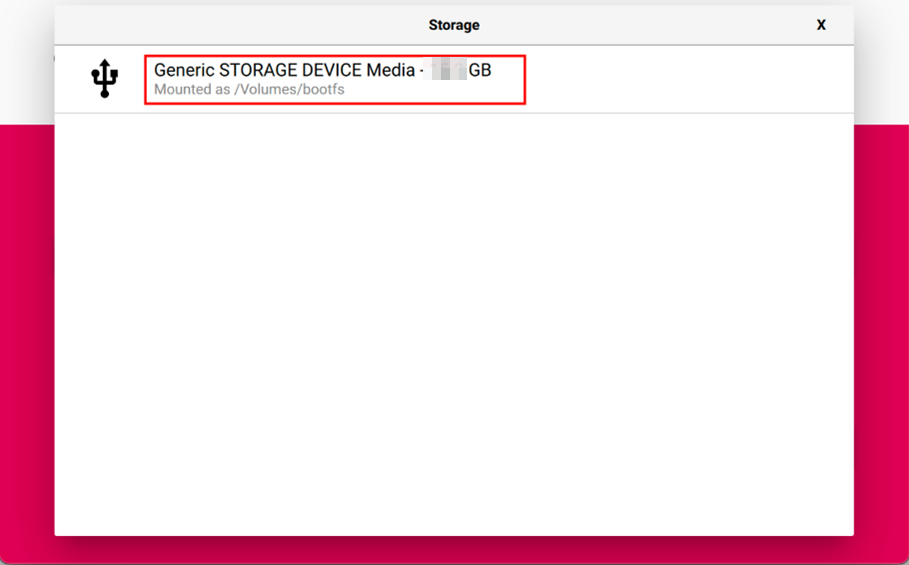
Click "CHOOSE STORAGE", select the default device in the "Storage" interface, and return to the main page.
- Click “NEXT”, select "NO " in the pop-up “Use OS customization?” pane.
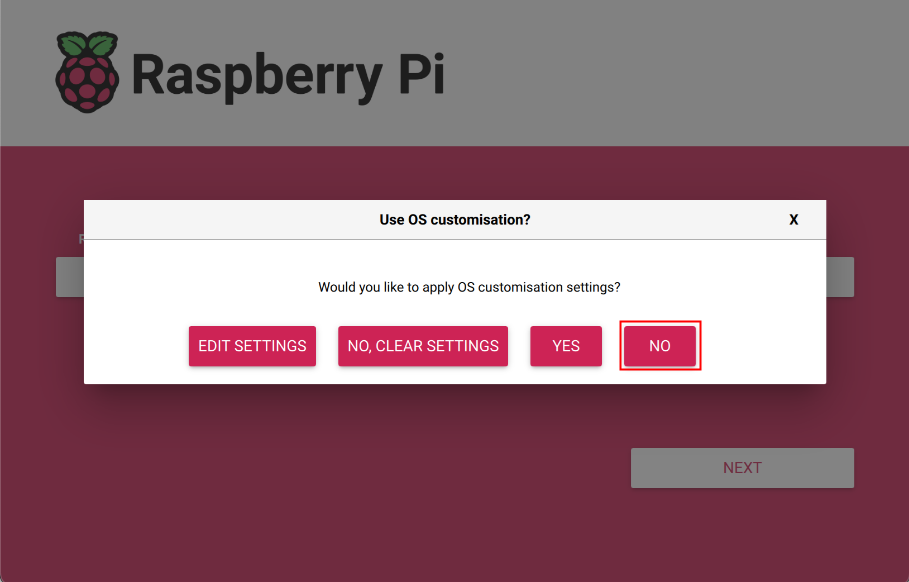
- Select “YES” in the pop-up “Warning” pane to start writing the image.
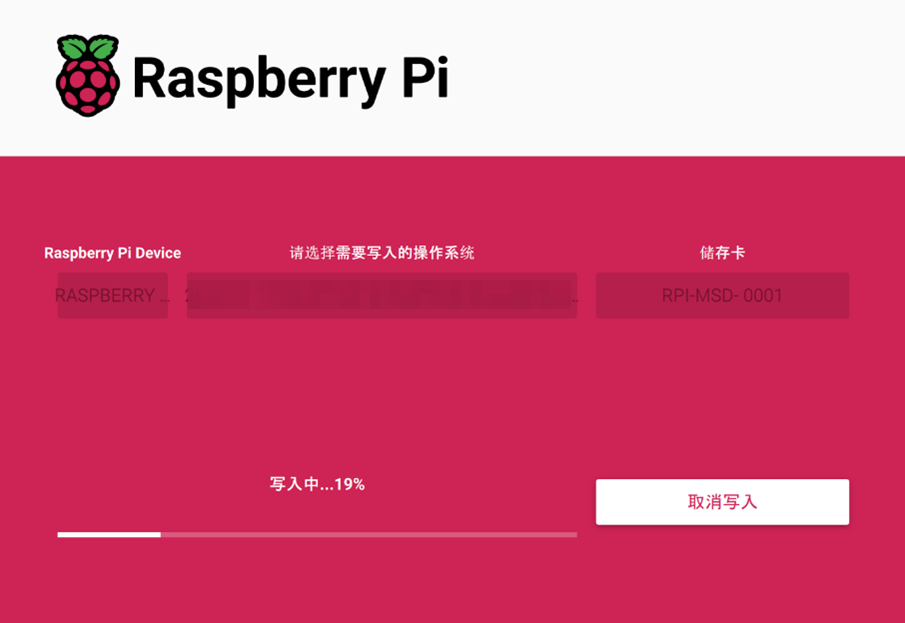
- After the OS writing is completed, the file will be verified.
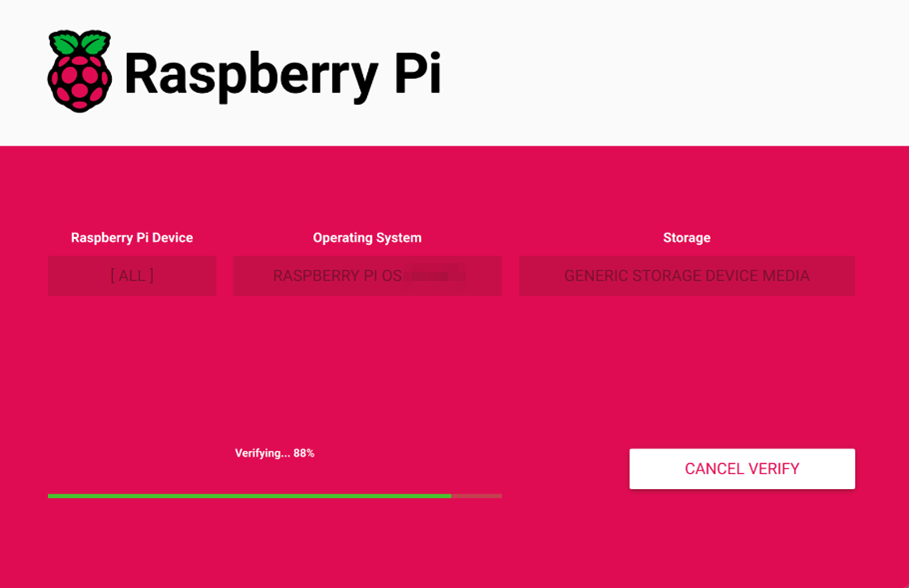
After the verification is completed, click “CONTINUE” in the pop-up “Write Successful” box.
Close
Raspberry Pi Imager, remove the card reader and SD card, and reinsert the SD card into the device.