ED-HMI3010/ED-HMI3020 Device LED Warning Flash Troubleshooting
1 Issue Description
Some users encounter system startup failure when using ED-HMI3010 or ED-HMI3020 devices but cannot identify the specific cause.
2 Troubleshooting Steps
- Observe the ACT Indicator Light: Check the flashing pattern of the ACT (Activity) LED on the device.
- Decode Error Codes: Use the flashing pattern to determine the error code type.
- Resolve Based on Error Type: Provide targeted solutions according to the identified error type.
2.1 LED Warning Flash codes
| Long flashes | Short flashes | Status |
|---|---|---|
| 0 | 3 | Generic failure to boot |
| 0 | 4 | "start*.elf" not found |
| 0 | 7 | Kernel image not found |
| 0 | 8 | SDRAM failure |
| 0 | 9 | Insufficient SDRAM |
| 0 | 10 | In HALT state |
| 2 | 1 | Partition not FAT |
| 2 | 2 | Failed to read from partition |
| 2 | 3 | Extended partition not FAT |
| 2 | 4 | File signature/hash mismatch |
| 3 | 1 | SPI EEPROM error |
| 3 | 2 | SPI EEPROM is write protected |
| 3 | 3 | I2C error |
| 3 | 4 | Secure-boot configuration is not valid |
| 4 | 3 | RP1 not found |
| 4 | 4 | Unsupported board type |
| 4 | 5 | Fatal firmware error |
| 4 | 6 | Power failure type A |
| 4 | 7 | Power failure type B |
2.2 Troubleshooting for SPI EEPROM Error
When the fault type is "SPI EEPROM Error", it is recommended to reflash the BootLoader EEPROM using the Raspberry Pi Imager tool.
It is recommended to use the Raspberry Pi official tools. The download paths are as follows:
- Raspberry Pi Imager : https://downloads.raspberrypi.org/imager/imager_latest.exe
- SD Card Formatter : https://www.sdcardformatter.com/download/
Preparation:
- The downloading and installation of the official tools to the computer have been completed.
- An SD card reader has been prepared.
- The device power has been disconnected.
Steps:
The steps are described using Windows system as an example.
Remove the Micro SD card from the device.
Insert the Micro SD card into a card reader, then connect the card reader to the computer’s USB port.
Open SD Card Formatter, select the formatted drive letter, and click "Format" at the lower right to format.
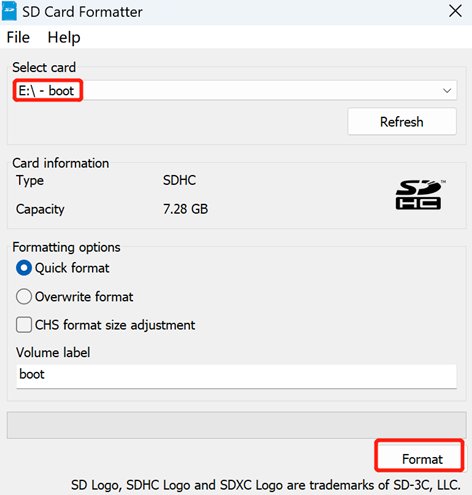
- In the pop-up prompt box, select "Yes".

When the formatting is completed, click "OK" in the prompt box.
Close SD Card Formatter.
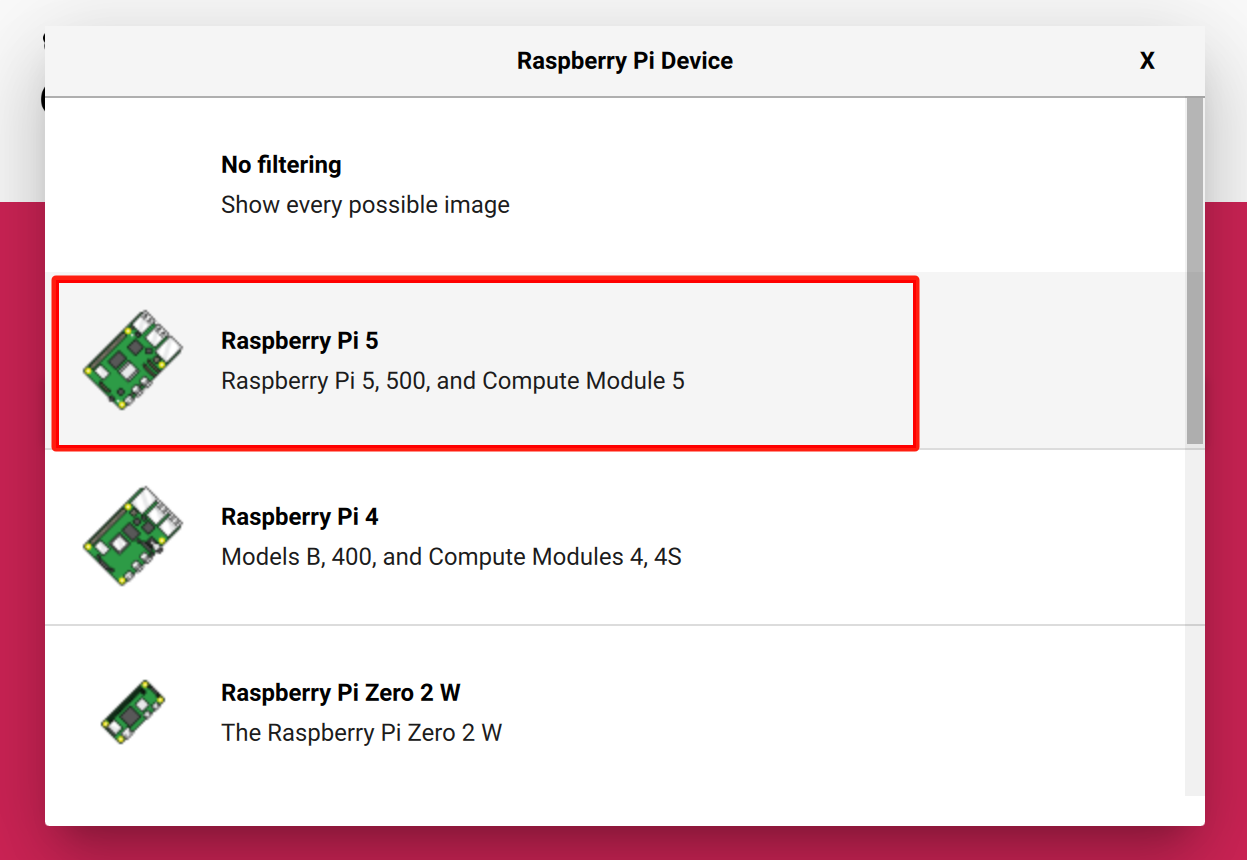
Open Raspberry Pi Imager, click "Rarpberry Pi Device"and select "Raspberry Pi 5".
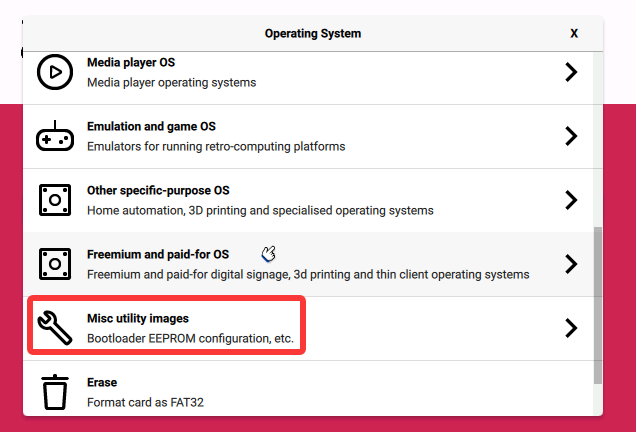
- Click "CHOOSE OS" and select "Misc utility images" in the pop-up pane.
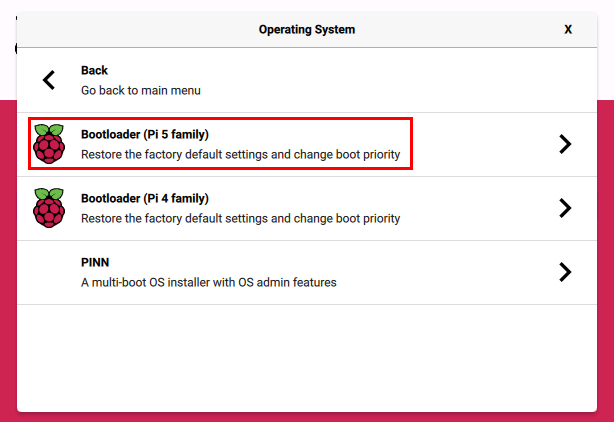
- Based on the product model (ED-HMI3010/ED-HMI3020), select "Bootloader (Pi 5 family)" in the pop-up pane.
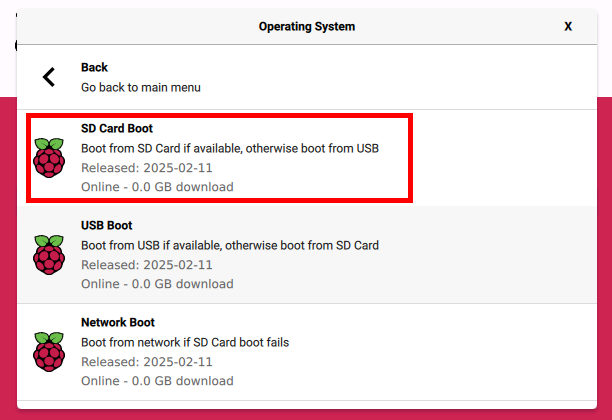
- Select "SD Card Boot" in the pop-up pane.
Click "CHOOSE STORAGE", select the default device in the "Storage" interface, and return to the main page.
Click “NEXT”, Select “YES” in the pop-up “Warning” pane to start writing the image.
After the OS writing is completed, the file will be verified.
After the verification is completed, click “CONTINUE” in the pop-up “Write Successful” box.
Close Raspberry Pi Imager, Remove the card reader and the Micro SD card.
Reinsert the Micro SD card into the device and power on the device.