3 Installing Device
This chapter introduces how to install the device.
3.1 Embedded Installation
ED-HMI3120-101C supports embedded front installation, which is equipped with a Mounting Kit (including 4 x buckles, 4xM4*10 screws and 4xM4*16 screws).
Preparation:
- A Mounting Kit (including 4 x buckles, 4xM4*10 screws and 4xM4*16 screws) have been obtained from the packaging box.
- A cross screwdriver has been prepared.
Steps:
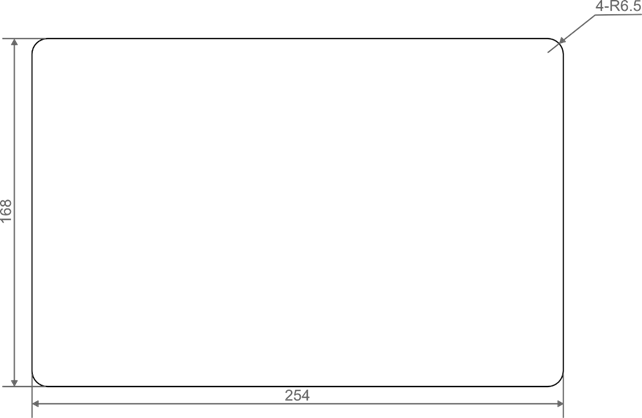
You need ensure the opening size of the cabinet according to the size of ED-HMI3120-101C, as shown in the figure below.
Unit: mm
Drill a hole on the cabinet according to the hole size of step1.
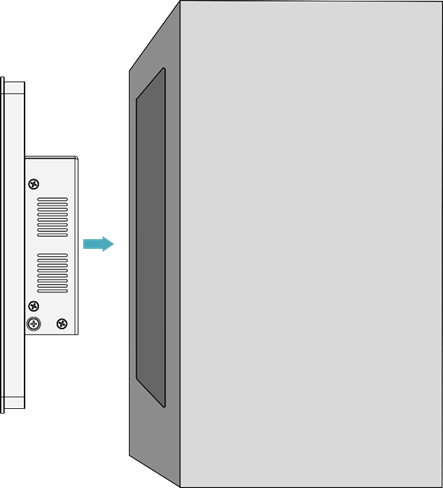
Insert the ED-HMI3120-101C into the cabinet from the outside.
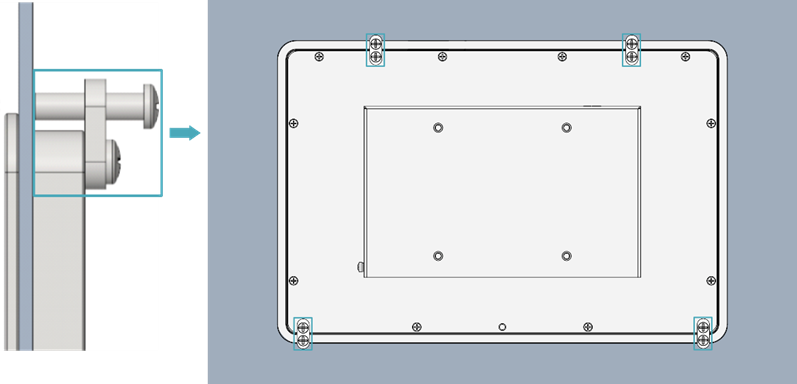
- Align the screw hole (unthreaded hole) of the buckle with the buckle mounting hole on the side of the device.
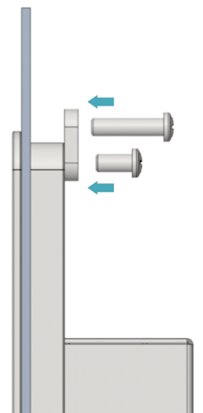
- Use 4 M4*10 screws to pass through the buckle and tighten it clockwise to fix the buckle to the device; then use 4 M4*16 screws to pass through the screw hole (threaded hole) of the buckle and tighten clockwise to the end through the buckles.