Configuring Wi-Fi
User can choose the device with Wi-Fi version, which needs to be configured before using Wi-Fi function.
The Wi-Fi feature is enabled by default, with the WLAN country code preset to "CN China". Before connecting to a Wi-Fi network, you need to modify the WLAN country code to match your location's regulatory requirements.
Set WLAN Country Code
The default WLAN country code is set to "CN China". Please configure an appropriate WLAN country code before connecting to Wi-Fi.
Raspberry Pi OS (Desktop)
In the Desktop version of the operating system, you can use the desktop menu to set WLAN country code.
Steps:
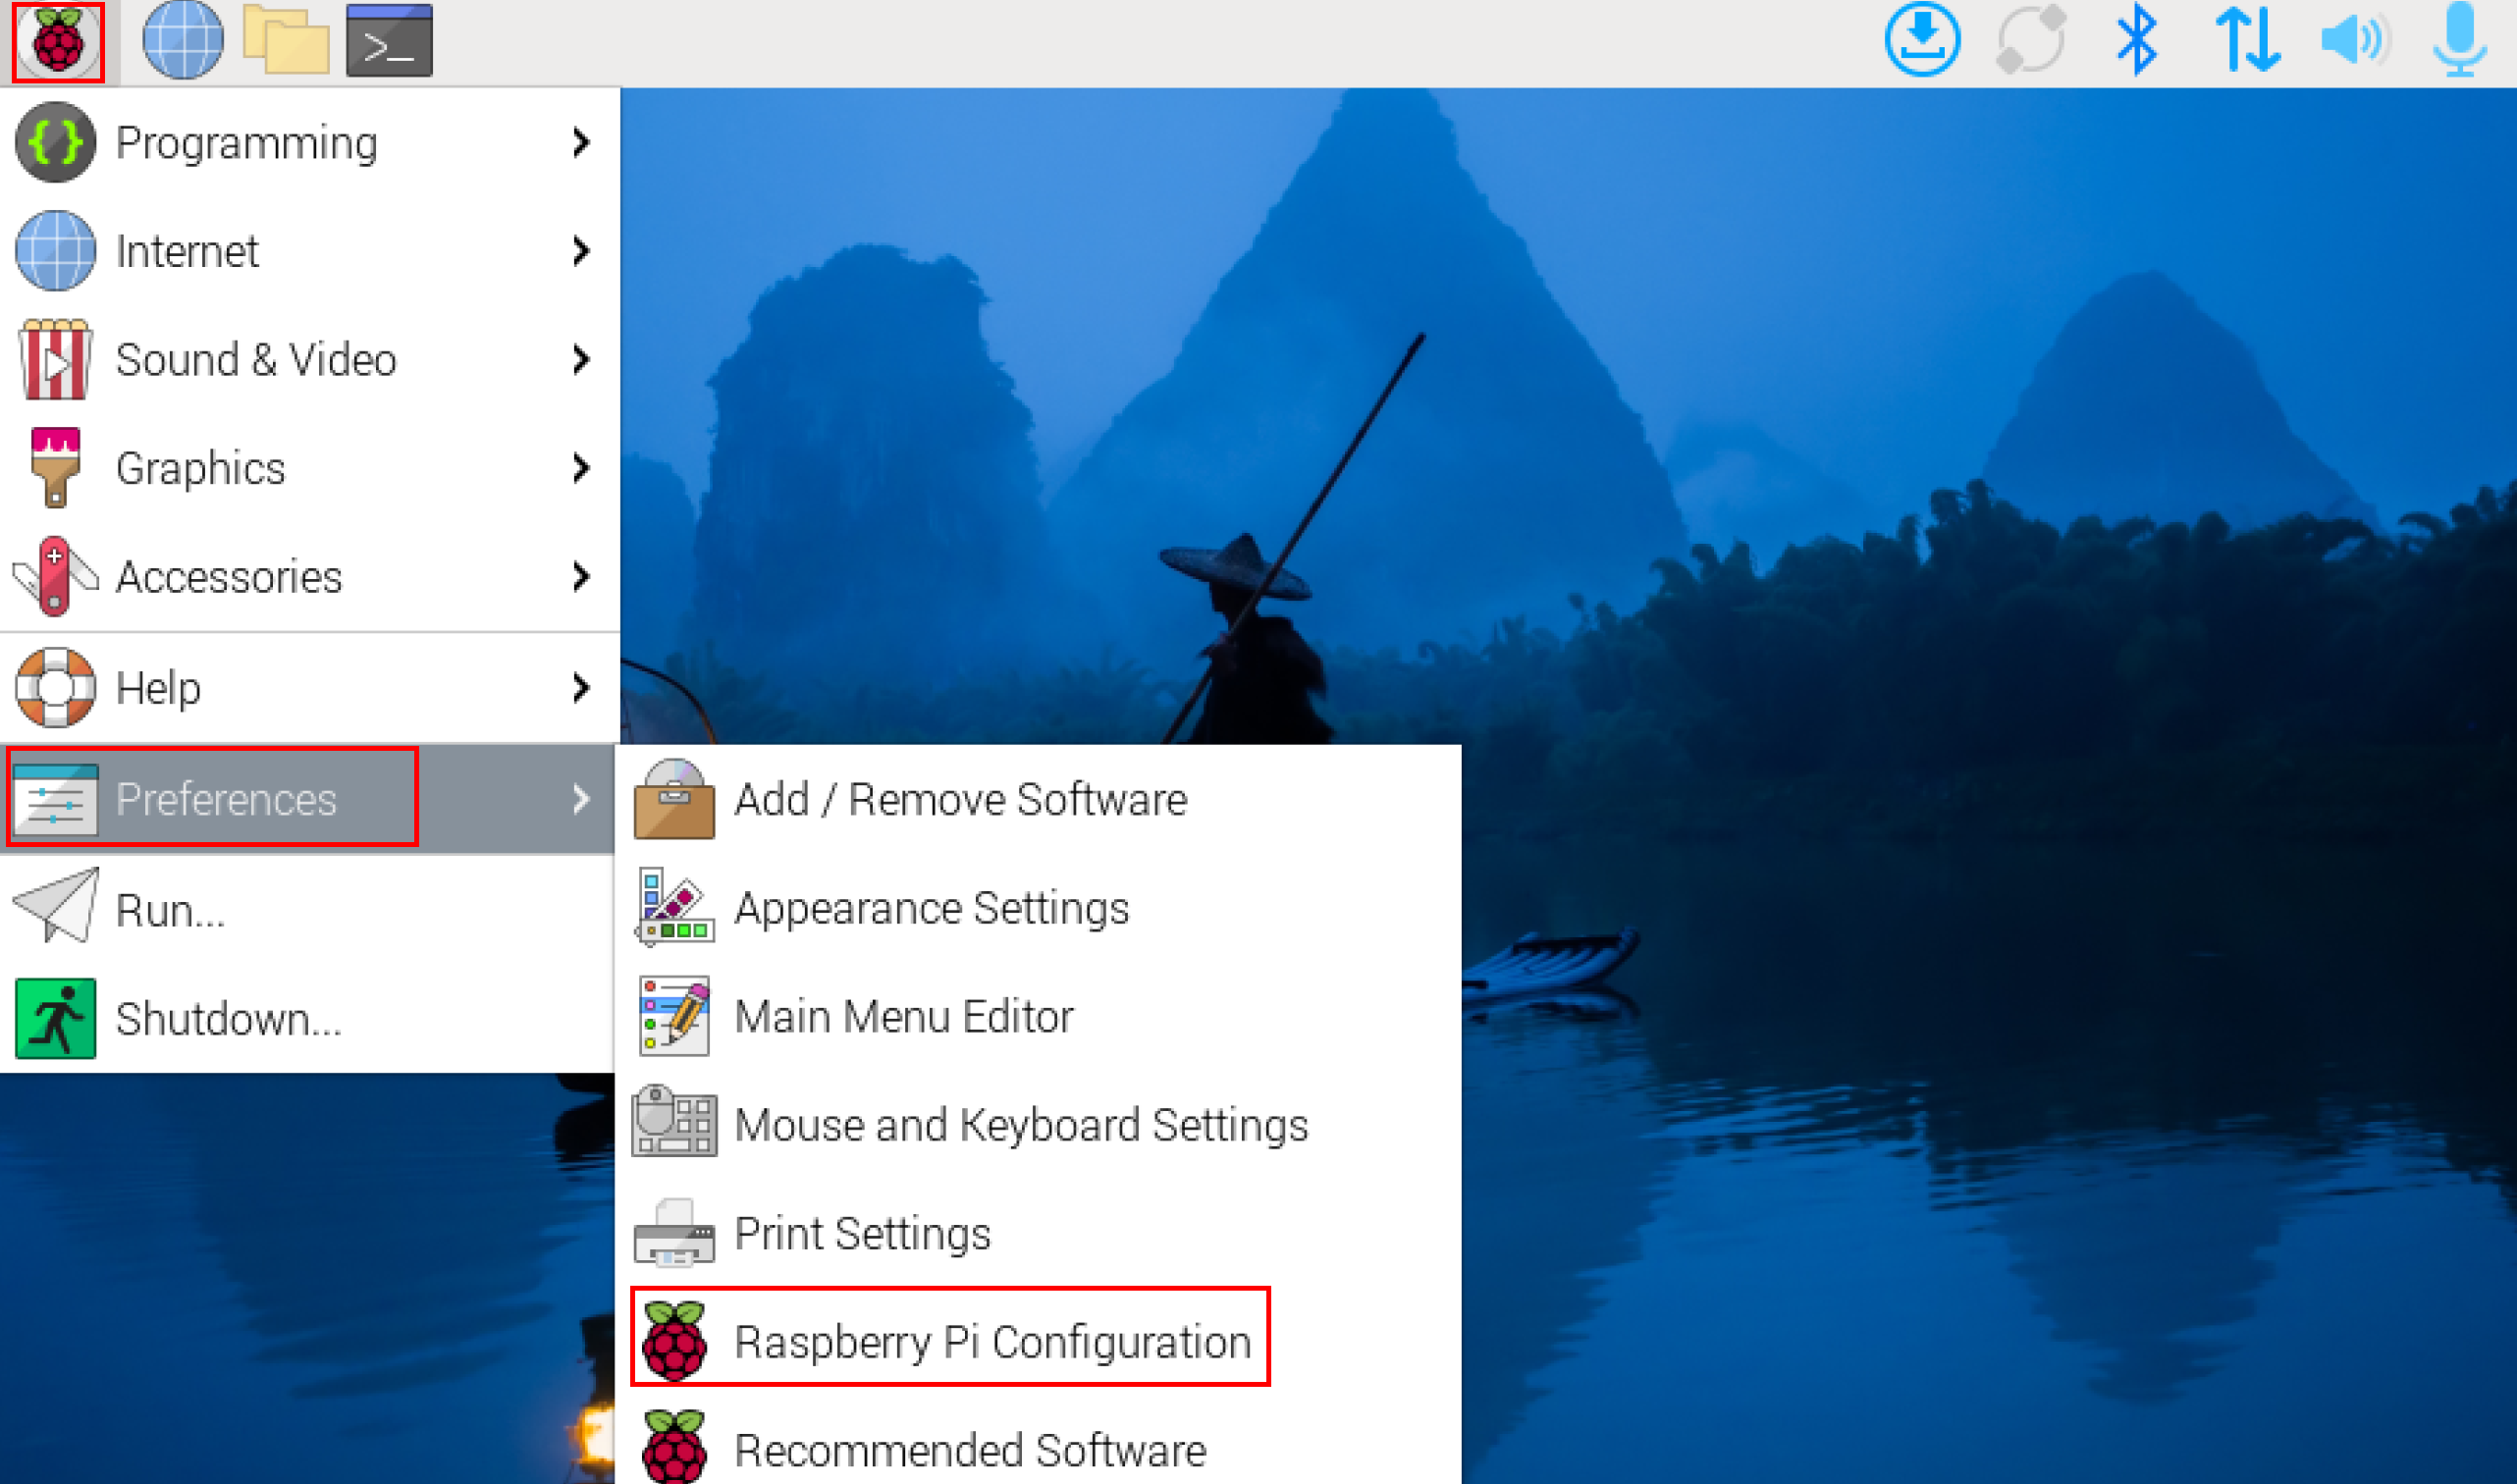
- Left-click the icon
 in the top-left corner of the desktop and select "Preferences"→"Raspberry Pi Configuration" in the menu.
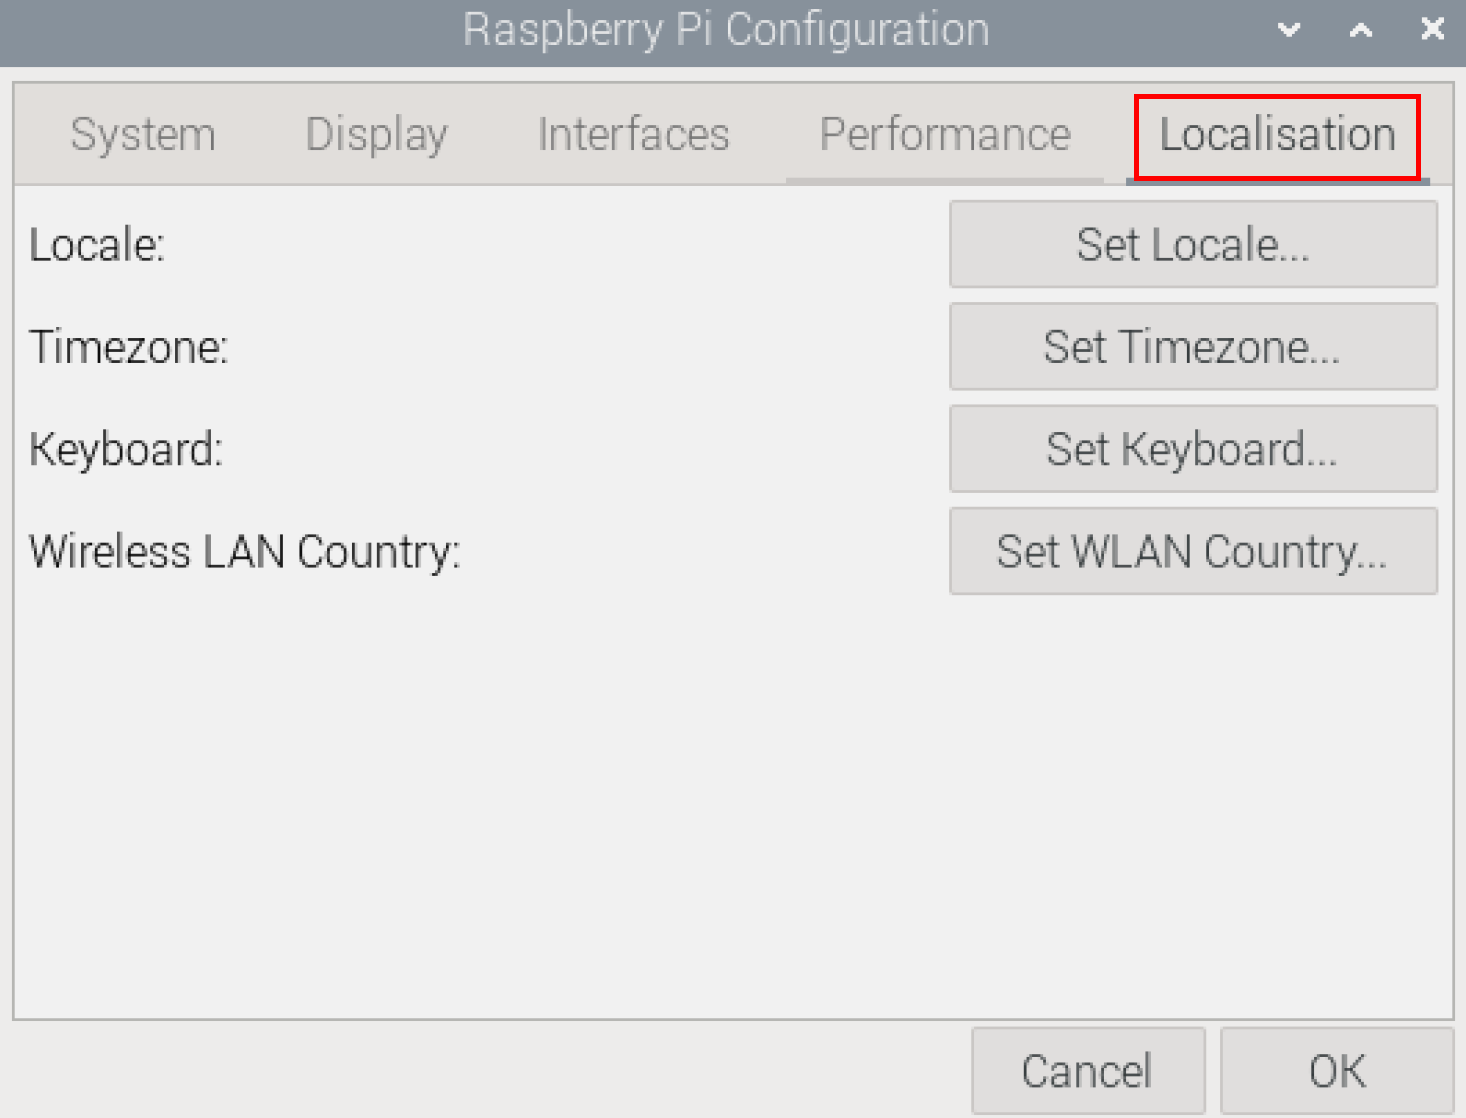
- In the
Raspberry Pi Configuration interface, select "Localisation".
- Click "Set WLAN Country...", Set the value of Country in the pop-up "Wireless LAN Country" pane, and select it to match your location's regulatory requirements.
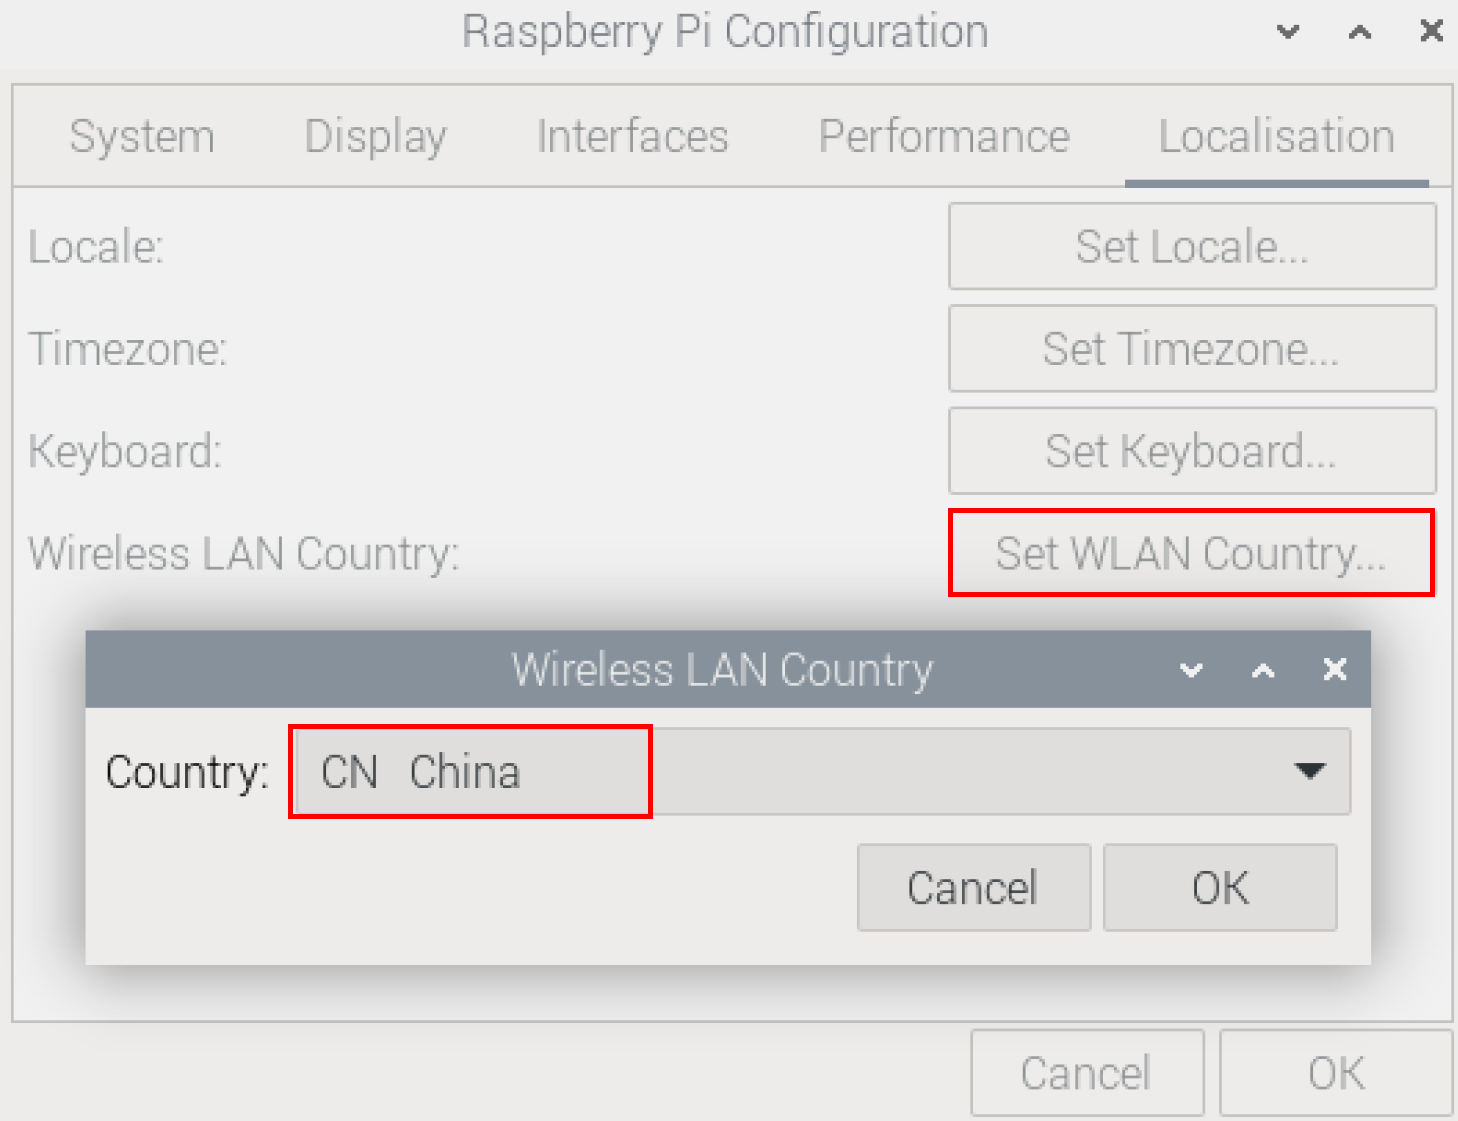
- Select "OK" to complete the setting.
Raspberry Pi OS (Lite)
In the Lite version of the operating system, you can use the command line to set WLAN country code.
Setps:
- Open the command terminal pane and execute the following command to open the
Raspberry Pi Software Configuration Tool (raspi-config)interface.
sudo raspi-config
- Choose "5 Localisation Options" and press "Enter".

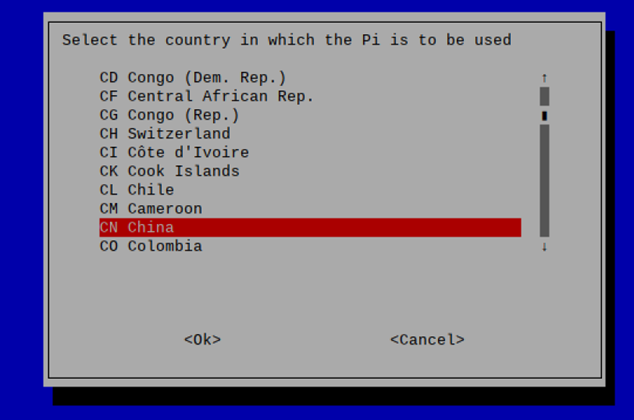
- Select "L4 WLAN Country" and press "Enter".
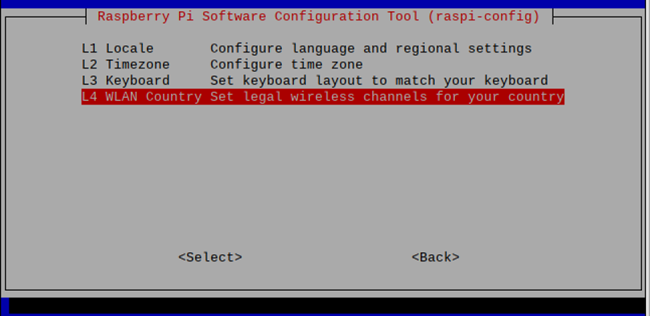
- Select a country code to match your location's regulatory requirements and press "Enter".
- Press "Enter" in
Wireless LAN country set to CNinterface.
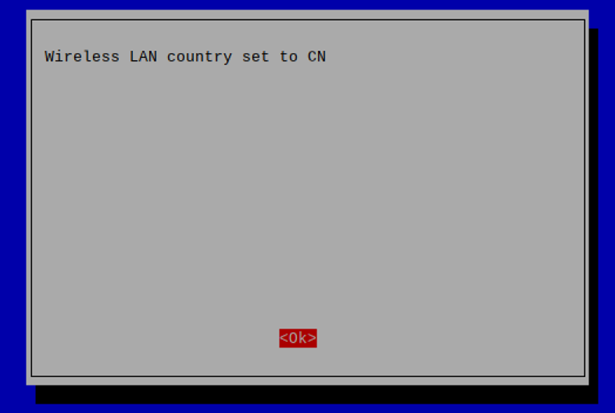
- In the main interface of the pane, select "Finish" and press Enter to complete the setting and return to the command line.
Use The NetworkManager Tool To Configure Wi-Fi Connections
The operating systems of Desktop and Lite have enabled NetworkManager by default, which can be directly configured by using NetworkManager.
Raspberry Pi OS (Desktop)
In the Desktop version of the operating system, you can connect to Wi-Fi through the desktop icon.
Preparation:
Wi-Fi function is enabled.
Steps:
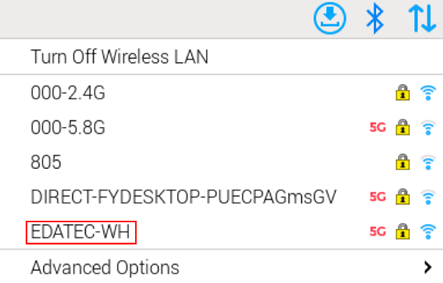
- Left-click the
 icon in the upper right corner of the desktop, select the Wi-Fi name and click it in the pop-up Wi-Fi list.
- Input the Wi-Fi Password in the pop-up
Wi-Fi Network Authentication Requiredpane.
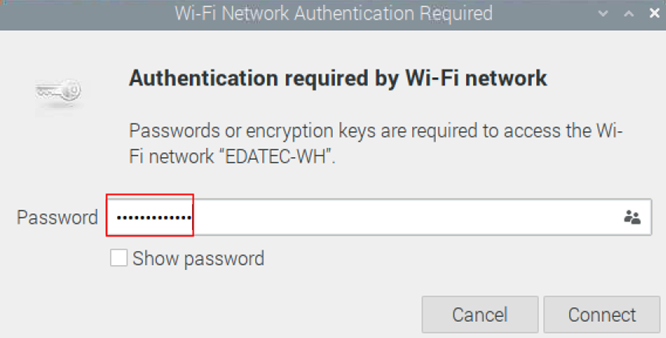
- Click "Connect" to connect to the network. After the connection is completed, you can click icon to view Wi-Fi information.
Raspberry Pi OS (Lite)
In the Lite version of the operating system, it is supported to configure Wi-Fi through the command line.
Preparation:
- Wi-Fi function is enabled.
- The Wi-Fi name and password that can be connected are prepared, for example, the Wi-Fi name is SSID and the password is password.
Steps:
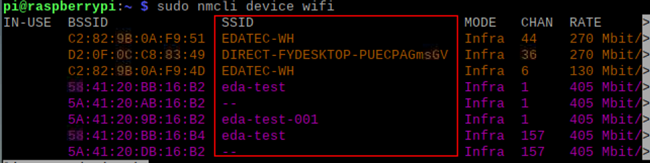
- Open the terminal and execute the following command to scan the list of connectable Wi-Fi name.
sudo nmcli device wifi
- Execute the following command to connect the Wi-Fi.
sudo nmcli device wifi connect SSID password password
Where SSID is the name of the Wi-Fi and the second password is the password of the Wi-Fi.
- Execute the following command to set up automatic Wi-Fi connection.
sudo nmcli connection modify SSID connection.autoconnect yes
- Where
SSIDis the name of the Wi-Fi.
Configure Wi-Fi Connection By Using raspi-config Tool
In both Desktop and Lite versions of the operating system, you can connect to Wi-Fi through the raspi-config tool.
Preparation:
- Wi-Fi function is enabled.
- The Wi-Fi name and password that can be connected are prepared, for example, the Wi-Fi name is
EDATEC-WHand the password ispassword.
Steps:
- Open the terminal and execute the following command to open the
Raspberry Pi Software Configuration Tool (raspi-config)interface.
sudo raspi-config
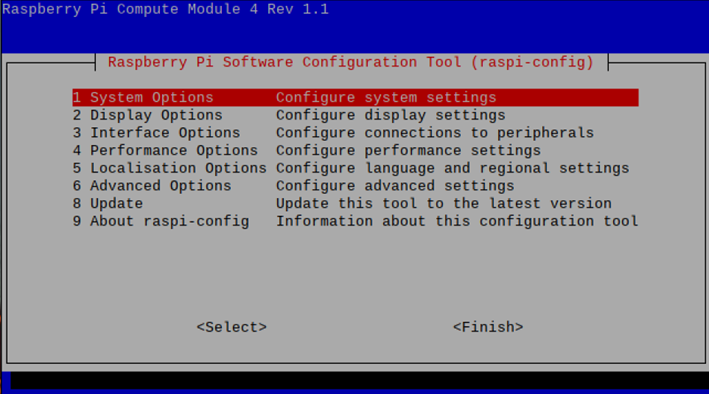
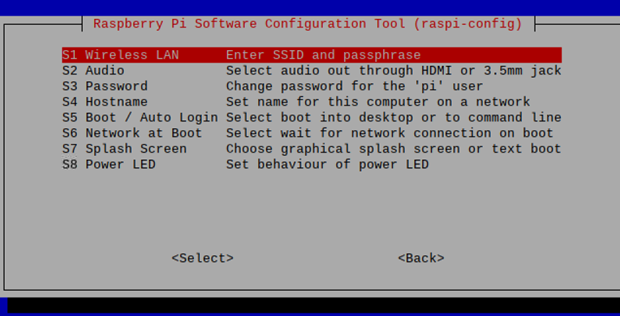
- Select "1 System Options" and press "Enter", and then select "S1 Wireless LAN" in the interface.
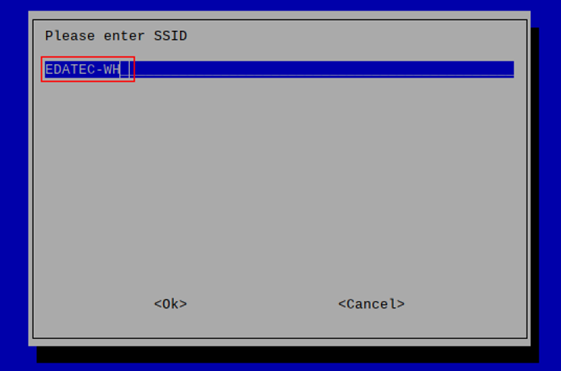
- Press "Enter", then input the Wi-Fi name in the
Please enter SSIDinterface.
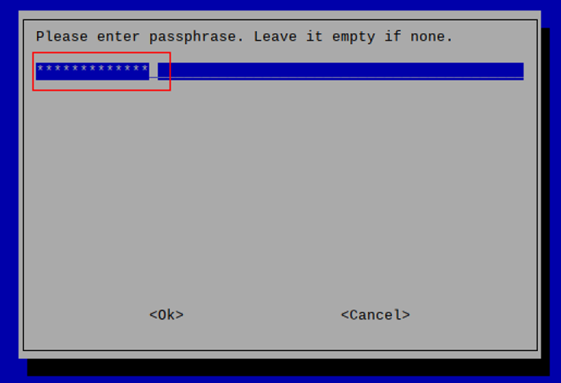
- Press "Enter", then input the Wi-Fi password in the
Please enter passphrase. Leave it empty if noneinterface.
- Press "Enter" to connect Wi-Fi. When the Wi-Fi is connected successfully, select "Finish" and press "Enter" to complete the setting and return to the command line window.