2 Quick Start
This chapter explains the boot process and initial setup for ED-CM4NANO.
2.1 Equipment List
- 1 × ED-CM4NANO
- 1 x Wi-Fi/BT antenna
- 1 x mouse
- 1 x keyboard
- 1 x HDMI display
- 1 × Ethernet cable
- 1 × DC 12V/2A power adapter
2.2 Hardware Connection
- Install the antenna to the antenna connector.
- Connect the Ethernet cable, keyboard, and mouse.
- Use an HDMI cable to connect the device’s HDMI output to your display.
- Plug in the ED-CM4NANO power adapter.
- Power on the display.
- Power the ED-CM4NANO adapter to initiate boot:
- Red LED illuminates indicating power supply.
- Green LED blinks during boot; Raspberry Pi logo appears on-screen.
- Upon successful boot:
- Desktop environment loads automatically
- If prompted for login:
Username: pi
Password: raspberry
2.3 First Boot
ED-CM4NANO boots automatically when powered (no physical power switch).
- Red LED illuminates indicating power supply.
- Green LED blinks during boot; Raspberry Pi logo appears on-screen.
2.3.1 Raspberry Pi OS (Desktop)
After boot, the desktop interface launches immediately.
For official Raspberry Pi OS images:
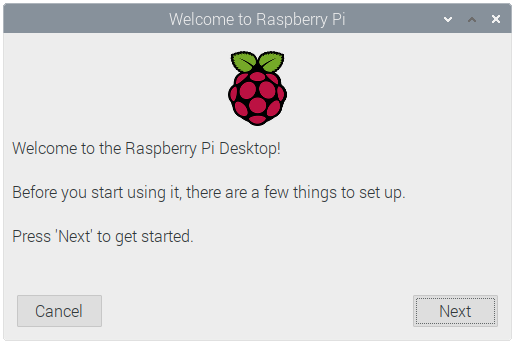
- Click "Next" to begin configuration.
- Set Country, Language, and Timezone, then Click "Next".
TIP
Regional settings are required – default keyboard layout is UK English.

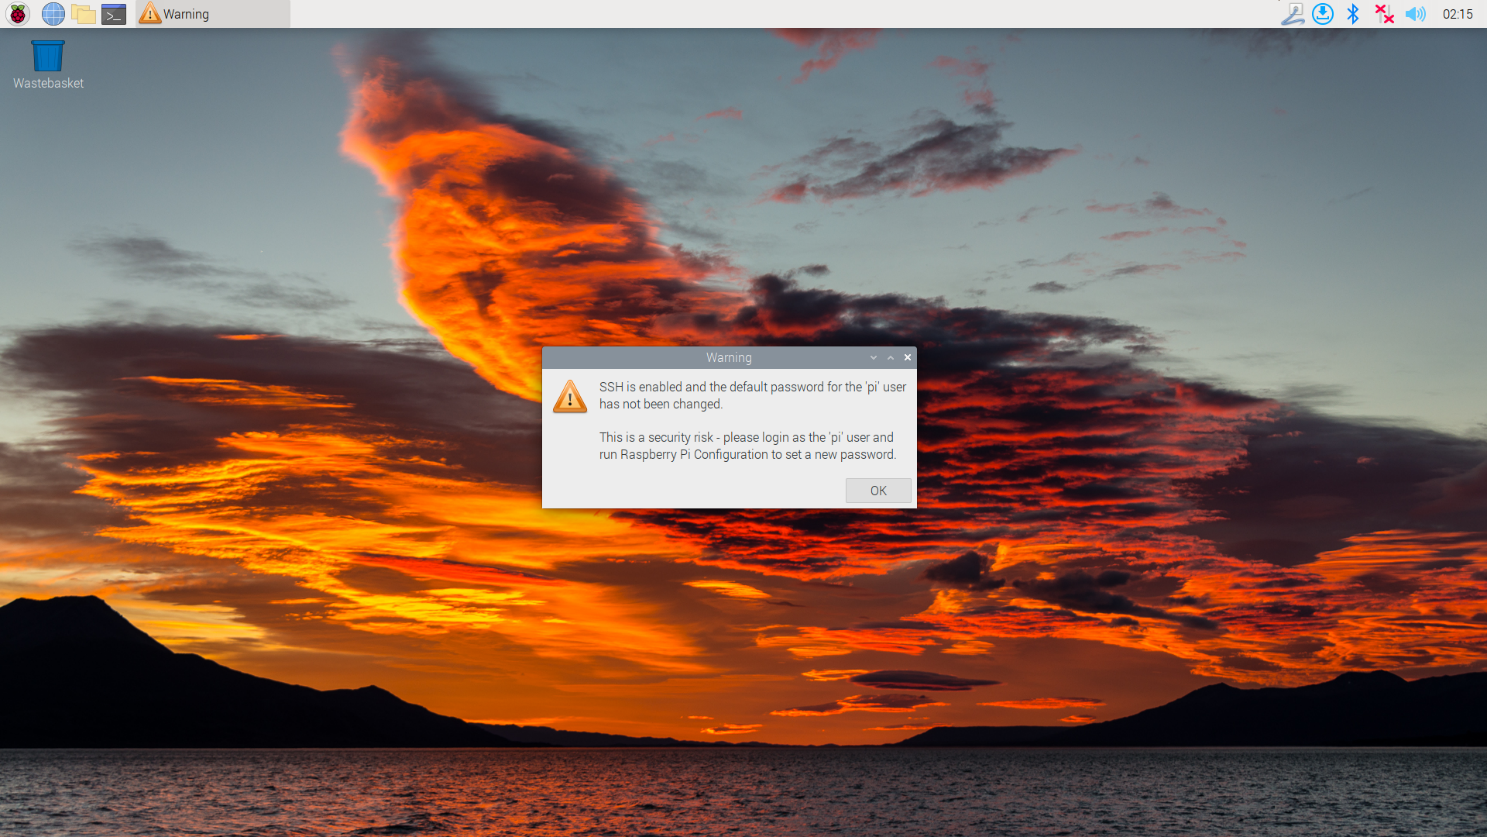
- Set password for default account "pi", then Click "Next".
TIP
The default username is pi, and the default password is raspberry.

- Select the wireless network you need to connect to, enter the password, and then click "Next".

TIP
Skip this step if your ED-CM4NANO model doesn’t include Wi-Fi.
- Click "Next" to check for system updates.
TIP
Ensure Wi-Fi icon appears top-right before updating.

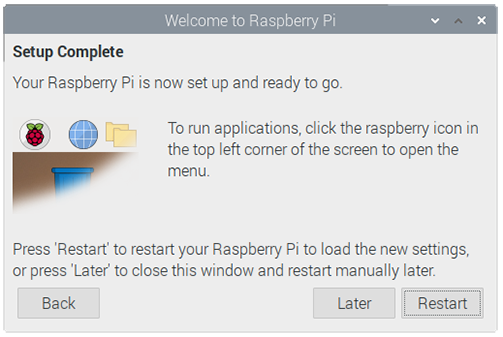
- Click "Restart" to complete setup.
2.3.2 Raspberry Pi OS (Lite)
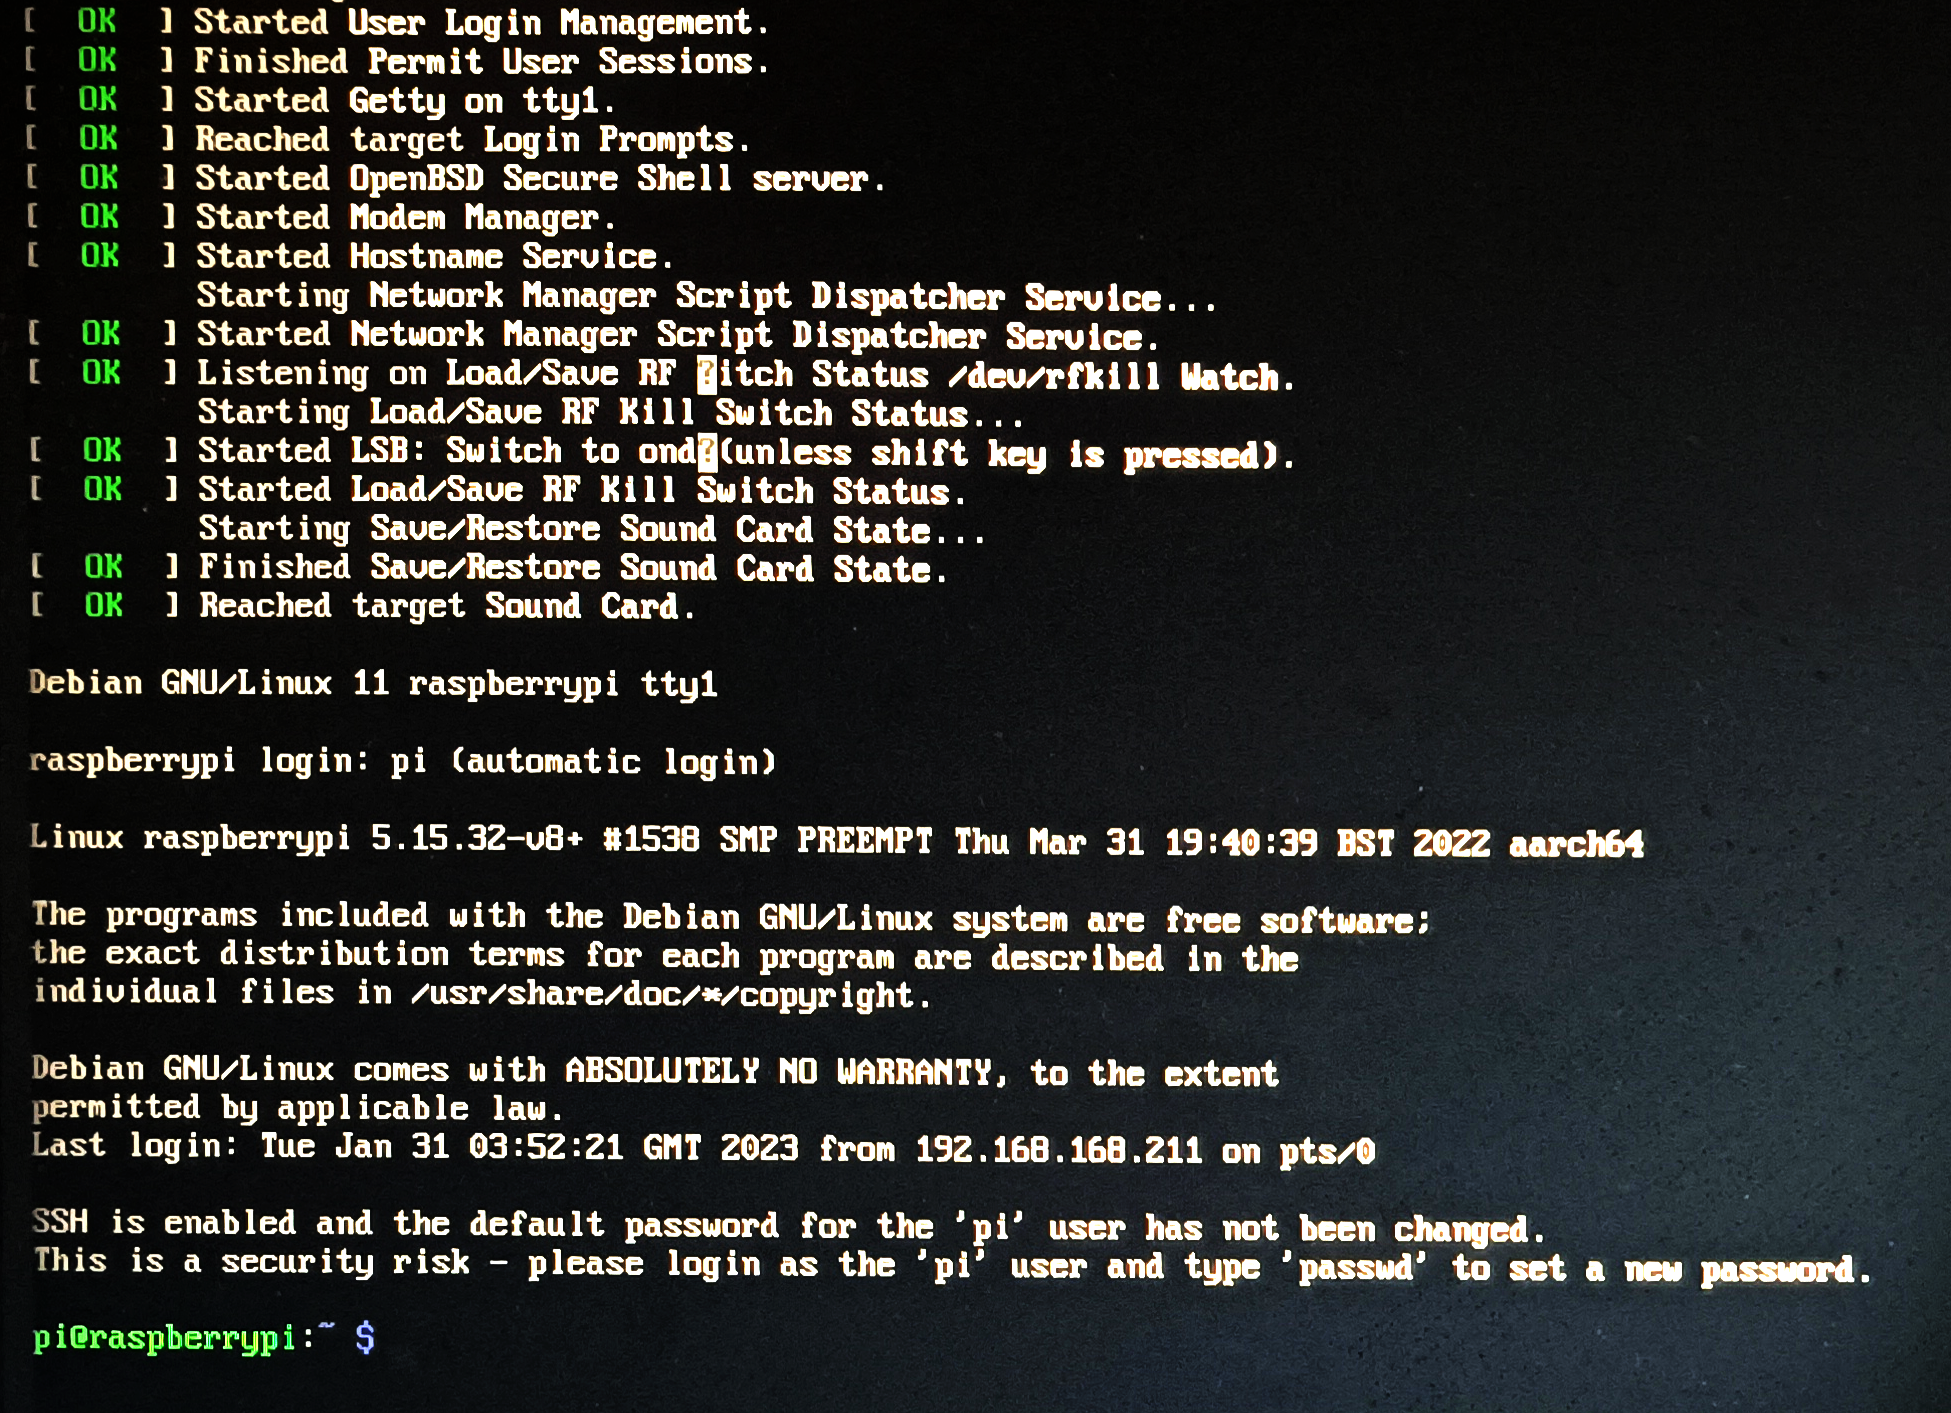
Automatically logs in as user pi with default password raspberry.
For official Raspberry Pi OS Lite
- Set the keyboard layout.
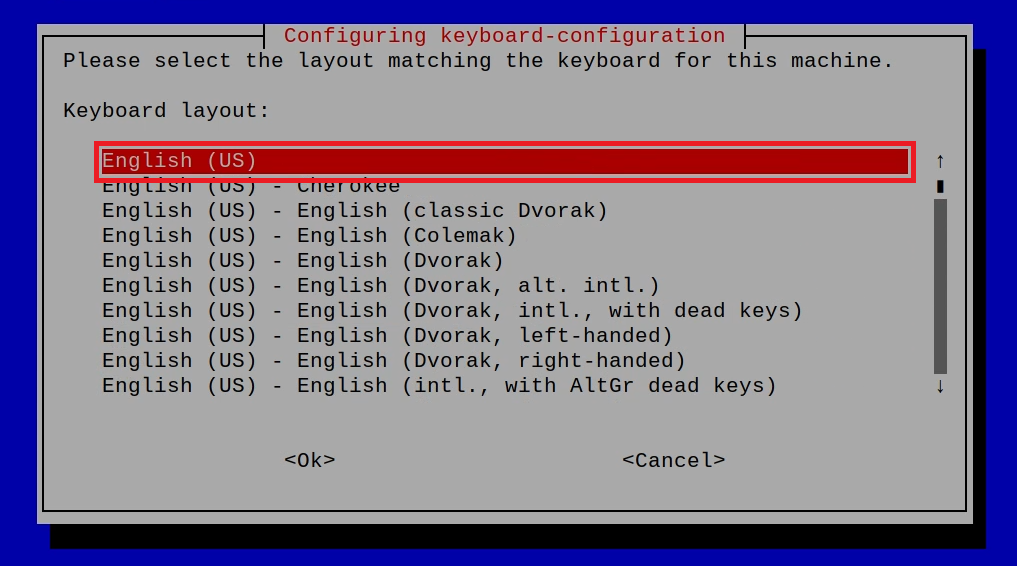
- Creat username.
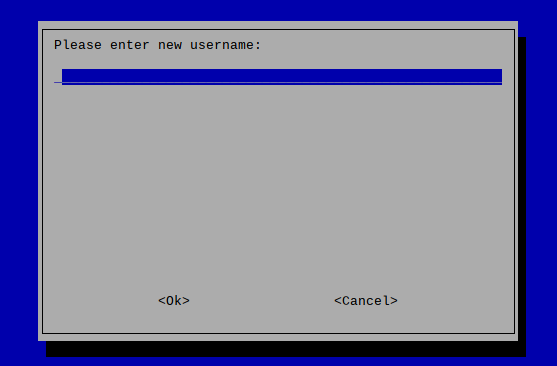
Set/confirm password.
Log in with new credentials.
2.3.3 Enabling SSH
SSH is pre-enabled in all our provided system images. For official Raspberry Pi OS images, manual configuration is required using either method below:
- Via the
raspi-configtool; - By creating an empty file named ssh.
2.3.3.1 raspi-config
- Execute
sudo raspi-configcommand. - Choose 3 Interface Options
- Choose I2 SSH
- Would you like the SSH server to be enabled? Select Yes
- Choose Finish
2.3.3.2 Add Empty File To Enable SSH
Create an empty file named ssh in the boot partition. The SSH function will be automatically enabled upon system boot.
2.3.4 Get device IP
- If the display screen is connected, you can use the ifconfig command to find the current device IP.
- If there is no display screen, you can view the assigned IP through the router.
- If there is no display screen, you can download the nmap tool to scan the IP under the current network.
Nmap supports Linux, macOS, Windows and other platforms. If you want to use nmap to scan the network segments from 192.168.3.0 to 255, you can use the following command:
nmap -sn 192.168.3.0/24
After waiting for a period of time, the result will be output.
Starting Nmap 7.92 ( https://nmap.org ) at 2022-12-30 21:19 中国标准时间
Nmap scan report for 192.168.3.1 (192.168.3.1)
Host is up (0.0010s latency).
MAC Address: XX:XX:XX:XX:XX:XX (Phicomm (Shanghai))
Nmap scan report for DESKTOP-FGEOUUK.lan (192.168.3.33)
Host is up (0.0029s latency).
MAC Address: XX:XX:XX:XX:XX:XX (Dell)
Nmap scan report for 192.168.3.66 (192.168.3.66)
Host is up.
Nmap done: 256 IP addresses (3 hosts up) scanned in 11.36 seconds