Installing Raspberry PI OS
1 Overview
Introduces the background and scope of using the standard Raspberry Pi OS.
1.1 Background
Our products are shipped with BSP OS installed by default, which has added support for BSP, created users, enabled SSH and supported BSP online upgrade, with security and reliability, users can use this OS with confidence.
When users want to use the standard Raspberry Pi OS after receiving the product, some functions cannot be used after burning the operating system to the standard Raspberry Pi OS. In order to solve this problem, our company supports online installation of Firmware package, so that the product is more compatible with the standard Raspberry Pi OS, to ensure that all functions can be used.
Currently, we support online installation of firmware package on Raspberry Pi bookworm and bullseye systems by executing commands to support standard Raspberry Pi systems.
1.2 Scope of application
This application is applicable to the following models of our series products. Since the use of 64-bit operating system can better utilise the hardware performance of the product, it is recommended to use 64-bit standard Raspberry Pi OS, including bookworm and bullseye system, as follows:
- CM4 AI Camera Industrial Intelligent Camera Series
| Model | Description | Picture |
|---|---|---|
| ED-AIC2000 | Adopts 2 megapixels (supports 2.3 megapixels optionally), and the corresponding product names when installing the BSP packages are aic_200w , aic_230w, aic_hq | 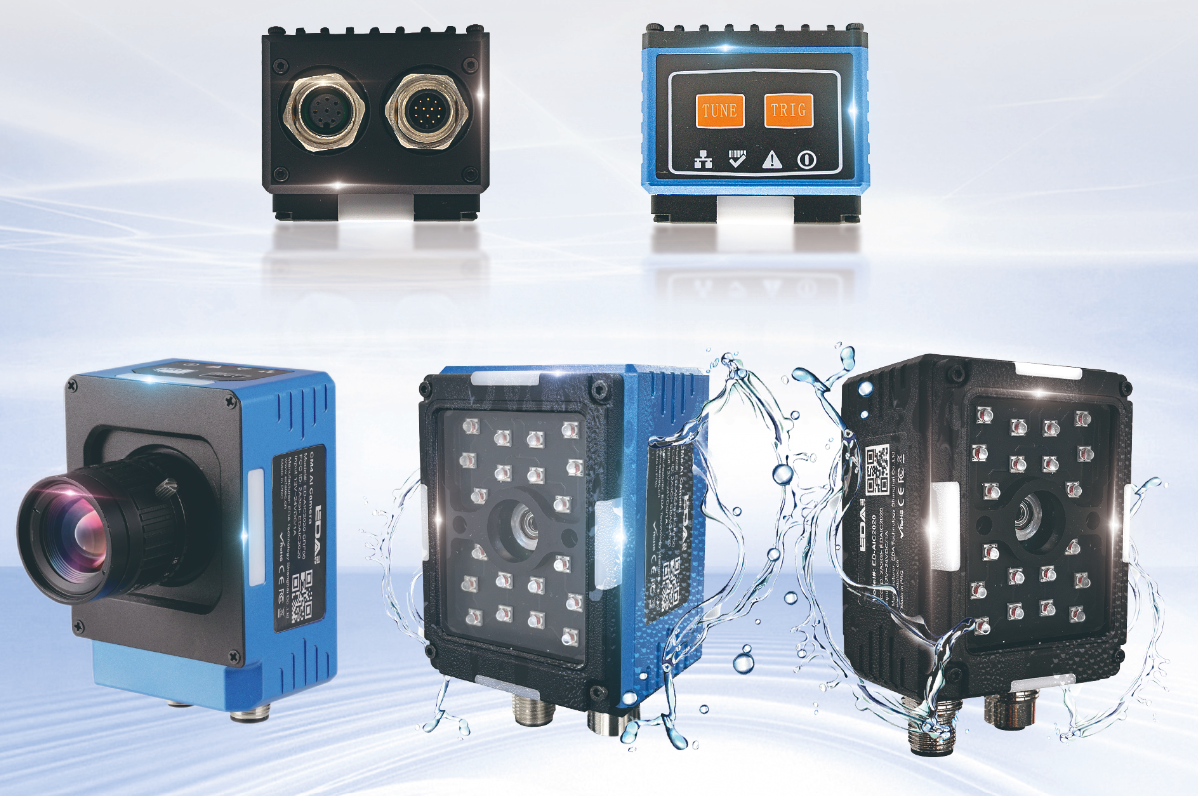 |
| ED-AIC2100 | Adopts 2 megapixels (supports 2.3 megapixels optionally), and the corresponding product names when installing the BSP packages are aic_200w , aic_230w, aic_hq |
- IoT gateway series
| Model | Description | Picture |
|---|---|---|
| ED-GWL2010 | When installing the BSP package, the corresponding product names are: gwl2010_470, gwl2010_868, gwl2010_915 , the wireless signal transmission frequency is 470MHz, 868MHz, 915MHz, users can install the BSP package corresponding to different frequencies according to the demand. | 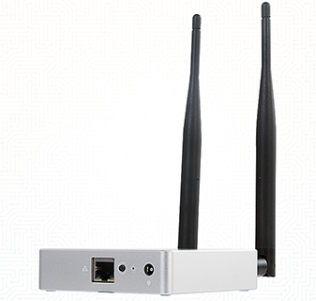 |
| ED-GWL2110 | When installing the BSP package, the corresponding product names are: gwl2010_470, gwl2010_868, gwl2010_915 , the wireless signal transmission frequency is 470MHz, 868MHz, 915MHz, users can install the BSP package corresponding to different frequencies according to the demand. | 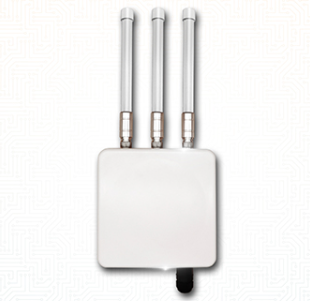 |
- HMI series
| Model | Description | Picture |
|---|---|---|
| ED-HMI2002 | When installing the BSP package, the corresponding product names are: hmi2002_070c, hmi2002_101c , representing 7 inches and 10.1 inches, users can install the BSP package corresponding to different display screen sizes according to the actual product. | 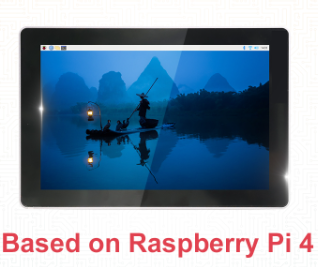 |
| ED-HMI2020 | When installing the BSP package, the corresponding product names are: hmi2020_070c, hmi2020_101c , representing 7 inches and 10.1 inches respectively, users can install the BSP package corresponding to different display screen sizes according to the actual product. | 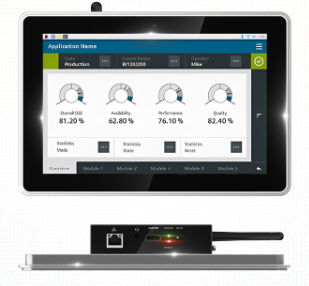 |
| ED-HMI2120 | When installing the BSP package, the corresponding product names are: hmi2120_070c, hmi2120_101c , representing 7 inches and 10.1 inches respectively, users can install the BSP package corresponding to different display screen sizes according to the actual product. | 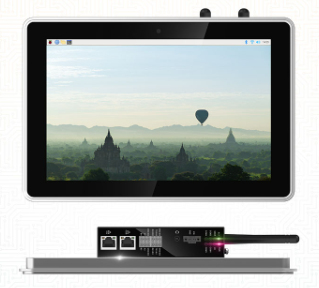 |
| ED-HMI2220 | When installing the BSP package, the corresponding product names are: hmi2220_070c, hmi2220_101c , representing 7 inches and 10.1 inches respectively, users can install the BSP package corresponding to different display screen sizes according to the actual product. | 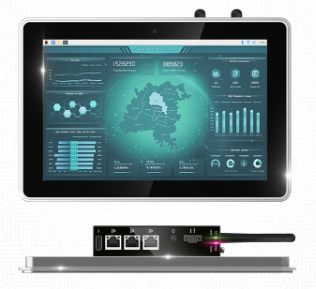 |
| ED-HMI23XX | When installing the BSP package you need to select the corresponding package according to the actual screen size size, if the screen size is 12 inch, 15 inch, 15.5 inch the installation package is hmi232x_backlight_f ,If the screen size is 17‘, 21.5’ then the installation package is hmi232x_backlight_r | 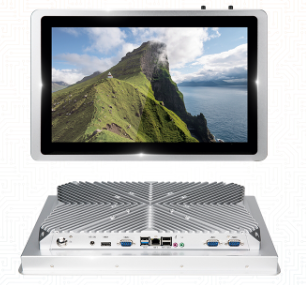 |
| ED-HMI2630 | The corresponding product names when installing the BSP package are hmi2630_101c ,101c means 10.1 inch. | 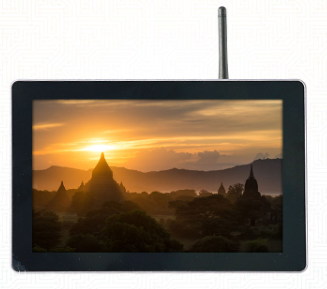 |
| ED-HMI3010 | When installing the BSP package, the corresponding product names are: hmi3010_070c, hmi3010_101c , which represent 7 inches and 10.1 inches respectively, users can install the BSP package corresponding to different display screen sizes according to the actual product. | 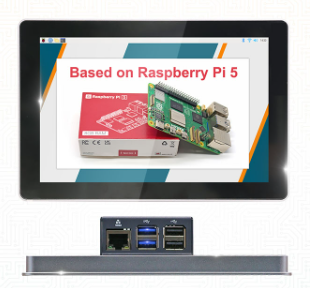 |
| ED-HMI3020 | When installing the BSP package, the corresponding product names are: hmi3020_070c, hmi3020_101c , representing 7 inches and 10.1 inches respectively, users can install the BSP package corresponding to different display screen sizes according to the actual product.。 | 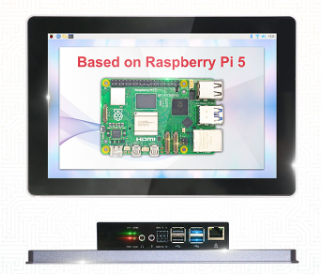 |
- IPC series
| Model | Description | Picture |
|---|---|---|
| ED-IPC2000 range | The corresponding product name when installing the BSP package is ipc2010 | 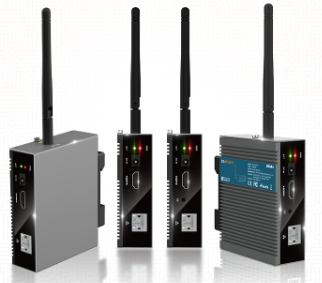 |
| ED-IPC2100 range | The corresponding product name when installing the BSP package is ipc2110 | 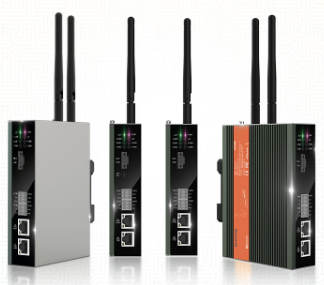 |
| ED-IPC2200 range | The corresponding product name when installing the BSP package is ipc2200 | 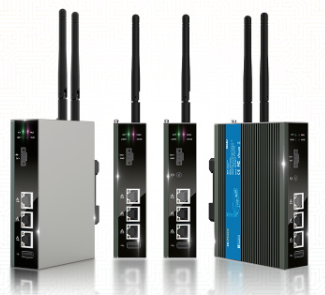 |
| ED-IPC2400 range | The corresponding product name when installing the BSP package is ipc2410,ipc2420,ipc2430 | 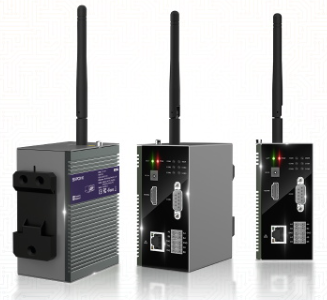 |
| ED-IPC2600 range | The corresponding product name when installing the BSP package is ipc2610,ipc2460,ipc2460 | 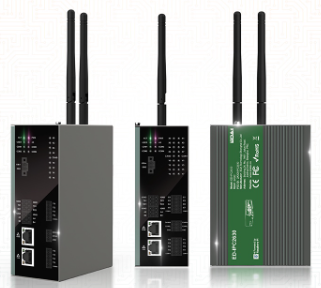 |
| ED-IPC3020 | The corresponding product name when installing the BSP package is ipc3020 | 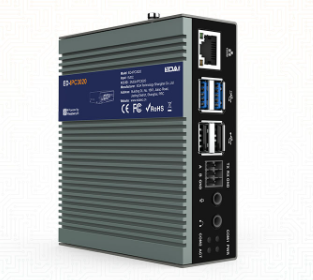 |
| ED-CM4Sen | The corresponding product name when installing the BSP package is sen | 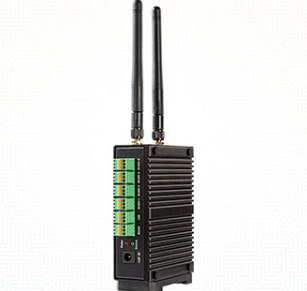 |
- Veneer series
| Model | Description | Picture |
|---|---|---|
| ED-SBC2300 | The corresponding product name when installing the BSP package is sbc231x | 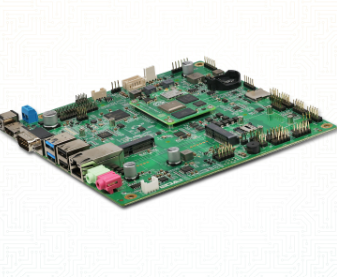 |
Software scope
All series support Raspberry Pi OS 64/32-bit-bookworm (Debian 12) Desktop and Lite editions.
2 Application guidance
Introduces the procedure for using the standard Raspberry Pi OS on the series.
2.1 Operational processes
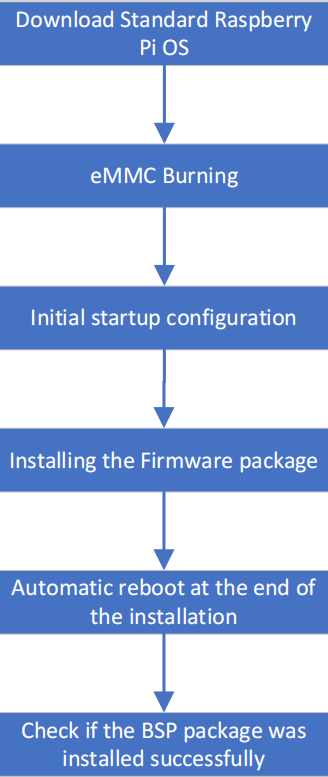
2.2 Mirror Image Download
You can download the official Raspberry system image according to your actual needs, the download path is listed below:
| OS | Download Path |
|---|---|
| Raspberry Pi OS(Desktop) 64-bit-bookworm (Debian 12) | https://downloads.raspberrypi.com/raspios_arm64/images/raspios_arm64-2024-07-04/2024-07-04-raspios-bookworm-arm64.img.xz |
| Raspberry Pi OS(Lite) 64-bit-bookworm (Debian 12) | https://downloads.raspberrypi.com/raspios_lite_arm64/images/raspios_lite_arm64-2024-07-04/2024-07-04-raspios-bookworm-arm64-lite.img.xz |
| Raspberry Pi OS(Desktop) 32-bit-bookworm (Debian 12) | https://downloads.raspberrypi.com/raspios_armhf/images/raspios_armhf-2024-07-04/2024-07-04-raspios-bookworm-armhf.img.xz |
| Raspberry Pi OS(Lite) 32-bit-bookworm (Debian 12) | https://downloads.raspberrypi.com/raspios_lite_armhf/images/raspios_lite_armhf-2024-07-04/2024-07-04-raspios-bookworm-armhf-lite.img.xz |
2.3 Mirror Burning
Take ED-CM4SEN as an example, it is burned through eMMc, and some products are burned through SD card for mirroring, if you use other products you can refer to the User's Manual.
It is recommended to use the official Raspberry Pi burning tool, the download path is as follows:
- Raspberry Pi Imager : https://downloads.raspberrypi.org/imager/imager_latest.exe
- SD Card Formatter : https://www.sdcardformatter.com/download/
- Rpiboot : https://github.com/raspberrypi/usbboot/raw/master/win32/rpiboot_setup.exe
Prerequisites:
- The download of the burn-in tool has been completed and installed to the computer.
- A Micro USB to USB-A cable has been prepared.
- The image file to be burned has been acquired.
Operating steps:
The procedure is explained using Windows as an example.
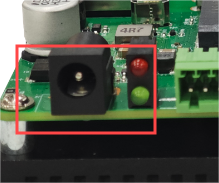
- Open the device housing.
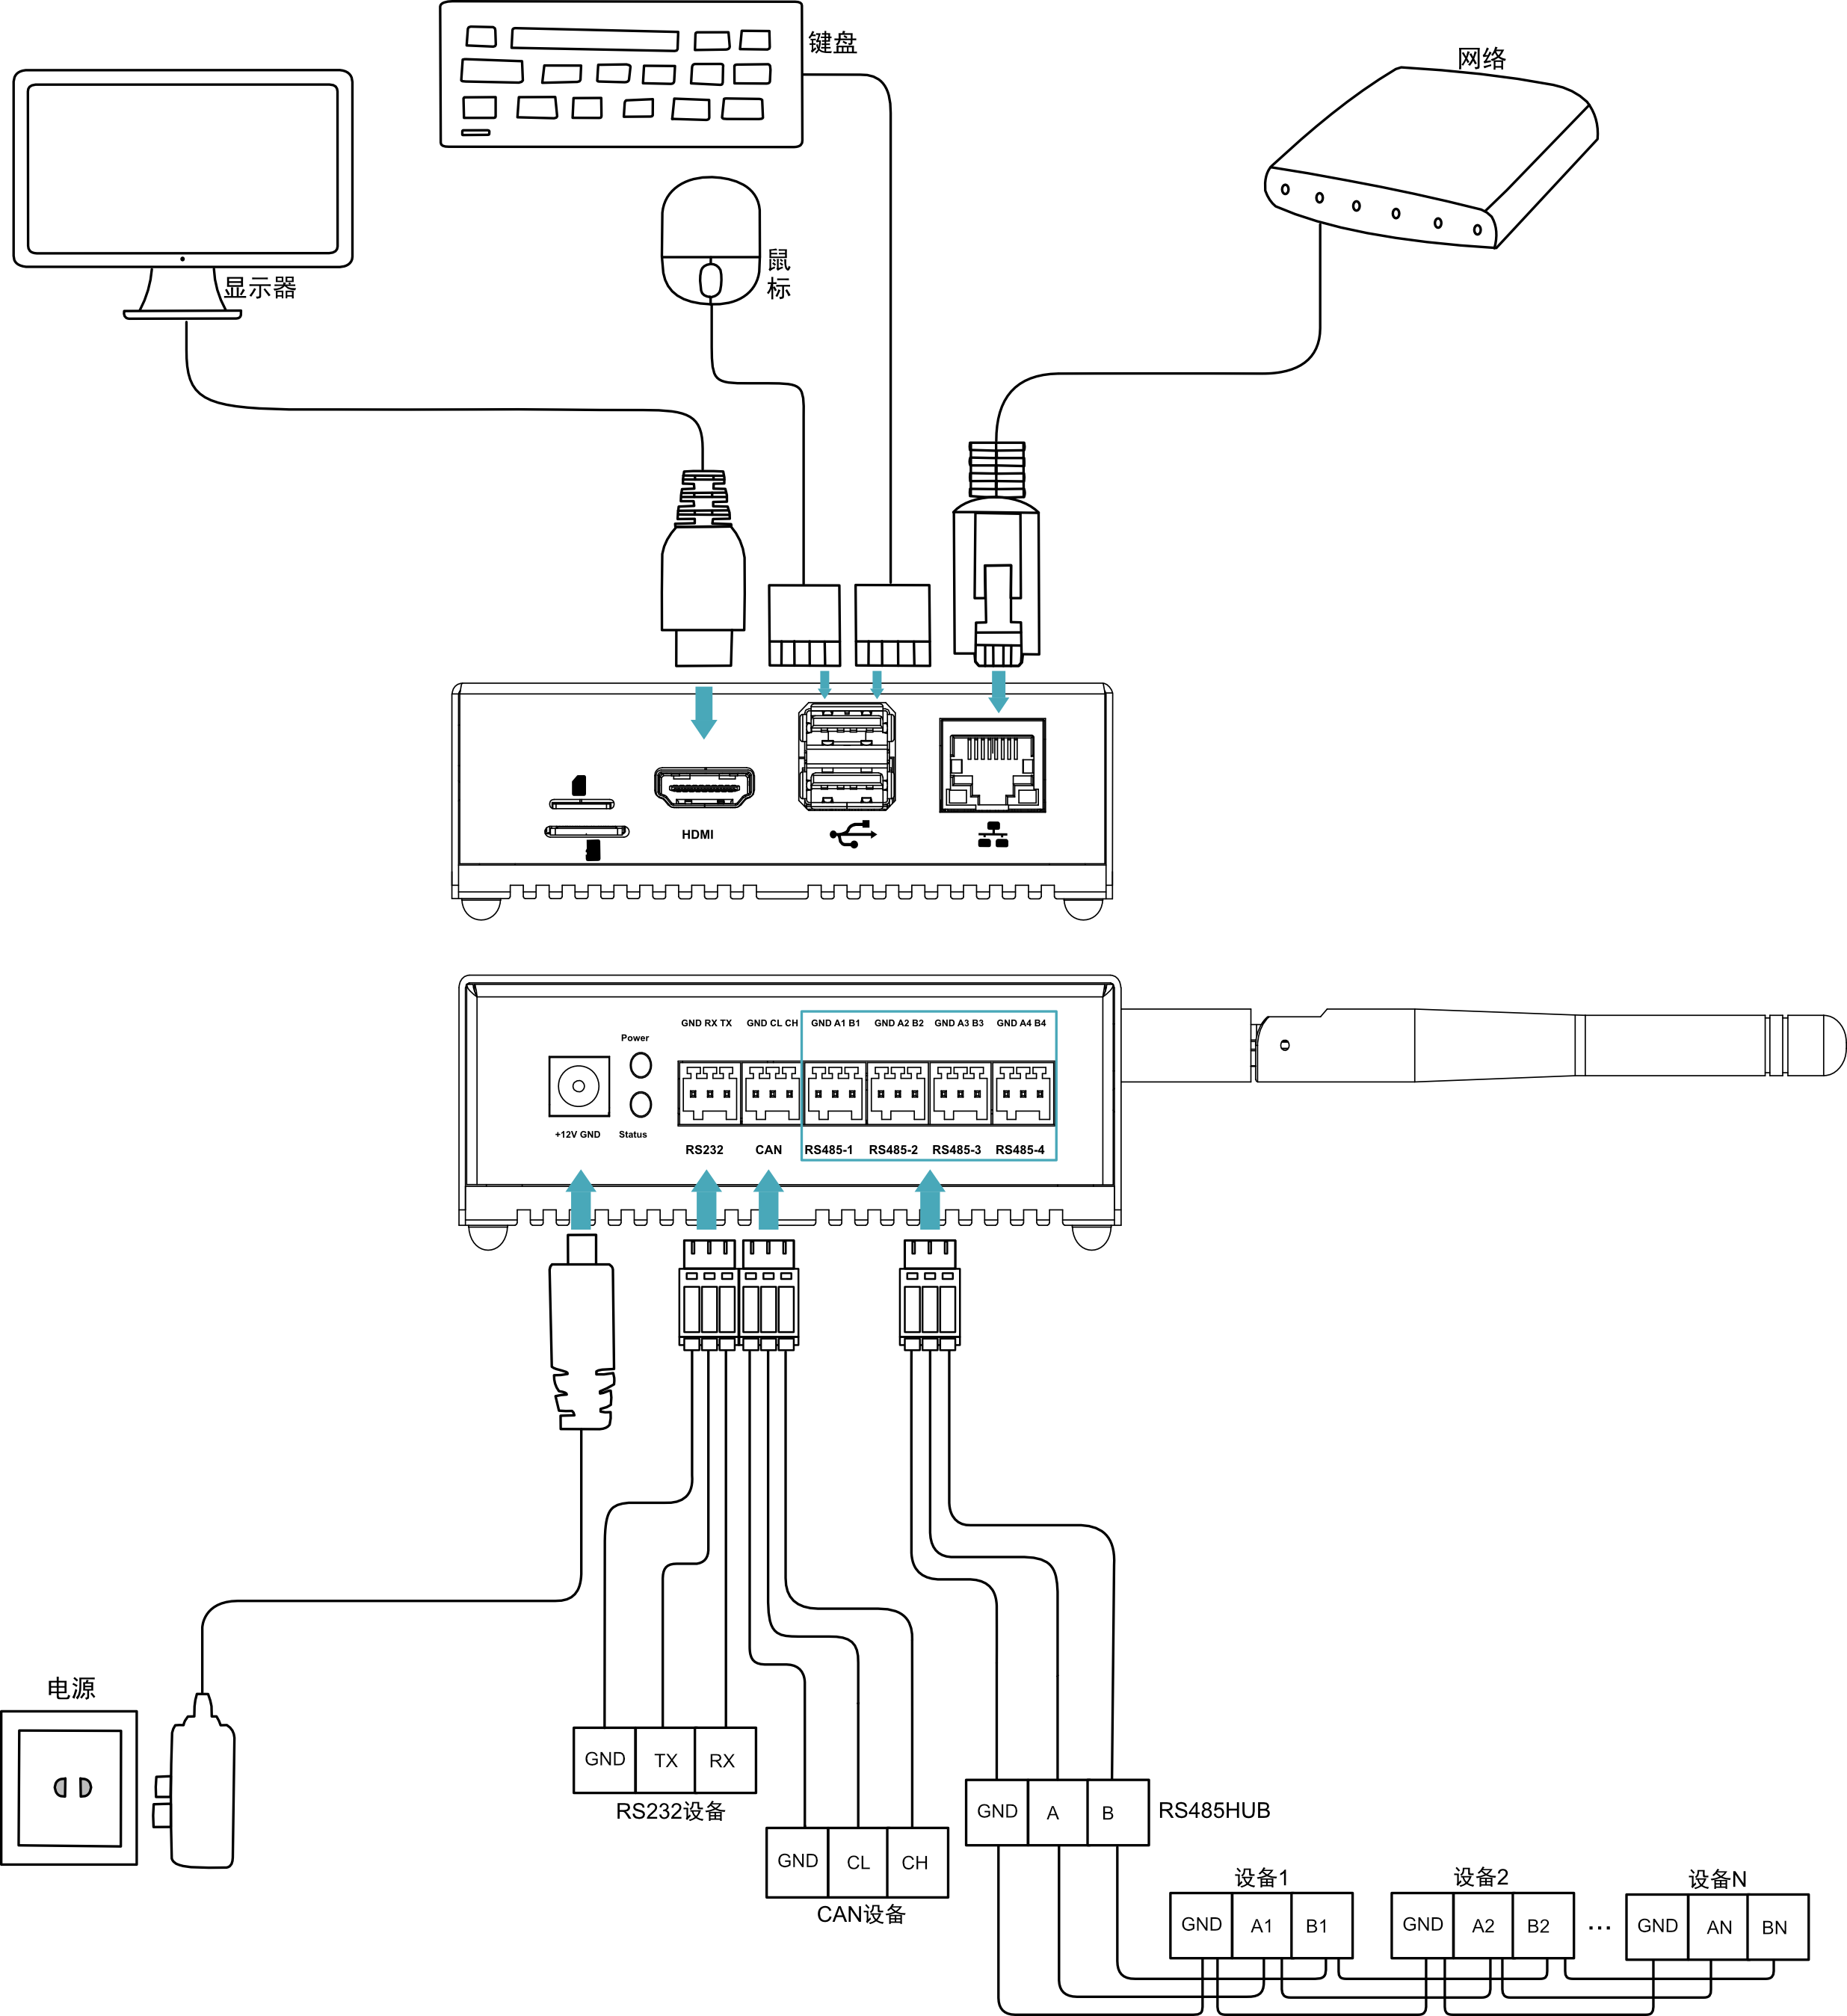
- Connect the power cord and USB burner cable as shown below.
- Connect USB burn-in cable, USB port plugged into PC

- Connecting the power cable
Disconnect the ED-CM4SEN power supply and re-power it up.
Open the installed rpiboot utility to automate the disc symbolisation.
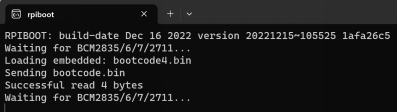
When the disc symbolisation is complete, the disc symbol will pop up in the bottom right corner of the computer.
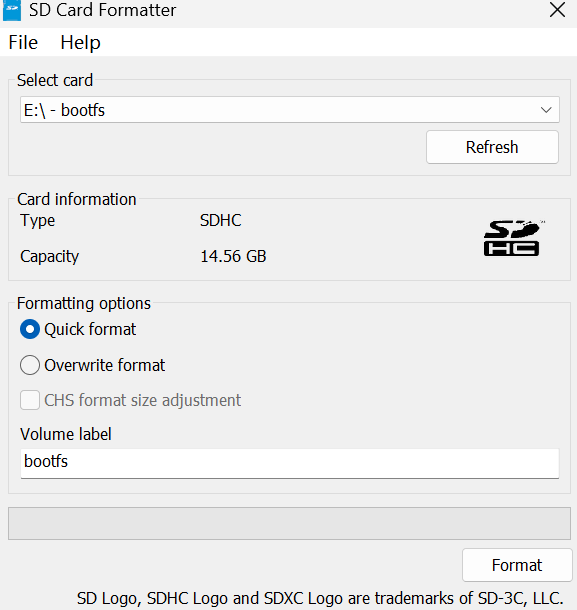
Open SD Card Formatter, select the drive to be formatted, and click ‘Format’ at the bottom right to format.
- In the pop-up box, click Yes.
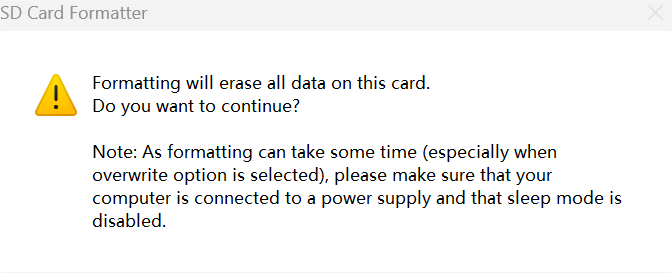
When formatting is complete, click OK in the prompt box.

Close the SD Card Formatter.
Open Raspberry Pi Imager, click ‘Use custom’ and select ‘Use custom image’ in the pop-up pane.
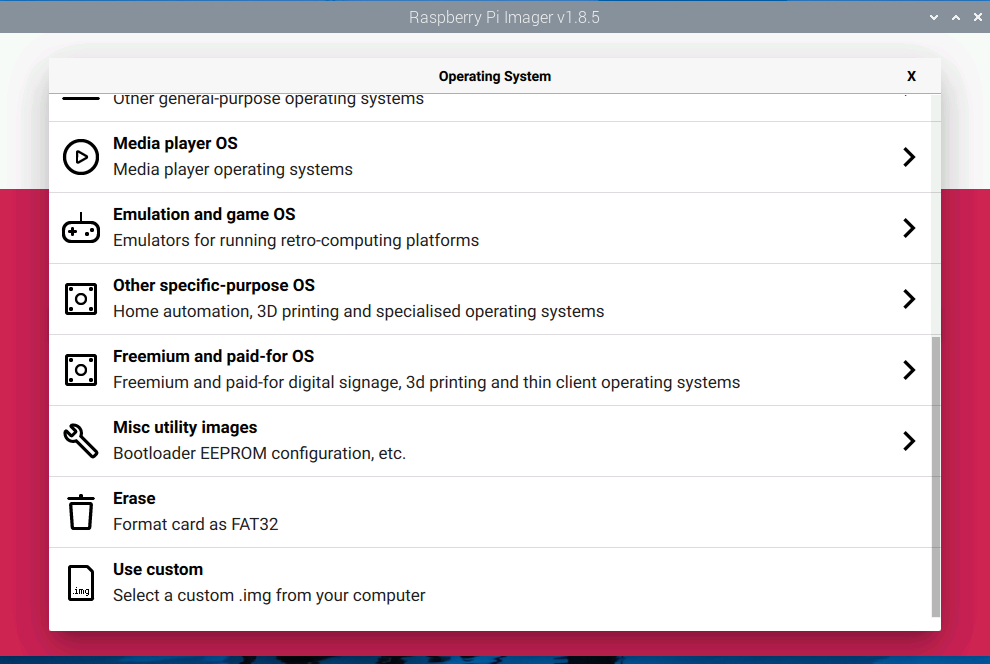
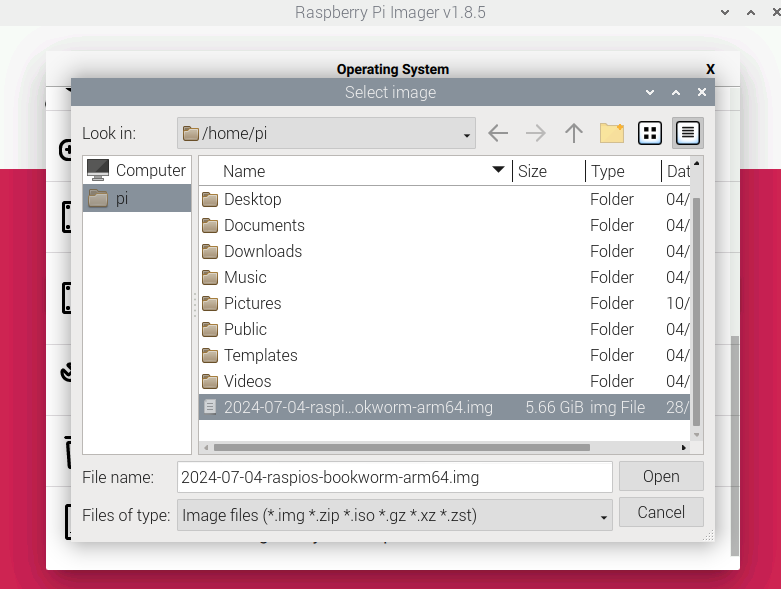
- Follow the prompts to select the downloaded image file under the custom path and return to the main burn screen.
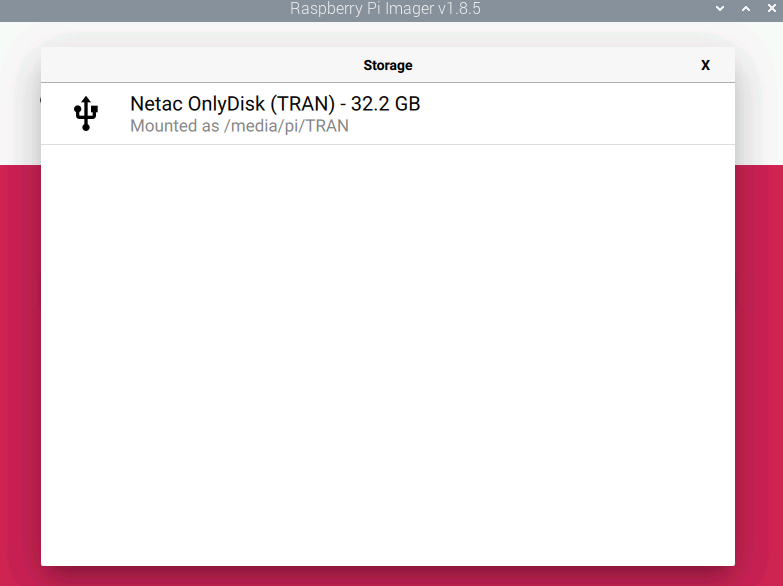
- Click ‘Select SD Card’, select the default SD card in the ‘Memory Card’ interface, and return to the main burning interface.
- Click ‘Burn’ and select ‘Yes’ in the pop-up box to start writing the image.
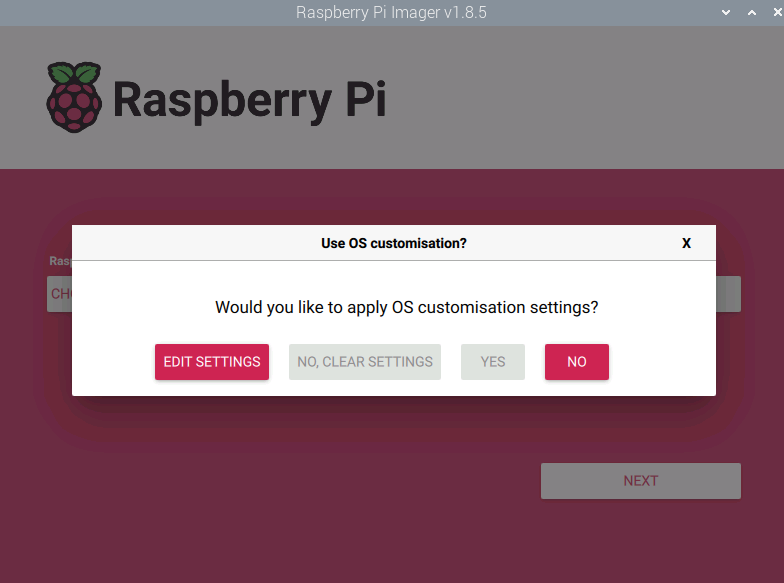
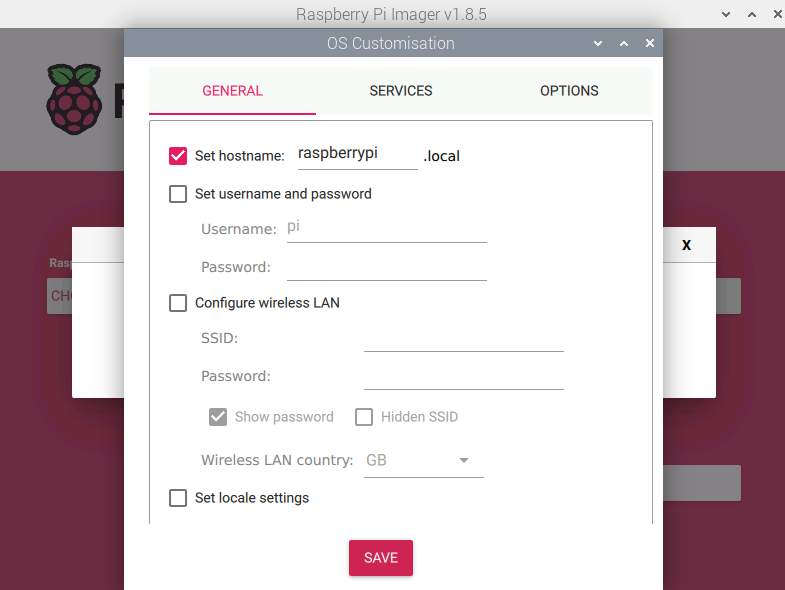
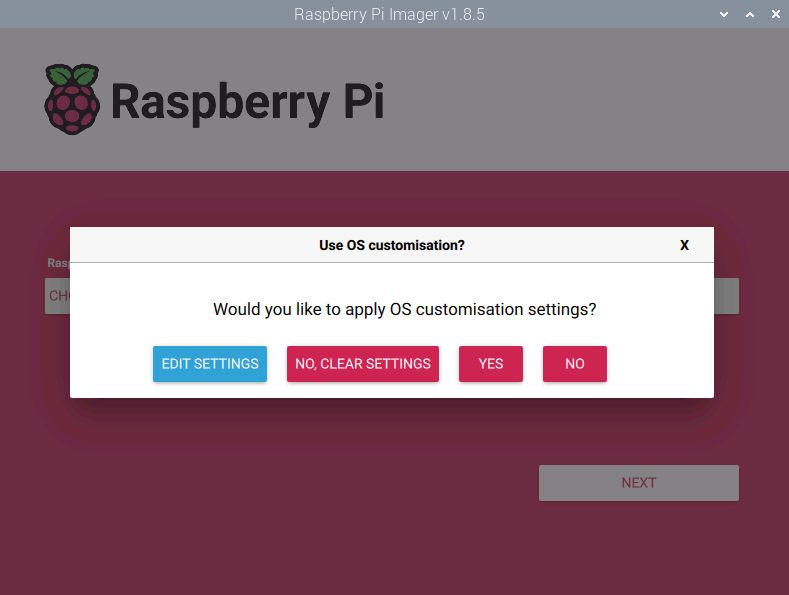
- You can click ‘Edit Settings’ or ‘Yes’.
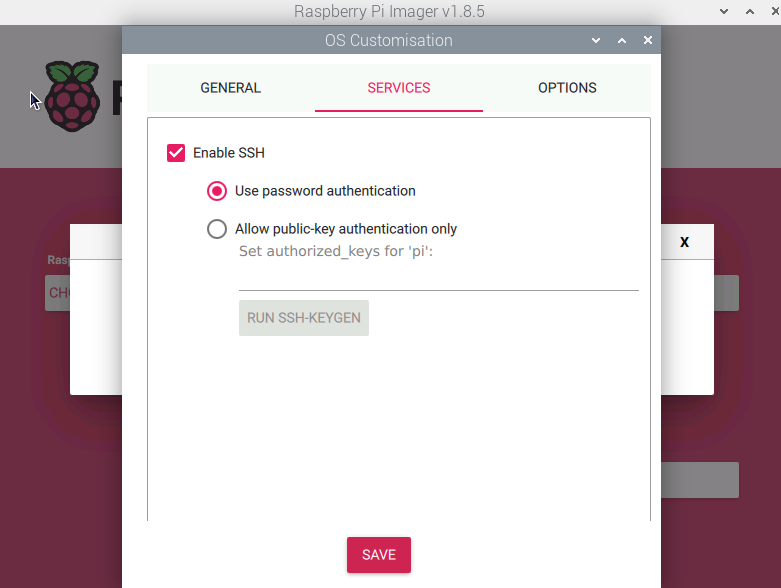
- In the first case, you can click ‘Edit Settings’ to set the username and password, and in SERVICES, you can configure the SSH service to be enabled, and then click Save after the settings are complete.
Click ‘Yes’ again.
⚠️ hint:
After using the burner to configure the system and save it, the system reboot will enter the system directly after the burner is finished.
- In the second case, you can also click ‘Yes’, after which you need to enter the system configuration.
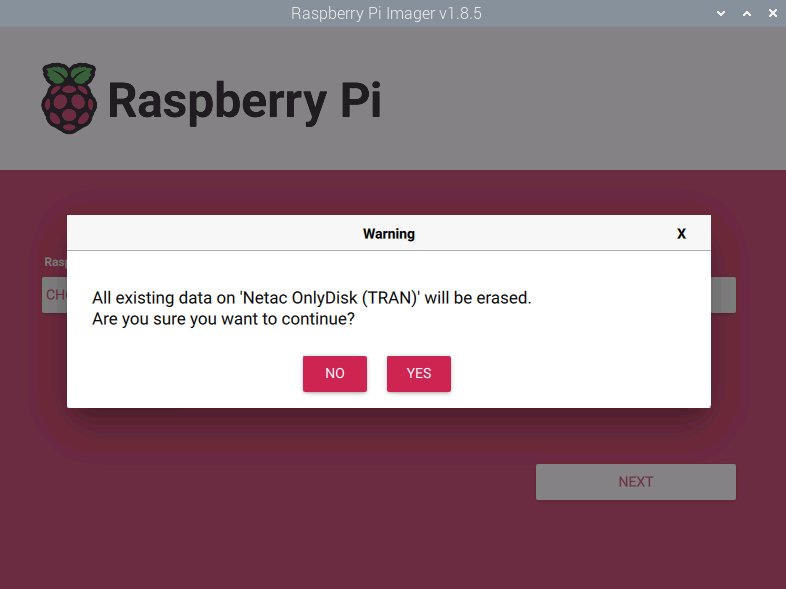
- Continue clicking ‘Yes’ to start burning the operating system.
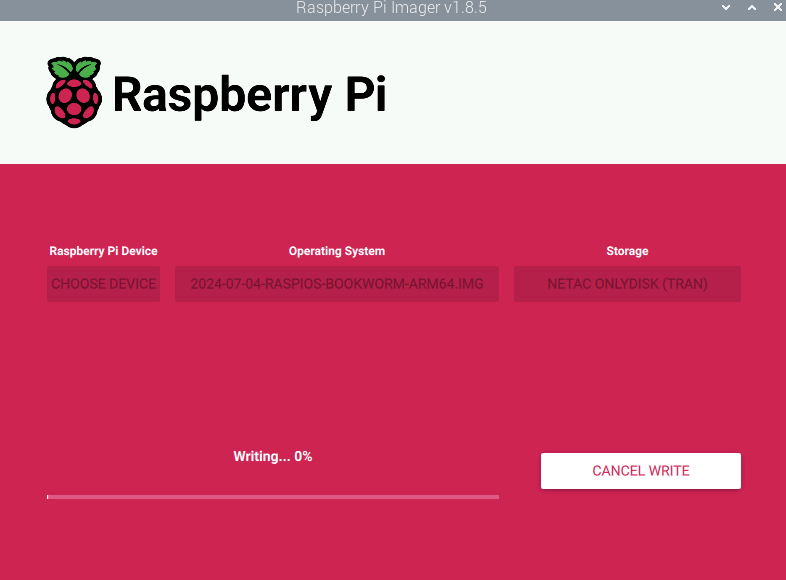
- To be written to the image is complete, the file will be verified, verification is complete, the pop-up ‘burning success’ prompt box, click ‘Continue’ to complete the burning.
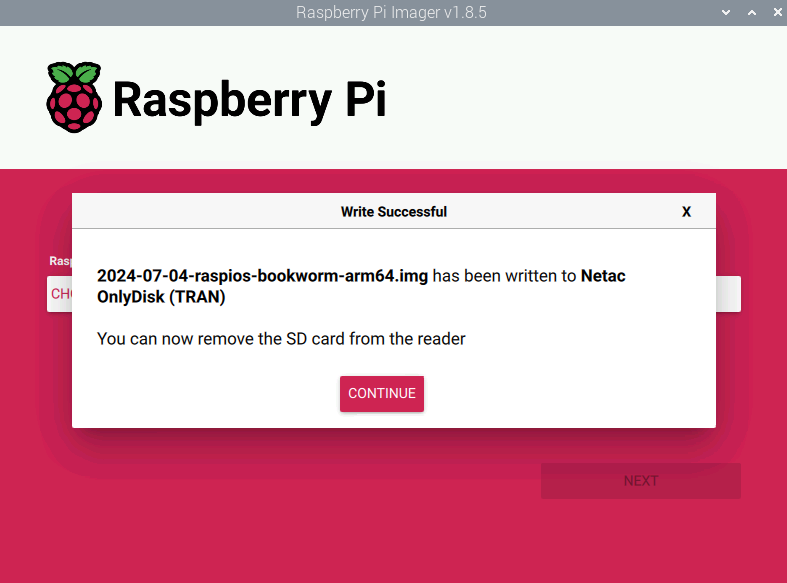
- Switch off the Raspberry Pi Imager, remove the USB cable and re-power the device.
2.4 Initial startup configuration
Introduces the configurations related to the first time a user starts up the system.
2.4.1 Standard Raspberry Pi OS (Desktop)
If you are using the official Raspberry Pi system image and have not configured the image in Raspberry Pi Imager's Advanced Settings before burning, you will need to complete the initialisation configuration when the system boots for the first time.
Prerequisites
- A working monitor (with HDMI port), mouse, keyboard and power adapter have been obtained.
- A functioning network has been acquired.
- A working HDMI cable and network cable have been obtained.
Operating steps:
- Connect the device to the network via a network cable, connect the monitor via an HDMI cable, and connect the mouse, keyboard, and power adapter.
- Power up the device and the system will start booting, after a normal boot the ‘Welcome to Raspberry Pi Desktop’ pane will pop up.
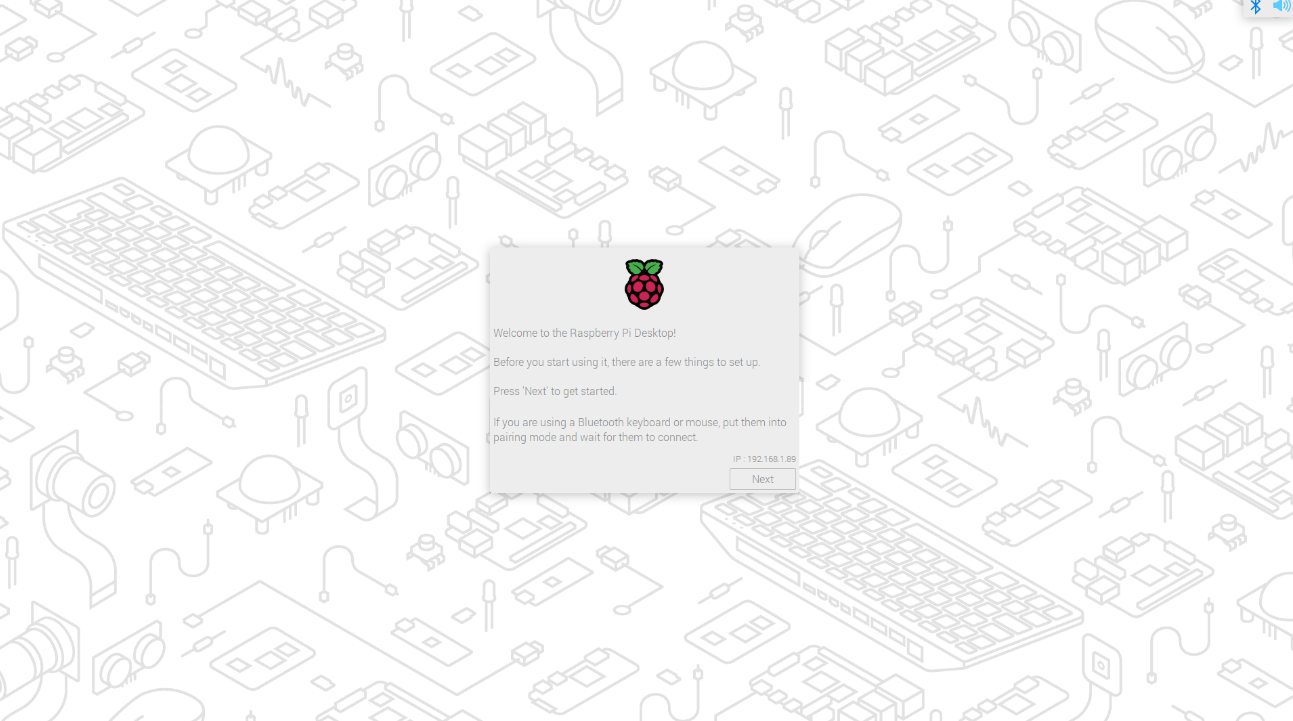
- Click ‘Next’, in the pop-up ‘Set Country’ pane, set the ‘Country’ according to the actual needs, Language’ and “Timezone” in the “Set Country” pane.
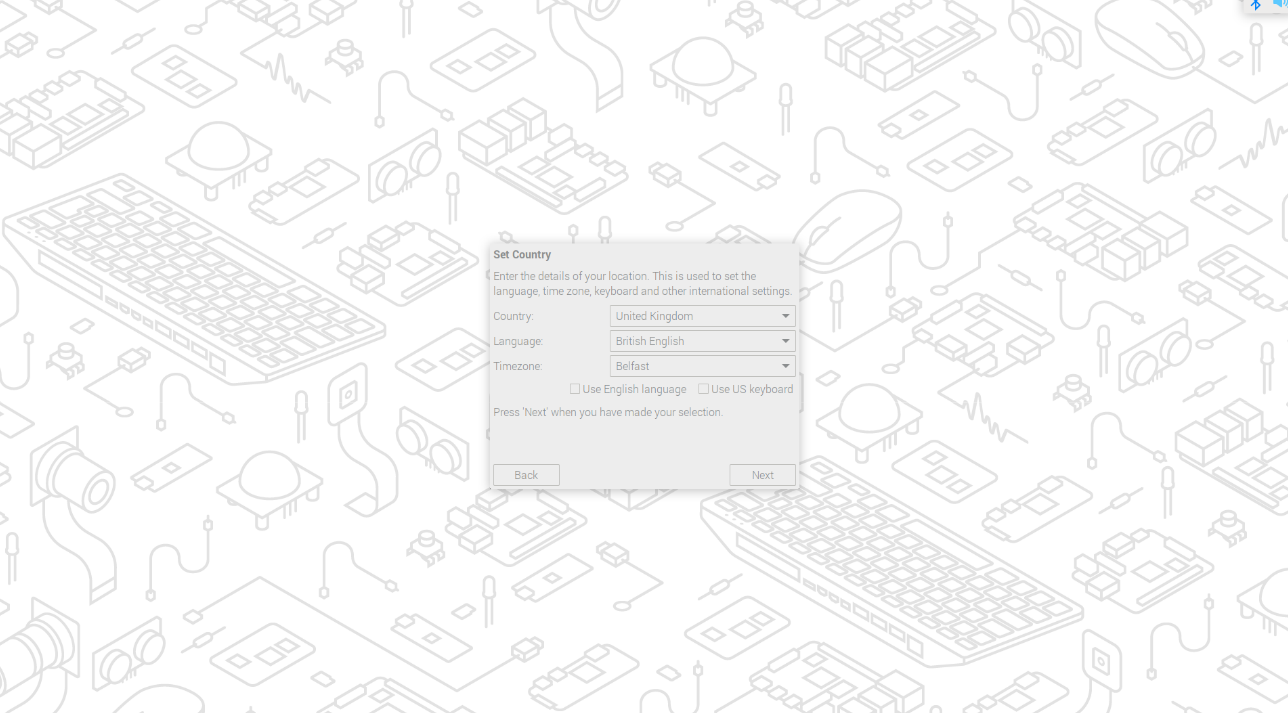
⚠️Prompt:
The default keyboard layout is the UK keyboard layout, or you can tick the ‘Use US keyboard’ box if you want. You can also tick ‘Use US keyboard’ if you want.
- Click ‘Next’ to customise the ‘username’ and ‘password’ used to log in to the system in the ‘Create User’ screen that pops up. password’ in the pop-up “Create User” screen.
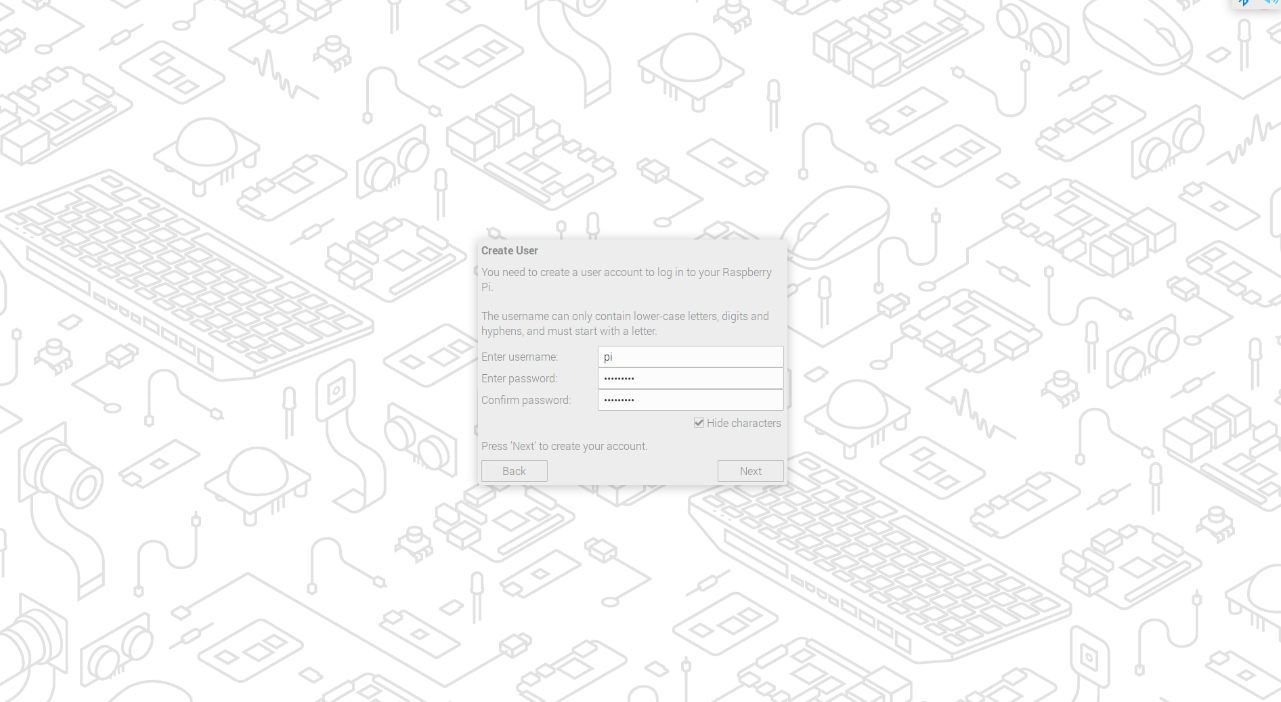
- Click Next:
- If you create a username and password using the old default username pi and default password raspberry, then the following prompt box will pop up, click ‘OK’.
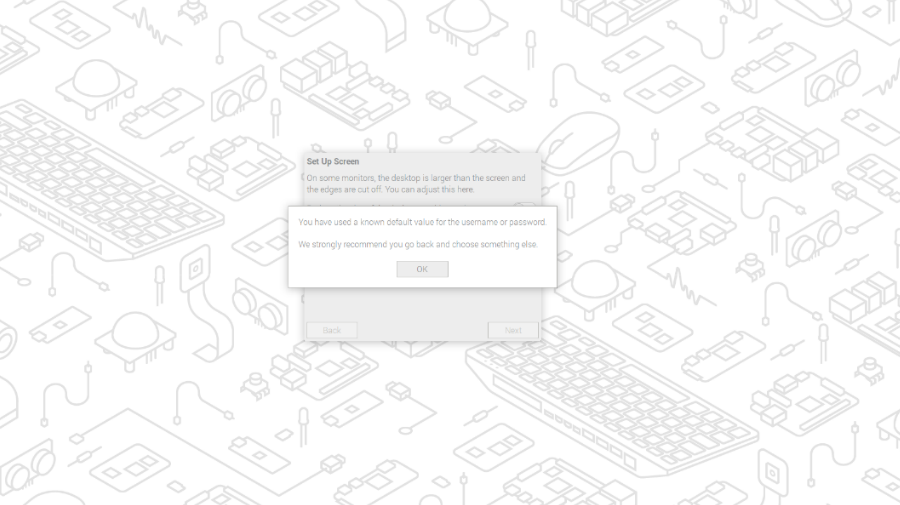
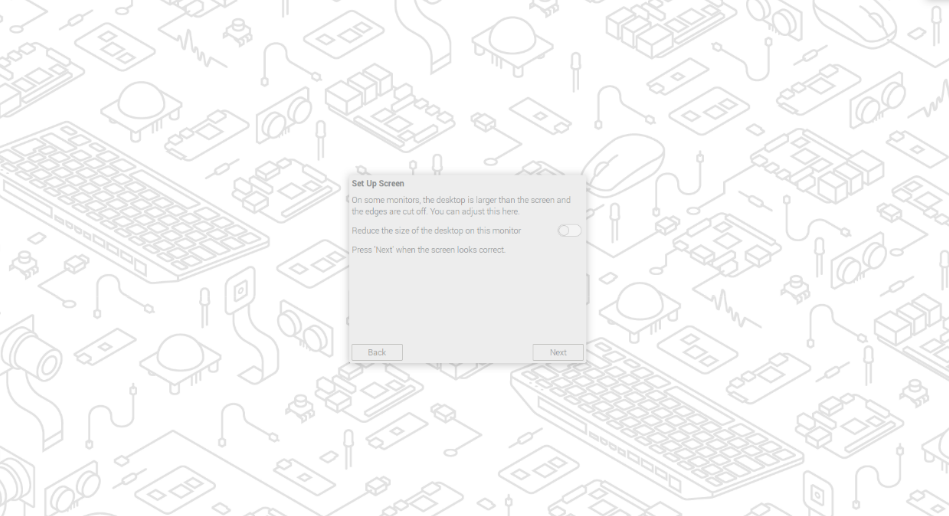
- The ‘Set Up Screen’ pane will pop up and you can set up the parameters related to the screen as desired.
6.(Optional) Click Next and select the wireless network you want to connect to in the Select WiFi Network pop-up pane.
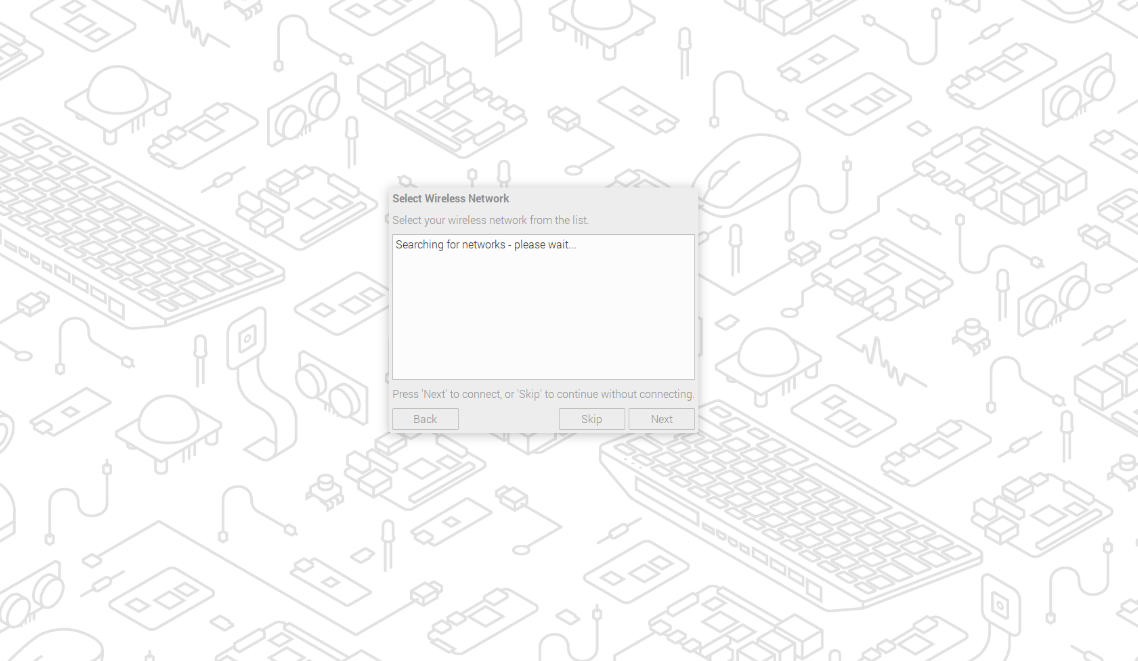
- (Optional) Click Next and enter the wireless network password in the Enter WiFi Password pop-up pane.
⚠️Prompt:
If you purchased the product without Wi-Fi function, there is no such step.
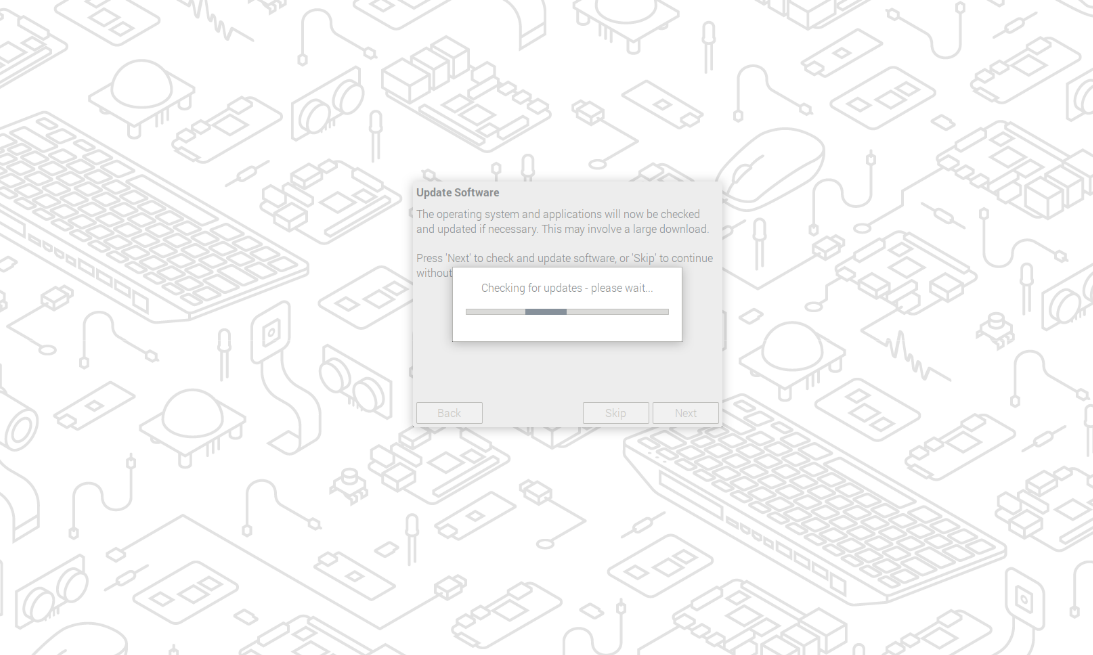
8.Click Next and in the Update Software pop-up pane click Next to automatically check and update the software.
9.After checking and updating the software, click ‘OK’, and in the pop-up ‘Setup Complete’ pane, click ‘Restart’ to complete the initialisation. Click ‘Restart’ in the ‘Setup Complete’ pane to complete the initialisation and start the system.
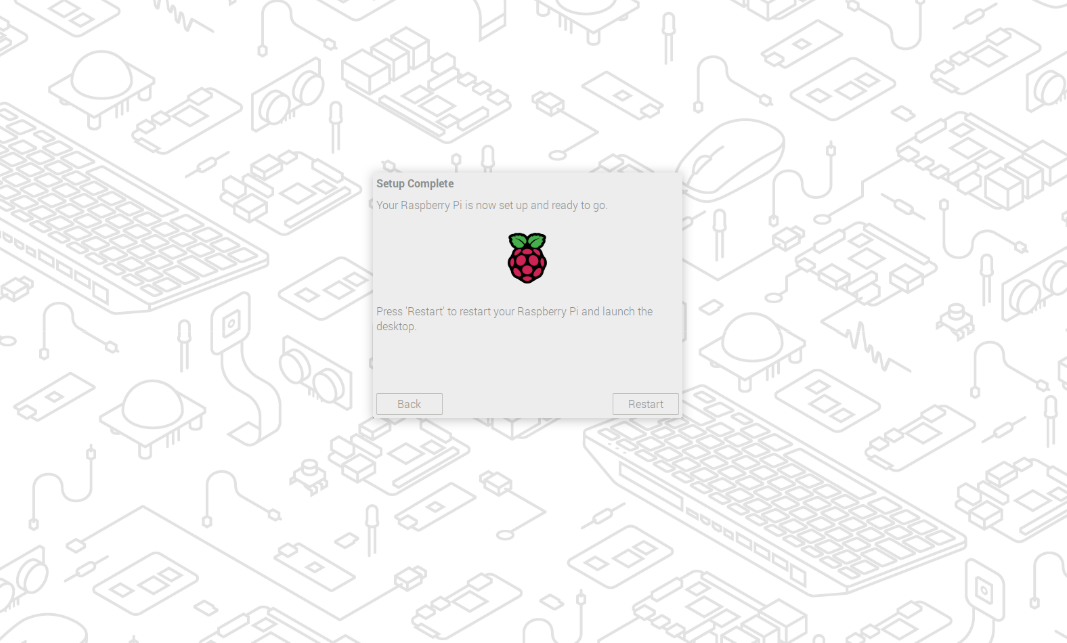
10.When booting is complete, you enter the operating system desktop.
⚠️Note:
The initialisation configuration of different versions of RaspberryPi OS may vary a little, please refer to the actual interface. Related operations can be found at**https://www.raspberrypi.com/documentation/computers/getting-started.html#getting-started-with-your-raspberry-pi**.
2.4.2 Standard Raspberry Pi OS (Lite)
If you are using the official Raspberry Pi system image and have not configured the image in Raspberry Pi Imager's Advanced Settings before burning, you will need to complete the initialisation configuration the first time you boot.
Prerequisites:
- A working monitor (with HDMI port), mouse, keyboard and power adapter have been acquired.
- A working network has been acquired.
- HDMI and network cables have been acquired for normal use.
Operating steps:
- Connect the device to the network through the network cable, connect the monitor through the HDMI cable, and connect the mouse, keyboard and power adapter.
- Power on the device, the system will start to boot up, after the system starts normally, the ‘Configuring keyboard-configuration’ screen will pop up, you need to set the corresponding type of keyboard according to the actual region.
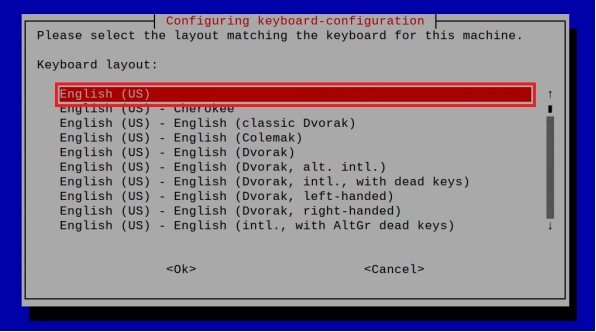
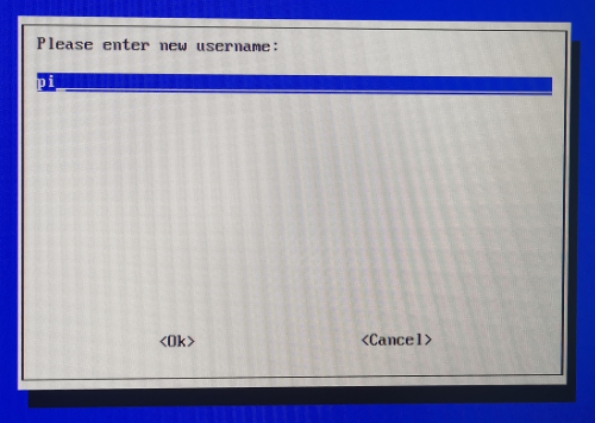
- Select ‘OK’ to create a new user name on the next screen.
- Select ‘OK’ to set the login password for the newly created user name in the next screen.
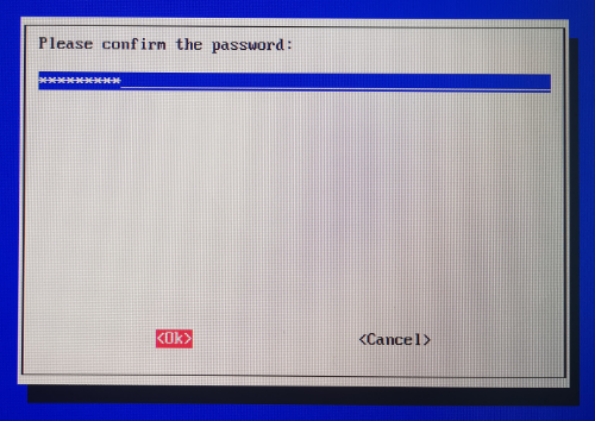
- Select ‘OK’ and re-enter the set password in the next screen.
- Select ‘OK’ to complete the initial setup and enter the login screen.
- Follow the prompts to log in to the system by entering your user name and password in turn, and enter the operating system after the boot is complete.
2.4.3 Installing the Firmware package
This section describes how to install the Firmware package on a standard Raspberry Pi OS. It can be executed by burning the Raspberry Pi OS (Desktop) 64-bit-bookworm (Debian 12) image:
curl -s https://apt.edatec.cn/bsp/ed-install.sh | sudo bash -s ‘product name’
to configure the system for normal use. The commands for each device model are listed in the following table:
| Model Number | Executable Command |
|---|---|
| ED-AIC2000 | curl -s https://apt.edatec.cn/bsp/ed-install.sh | sudo bash -s aic_200w /aic_230w/aic_hq |
| ED-AIC2100 | curl -s https://apt.edatec.cn/bsp/ed-install.sh | sudo bash -s aic_200w /aic_230w/aic_hq |
| ED-GWL2010 | curl -s https://apt.edatec.cn/bsp/ed-install.sh | sudo bash -s gwl2010_470/gwl2010_868/gwl2010_915 |
| ED-GWL2010 | curl -s https://apt.edatec.cn/bsp/ed-install.sh | sudo bash -s gwl2010_470/gwl2010_868/gwl2010_915 |
| ED-HMI2002 | curl -s https://apt.edatec.cn/bsp/ed-install.sh | sudo bash -s hmi2002_070c/hmi2002_101c |
| ED-HMI2020 | curl -s https://apt.edatec.cn/bsp/ed-install.sh | sudo bash -s hmi2020_070c/hmi2020_101c |
| ED-HMI2120 | curl -s https://apt.edatec.cn/bsp/ed-install.sh | sudo bash -s hmi2120_070c/hmi2120_101c |
| ED-HMI2220 | curl -s https://apt.edatec.cn/bsp/ed-install.sh | sudo bash -s hmi2220_070c/hmi2220_101c |
| ED-HMI2320 | curl -s https://apt.edatec.cn/bsp/ed-install.sh | sudo bash -s hmi2320_070c/hmi2320_101c |
| ED-HMI2630 | curl -s https://apt.edatec.cn/bsp/ed-install.sh | sudo bash -s hmi2630_101c |
| ED-HMI3010 | curl -s https://apt.edatec.cn/bsp/ed-install.sh | sudo bash -s hmi3010_070c/hmi3010_101c |
| ED-HMI3020 | curl -s https://apt.edatec.cn/bsp/ed-install.sh | sudo bash -s hmi3020_070c/hmi3020_101c |
| ED-IPC2010 | curl -s https://apt.edatec.cn/bsp/ed-install.sh | sudo bash -s ipc2010 |
| ED-IPC2010 | curl -s https://apt.edatec.cn/bsp/ed-install.sh | sudo bash -s ipc2110 |
| ED-IPC2400 | curl -s https://apt.edatec.cn/bsp/ed-install.sh | sudo bash -s ipc2410/ipc2420/ipc2430 |
| ED-IPC2600 | curl -s https://apt.edatec.cn/bsp/ed-install.sh | sudo bash -s ipc2610/ipc2620/ipc2630 |
| ED-IPC3020 | curl -s https://apt.edatec.cn/bsp/ed-install.sh | sudo bash -s ipc3020 |
| ED-CM4Sen | curl -s https://apt.edatec.cn/bsp/ed-install.sh | sudo bash -s sen |
| ED-SBC2300 | curl -s https://apt.edatec.cn/bsp/ed-install.sh | sudo bash -s sbc231x |
Here is an example of a BSP packet that executes the command ED-CM4SEN.
Prerequisites:
Completed burning and boot configuration of the standard bookworm image for the Raspberry Pi.
Operation steps:
After the device boots normally, execute the following command in the command pane.
curl -s https://apt.edatec.cn/bsp/ed-install.sh | sudo bash -s sen
pi@raspberrypi-h:~ $  curl -s https://apt.edatec.cn/bsp/ed-install.sh | sudo bash -s  sen

  % Total    % Received % Xferd  Average Speed   Time    Time     Time  Current
                                 Dload  Upload   Total   Spent    Left  Speed
100   483  100   483    0     0    485      0 --:--:-- --:--:-- --:--:--   484
--2024-09-10 07:07:46--  https://apt.edatec.cn/bsp/splash.png
Connecting to 192.192.192.208:8118... connected.
Proxy request sent, awaiting response... 200 OK
Length: 36009 (35K) [image/png]
Saving to: ‘/tmp/eda-common/eda/splash.png’
/tmp/eda-common/eda/splash.png                100%[=================================================================================================>]  35.17K
After executing the command, the BSP package will be automatically installed and rebooted when the installation is completed.
After the installation is complete, execute the following command to check whether the firmware package is installed successfully.
dpkg -l | grep ed-
The result in the following figure shows ED-CM4SEN-rev1p0-bsp indicating that the firmware package has been installed successfully.
pi@raspberrypi-h:~ $  dpkg -l | grep ed-
ii  ED-CM4SEN-rev1p0-bsp      1.20240708    arm64    EDATEC ED-CM4SEN(ED-CM4SEN) Hardware V1.0 BSP Package
⚠️Prompt:
If the wrong firmware package is installed, you can remove it by running sudo apt-get --purge remove package, where package is the name of the package.
2.4.5 Enable SSH (optional)
There are two ways to enable SSH:
The first can be configured to turn on SSH using the burner when burning the system.
The second one enters the system and opens SSH
- Execute the command
sudo raspi-configto enter the system setup page.
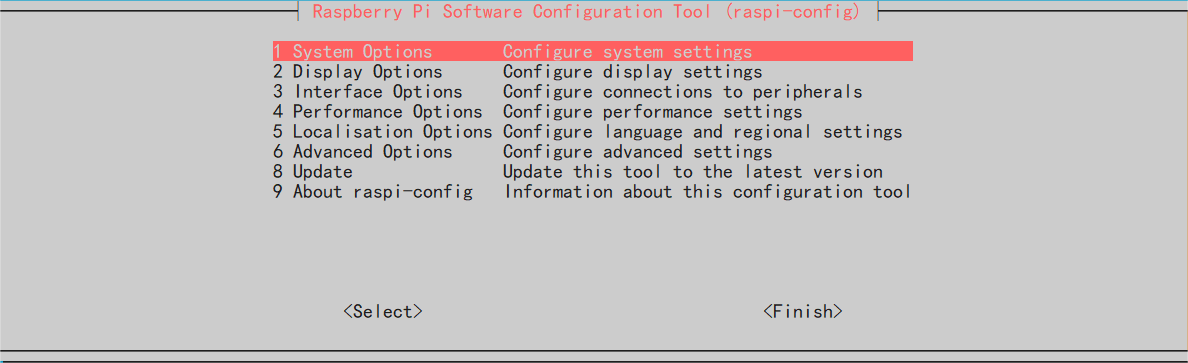
- Select the third item ‘Interface Optionns’ and press the Enter key.
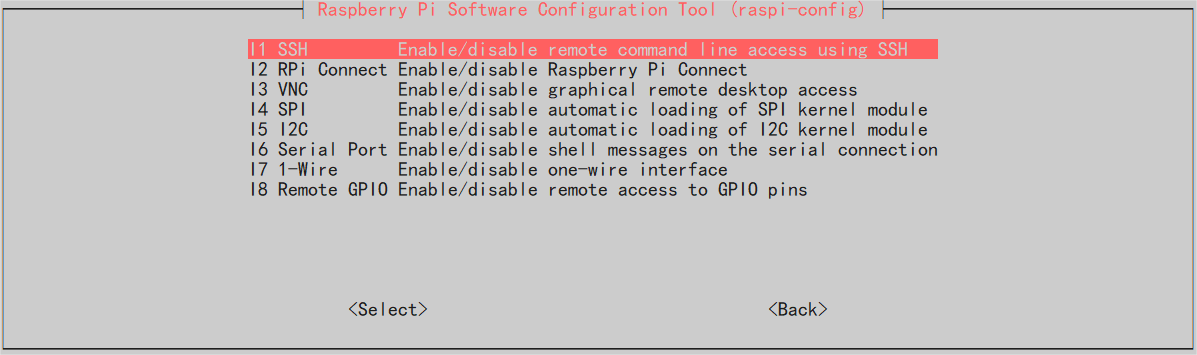
- Select SSH and press enter, select ‘Yes’ and continue to enter.
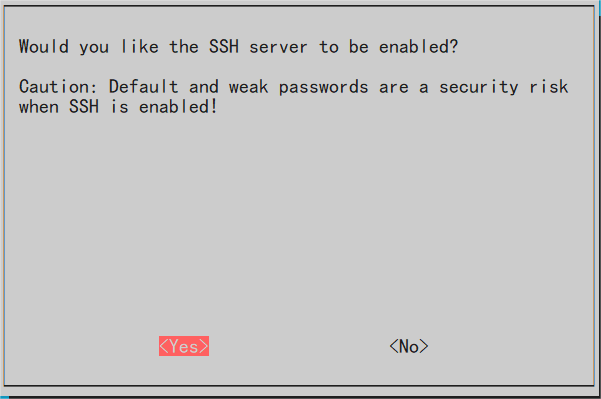
- Select SSH and press Enter, select Yes and continue to Enter.
3 Firmware system upgrade (optional)
After the system boots up normally, you can execute the following commands in the command pane to upgrade the system firmware and optimise the system software functions.
sudo apt update
sudo apt upgrade