Using Ubuntu System on ED-HMI3010
1 Overview
This document introduces the background and scope of using the Ubuntu system on the ED-HMI3010 series products.
1.1 Background
The ED-HMI3010 series products come pre-installed with Raspberry Pi OS by default. If users wish to replace the operating system with Ubuntu after receiving the product, directly flashing the Ubuntu system may result in partial functionality issues (e.g., the LCD screen not displaying). To resolve this, our company supports online installation of firmware packages, enabling better compatibility of the ED-HMI3010 series with Ubuntu and ensuring full functionality.
1.2 Applicability
The table below lists the applicable product models and Ubuntu system versions.
| Product Model | System Version |
|---|---|
| ED-HMI3010-070C | Ubuntu Desktop 24.04 LTS (64-bit) Ubuntu 24.04 Ubuntu Desktop 23.10 (64-bit) Ubuntu 23.10 |
| ED-HMI3010-101C |
2 Configuration Guide
Introducing the steps to Ubuntu system on ED-HMI3010 series products.
2.1 Operation Process
- Flashing to SD Card
- First Boot Configuration
- Installing Kernel and Firmware Packages
2.2 Flashing to SD Card
It is recommended to use the Raspberry Pi official tools. The download paths are as follows:
- Raspberry Pi Imager: https://downloads.raspberrypi.org/imager/imager_latest.exe
Preparation:
- The downloading and installation of the official tools to the Windows PC have been completed.
- An SD card reader has been prepared.
- The Ubuntu OS file has been obtained.
Steps:
The steps are described using Windows system as an example.
Pull out Micro SD card for ED-HMI3010.
Insert the Micro SD card into the card reader, and then insert the card reader into the USB port of your Windows PC.
Open
SD Card Formatter, select the formatted drive letter, and click "Format" at the lower right to format.
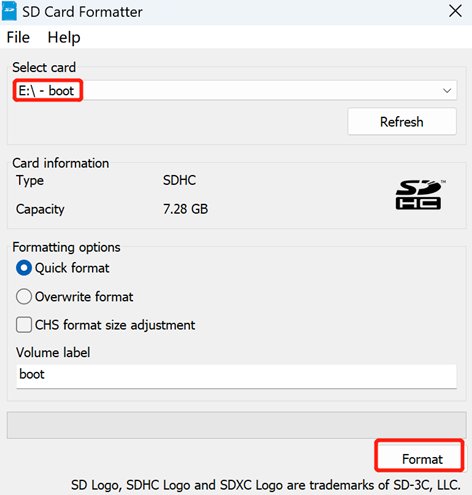
In the pop-up prompt box, select "Yes".
When the formatting is completed, click "OK" in the prompt box.
Close
SD Card Formatter.Open
Raspberry Pi Imager, select "CHOOSE OS" and select "Use Custom " in the pop-up pane.
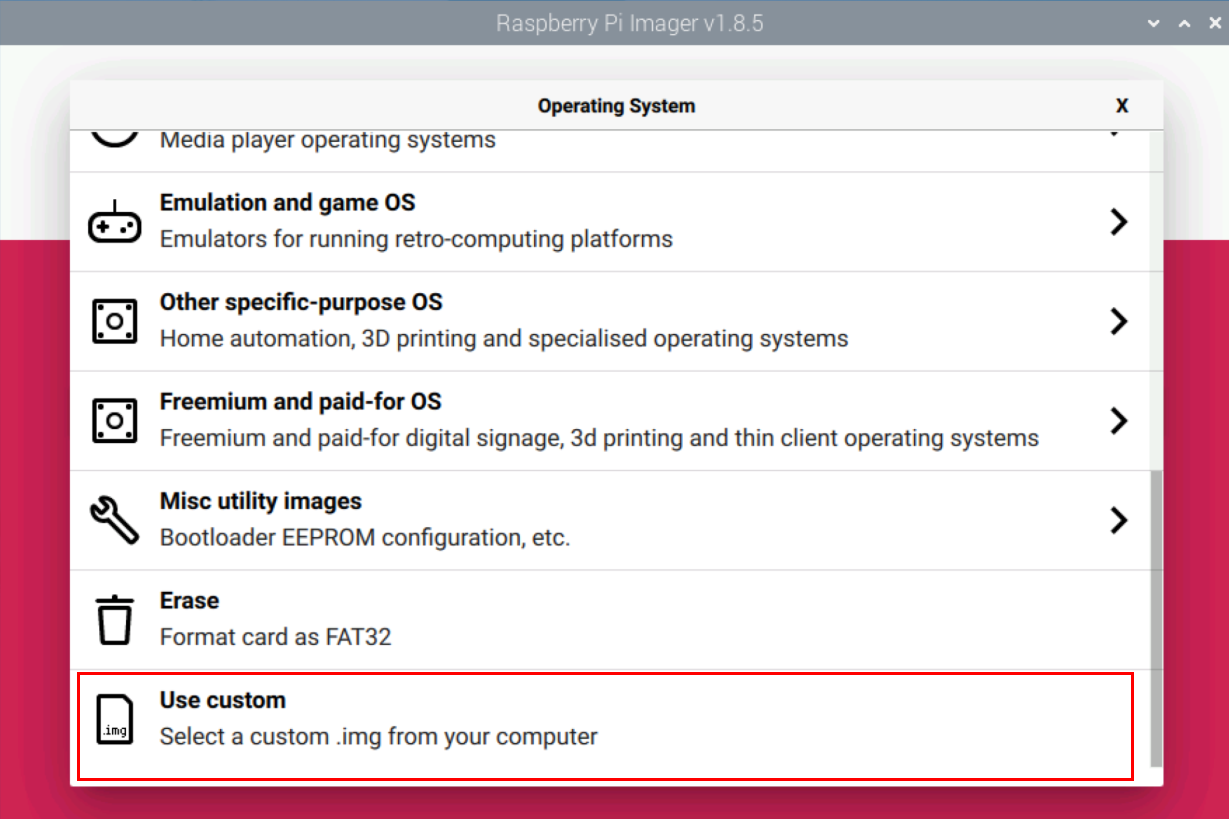
According to the prompt, select the Ubuntu OS file under the user-defined path and return to the main page.
Click "CHOOSE STORAGE", select the default device in the "Storage" interface, and return to the main page.

- Click “NEXT”, select "NO " in the pop-up “Use OS customization?” pane.
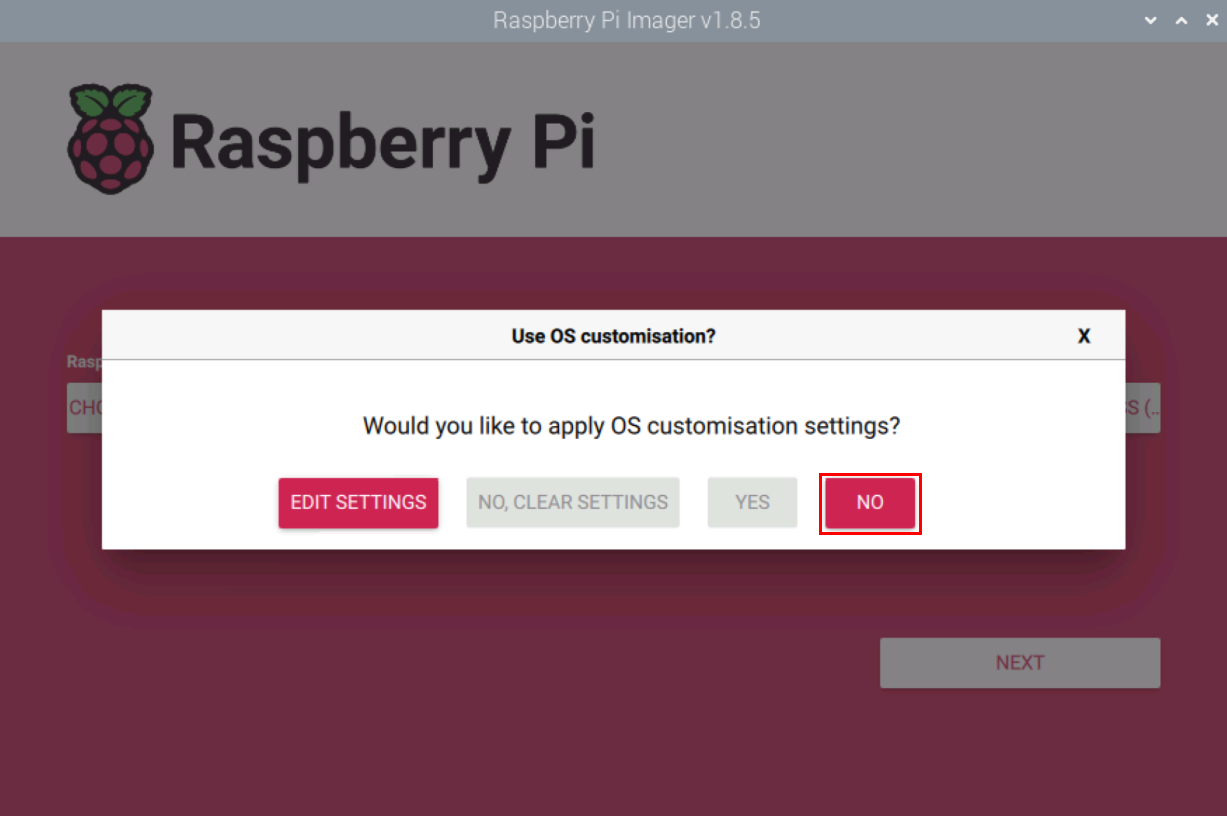
- Select “YES” in the pop-up “Warning” pane to start writing the image.
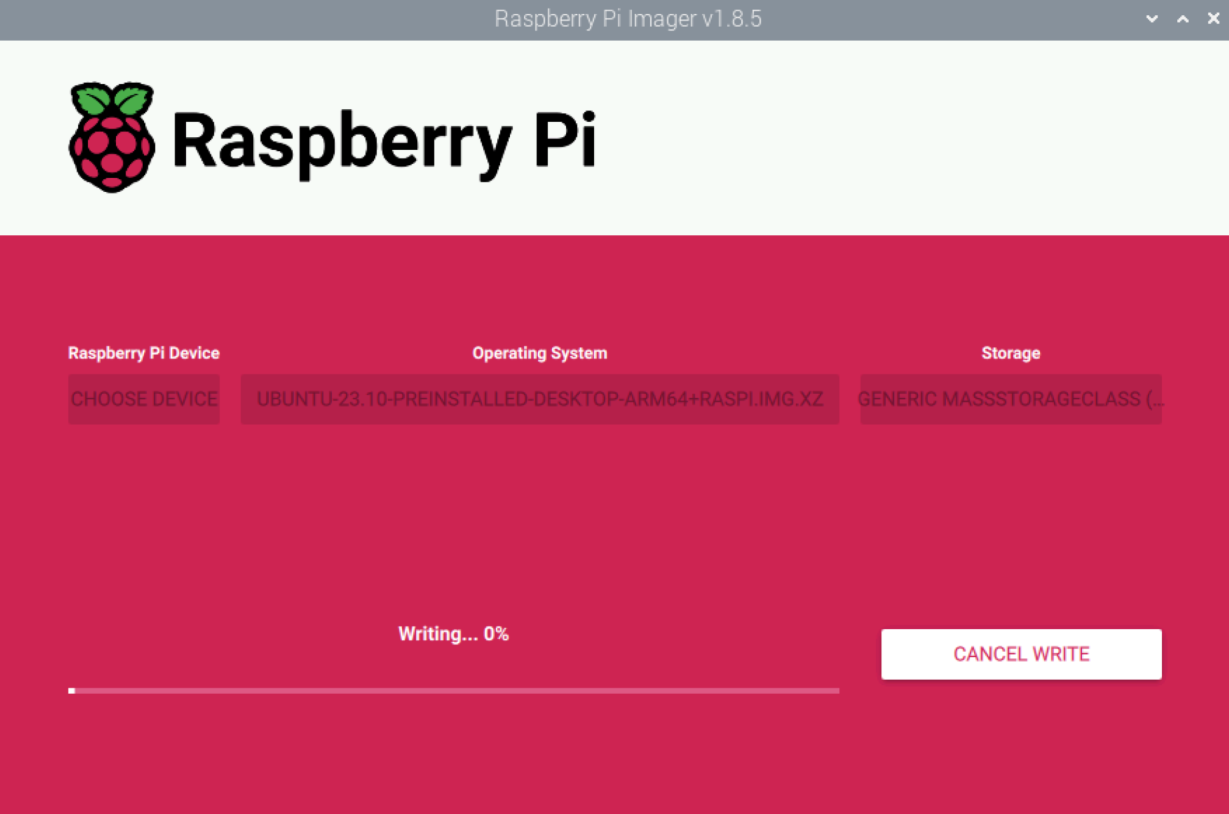
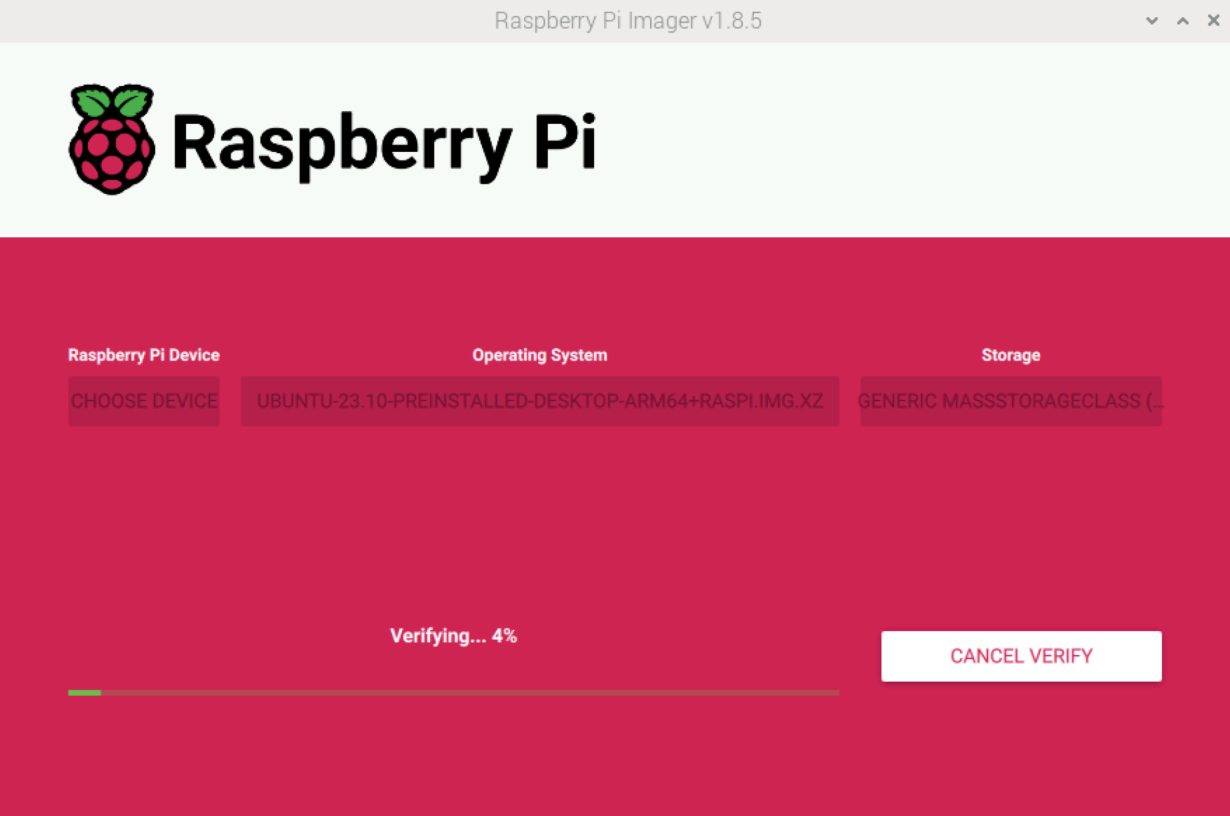
- After the OS writing is completed, the file will be verified.
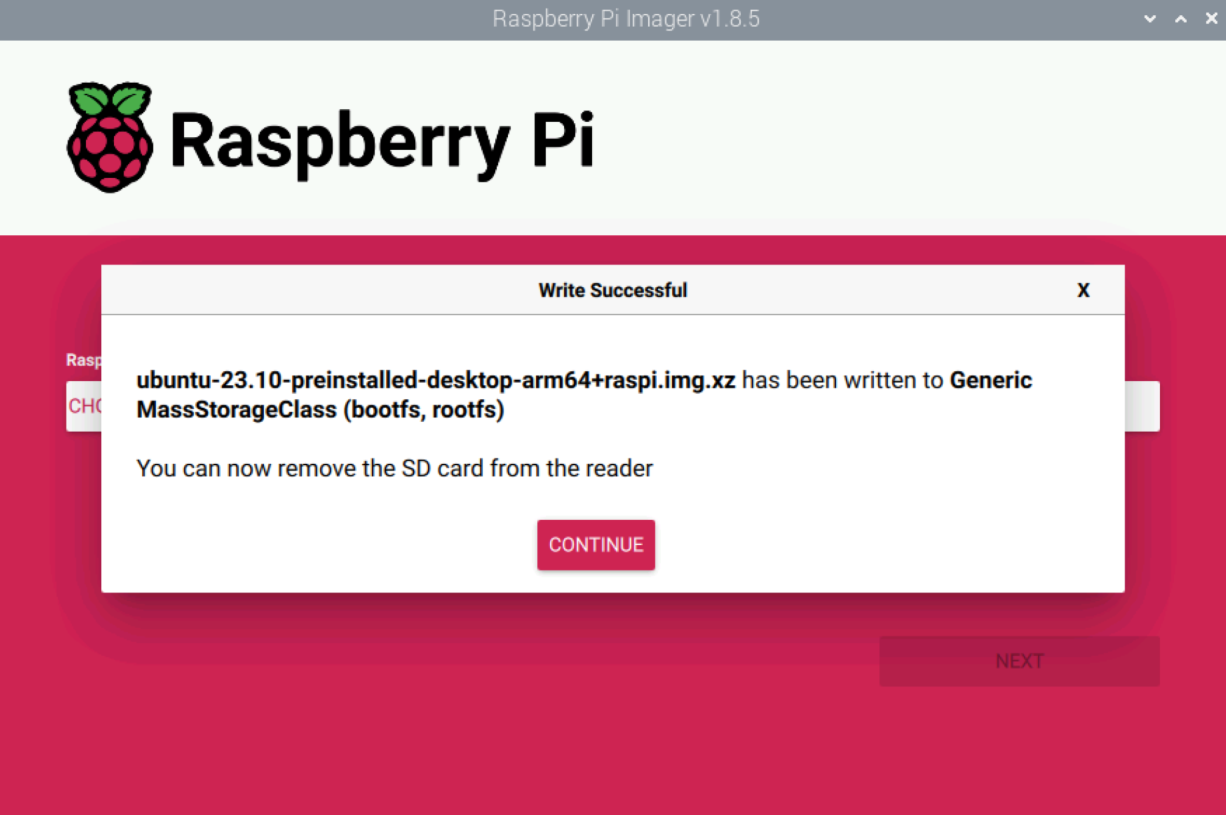
- After the verification is completed, click “CONTINUE” in the pop-up “Write Successful” box.
Close the
Raspberry Pi Imager, remove the SD card from the card reader.Insert the SD card into ED-HMI3010, then power it on.
2.3 First Boot Configuration
Introducing the steps to complete the initial setup of the Ubuntu system.
2.3.1 Ubuntu Desktop 23.10 LTS (64-bit)
After flashing the Ubuntu Desktop 23.10 LTS (64-bit) image, the system requires initial setup during the first boot.
Preparation:
- Ensure you have a functioning monitor (with HDMI port), mouse, keyboard, and power adapter.
- Ensure you have a working HDMI cable.
- Ensure you have a working Ethernet cable.
Steps:
Connect the device to the network via an Ethernet cable, link it to the monitor using an HDMI cable, and connect the mouse, keyboard, and power adapter.
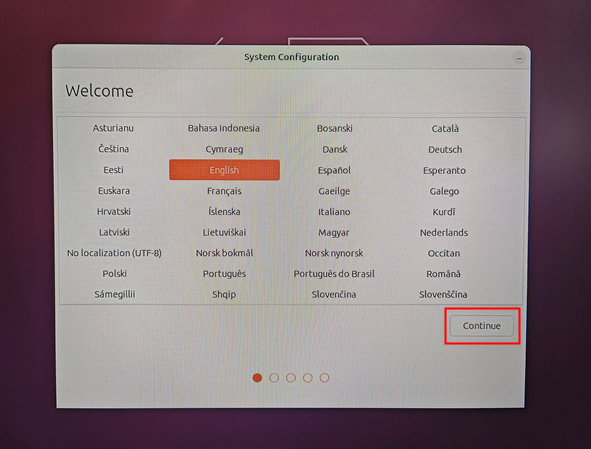
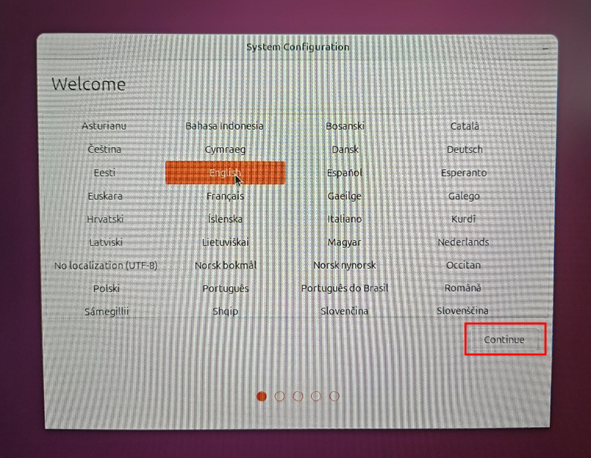
Power on the device, the system will boot up. After successful startup, the "System Configuration" interface will appear. Set the system language as needed, then click "Continue".
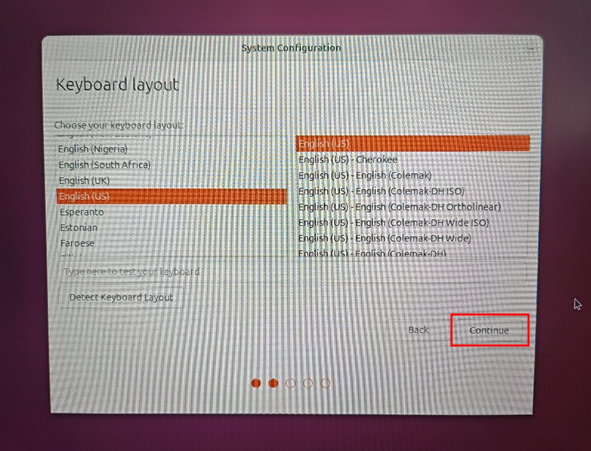
- Select your preferred keyboard layout, then click "Continue".

- Choose the appropriate region from the list, then click "Continue".

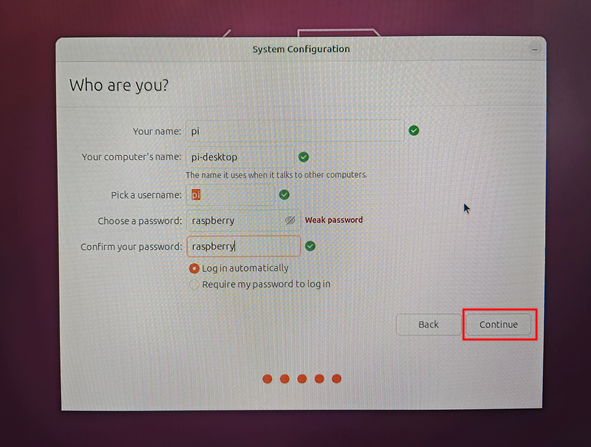
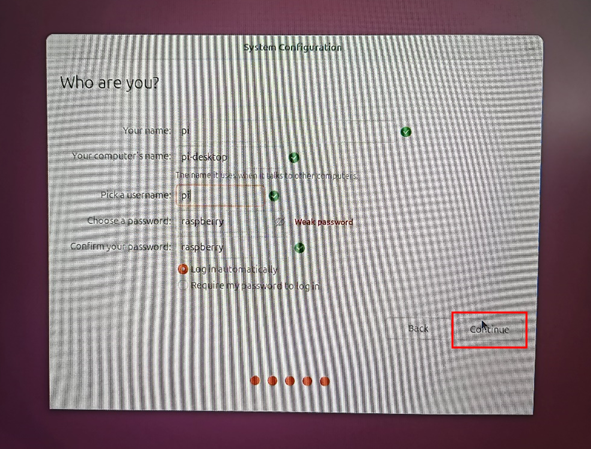
- Set up a username and password. Check the box for "Log in automatically" (optional), then click "Continue".
- After the initial configuration is complete, the system will enter the System Configuration Interface for further adjustments.

- Once system configuration is finalized, the Ubuntu desktop interface will automatically load.
2.3.2 Ubuntu Desktop 24.04 LTS (64-bit)
After flashing the Ubuntu Desktop 24.04 LTS (64-bit) image, the system requires initial setup during the first boot.
Preparation:
- Ensure you have a functioning monitor (with HDMI port), mouse, keyboard, and power adapter.
- Ensure you have a working HDMI cable.
- Ensure you have a working Ethernet cable.
Steps:
Connect the device to the network via an Ethernet cable, link it to the monitor using an HDMI cable, and connect the mouse, keyboard, and power adapter.
Power on the device, the system will boot up. After successful startup, the "System Configuration" interface will appear. Set the system language as needed, then click "Continue".
- Select your preferred keyboard layout, then click "Continue".
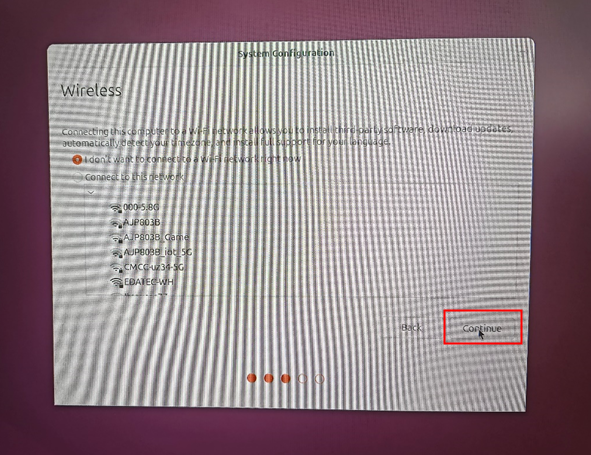
- Click "Continue" in the pop-up window to skip WiFi connection setup.
- Choose the appropriate region from the list, then click "Continue".
- Set up a username and password. Check the box for "Log in automatically" (optional), then click "Continue".
- After the initial configuration is complete, the system will enter the System Configuration Interface for further adjustments.
- Once system configuration is finalized, the Ubuntu desktop interface will automatically load.
2.4 Installing Kernel and Firmware Packages
After completing the initial setup on the ED-HMI3010 series product, you can configure the system by installing firmware packages to ensure full functionality. Below are the detailed steps for installing firmware packages on Ubuntu.
Preparation:
- The device is properly booted and connected to the network.
- Ubuntu image flashing and initial configuration are completed.
Steps:
Download and Transfer Packages:
- Download the Kernel package and Firmware package from the paths provided in the table below.
- Copy these packages to any directory on the ED-HMI3010 (with Ubuntu installed).
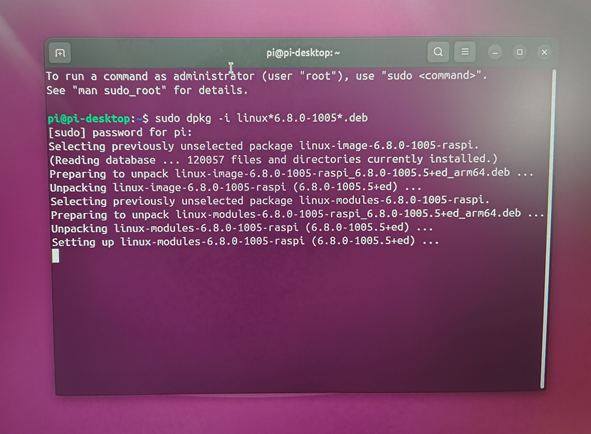
- Open a terminal window and execute the following command to install the Kernel package.
sudo dpkg -i linux*6.8.0-1005*.deb
- In the terminal, run the following commands sequentially to add the edatec apt repository.
sudo snap install curl
curl -sS https://apt.edatec.cn/pubkey.gpg | sudo apt-key add -
sudo echo "deb https://apt.edatec.cn/raspbian stable main" | sudo tee /etc/apt/sources.list.d/edatec.list

- In the terminal, execute the following commands to switch to the designated kernel.
sudo apt update
curl -s 'https://apt.edatec.cn/downloads/20250103/kernel-change-ubuntu.sh' | sudo bash -s  "6.8.0-1005-raspi"

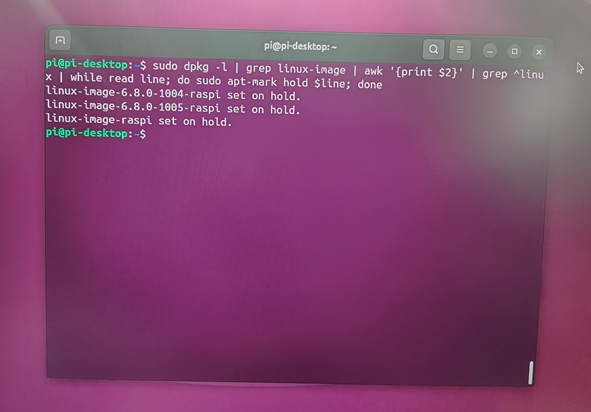
- Execute the following commands to prevent unintended kernel updates.
sudo dpkg -l | grep linux-image | awk '{print $2}' | grep ^linux | while read line; do sudo apt-mark hold $line; done
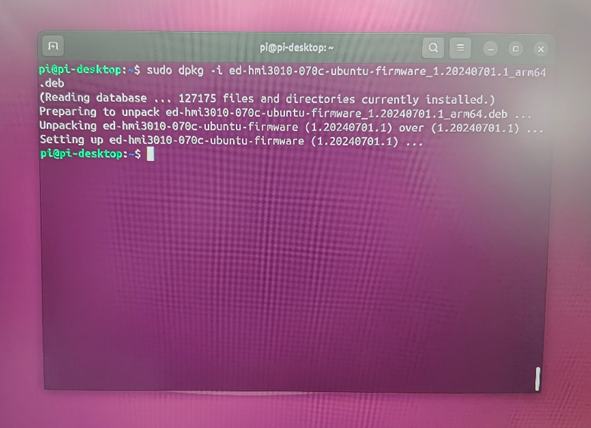
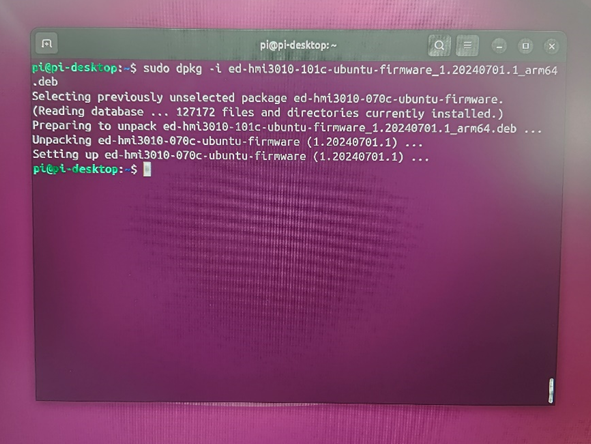
- Execute the following commands to install the firmware package.
- ED-HMI3010-070C
sudo dpkg -i ed-hmi3010-070c-ubuntu-firmware_1.20240612.2_arm64.deb
- ED-HMI3010-101C
sudo dpkg -i ed-hmi3010-101c-ubuntu-firmware_1.20240612.1_arm64.deb
- Disconnect the HDMI cable from the monitor, then power cycle the device (turn it off and on again) to finalize the configuration.