Configuring Wi-Fi on Raspberry Pi OS
1 Overview
This document explains how to configure Wi-Fi on Raspberry Pi OS using graphical tools or command-line methods.
1.1 Background
Users of ED-CM4SEN, ED-CM4IND, ED-IPC series, ED-HMI series, and other Wi-Fi-enabled products may face challenges configuring Wi-Fi due to unfamiliarity with Raspberry Pi's Debian-based system. This guide provides detailed instructions to resolve this issue.
1.2 Applicability
Applies to Wi-Fi-enabled products including ED-CM4SEN, ED-CM4IND, ED-IPC series, and ED-HMI series.
2 Configuration Guide
Raspberry Pi OS has Desktop and Lite editions. Configuration steps for both are described below.
2.1 Configuring Wi-Fi on Raspberry Pi OS (Desktop)
For Desktop editions, Set WLAN country code via the desktop menu and connect using either the GUI or NetworkManager.
2.1.1 Set WLAN Country Code
TIP
- Our devices ship with Wi-Fi enabled by default in the preinstalled operating system (OS), but the WLAN country code is preset to "CN China". This code must be reconfigured based on the actual deployment region.
- If the OS is reinstalled by the user, the WLAN country code must be manually set to re-enable Wi-Fi functionality.
Steps:
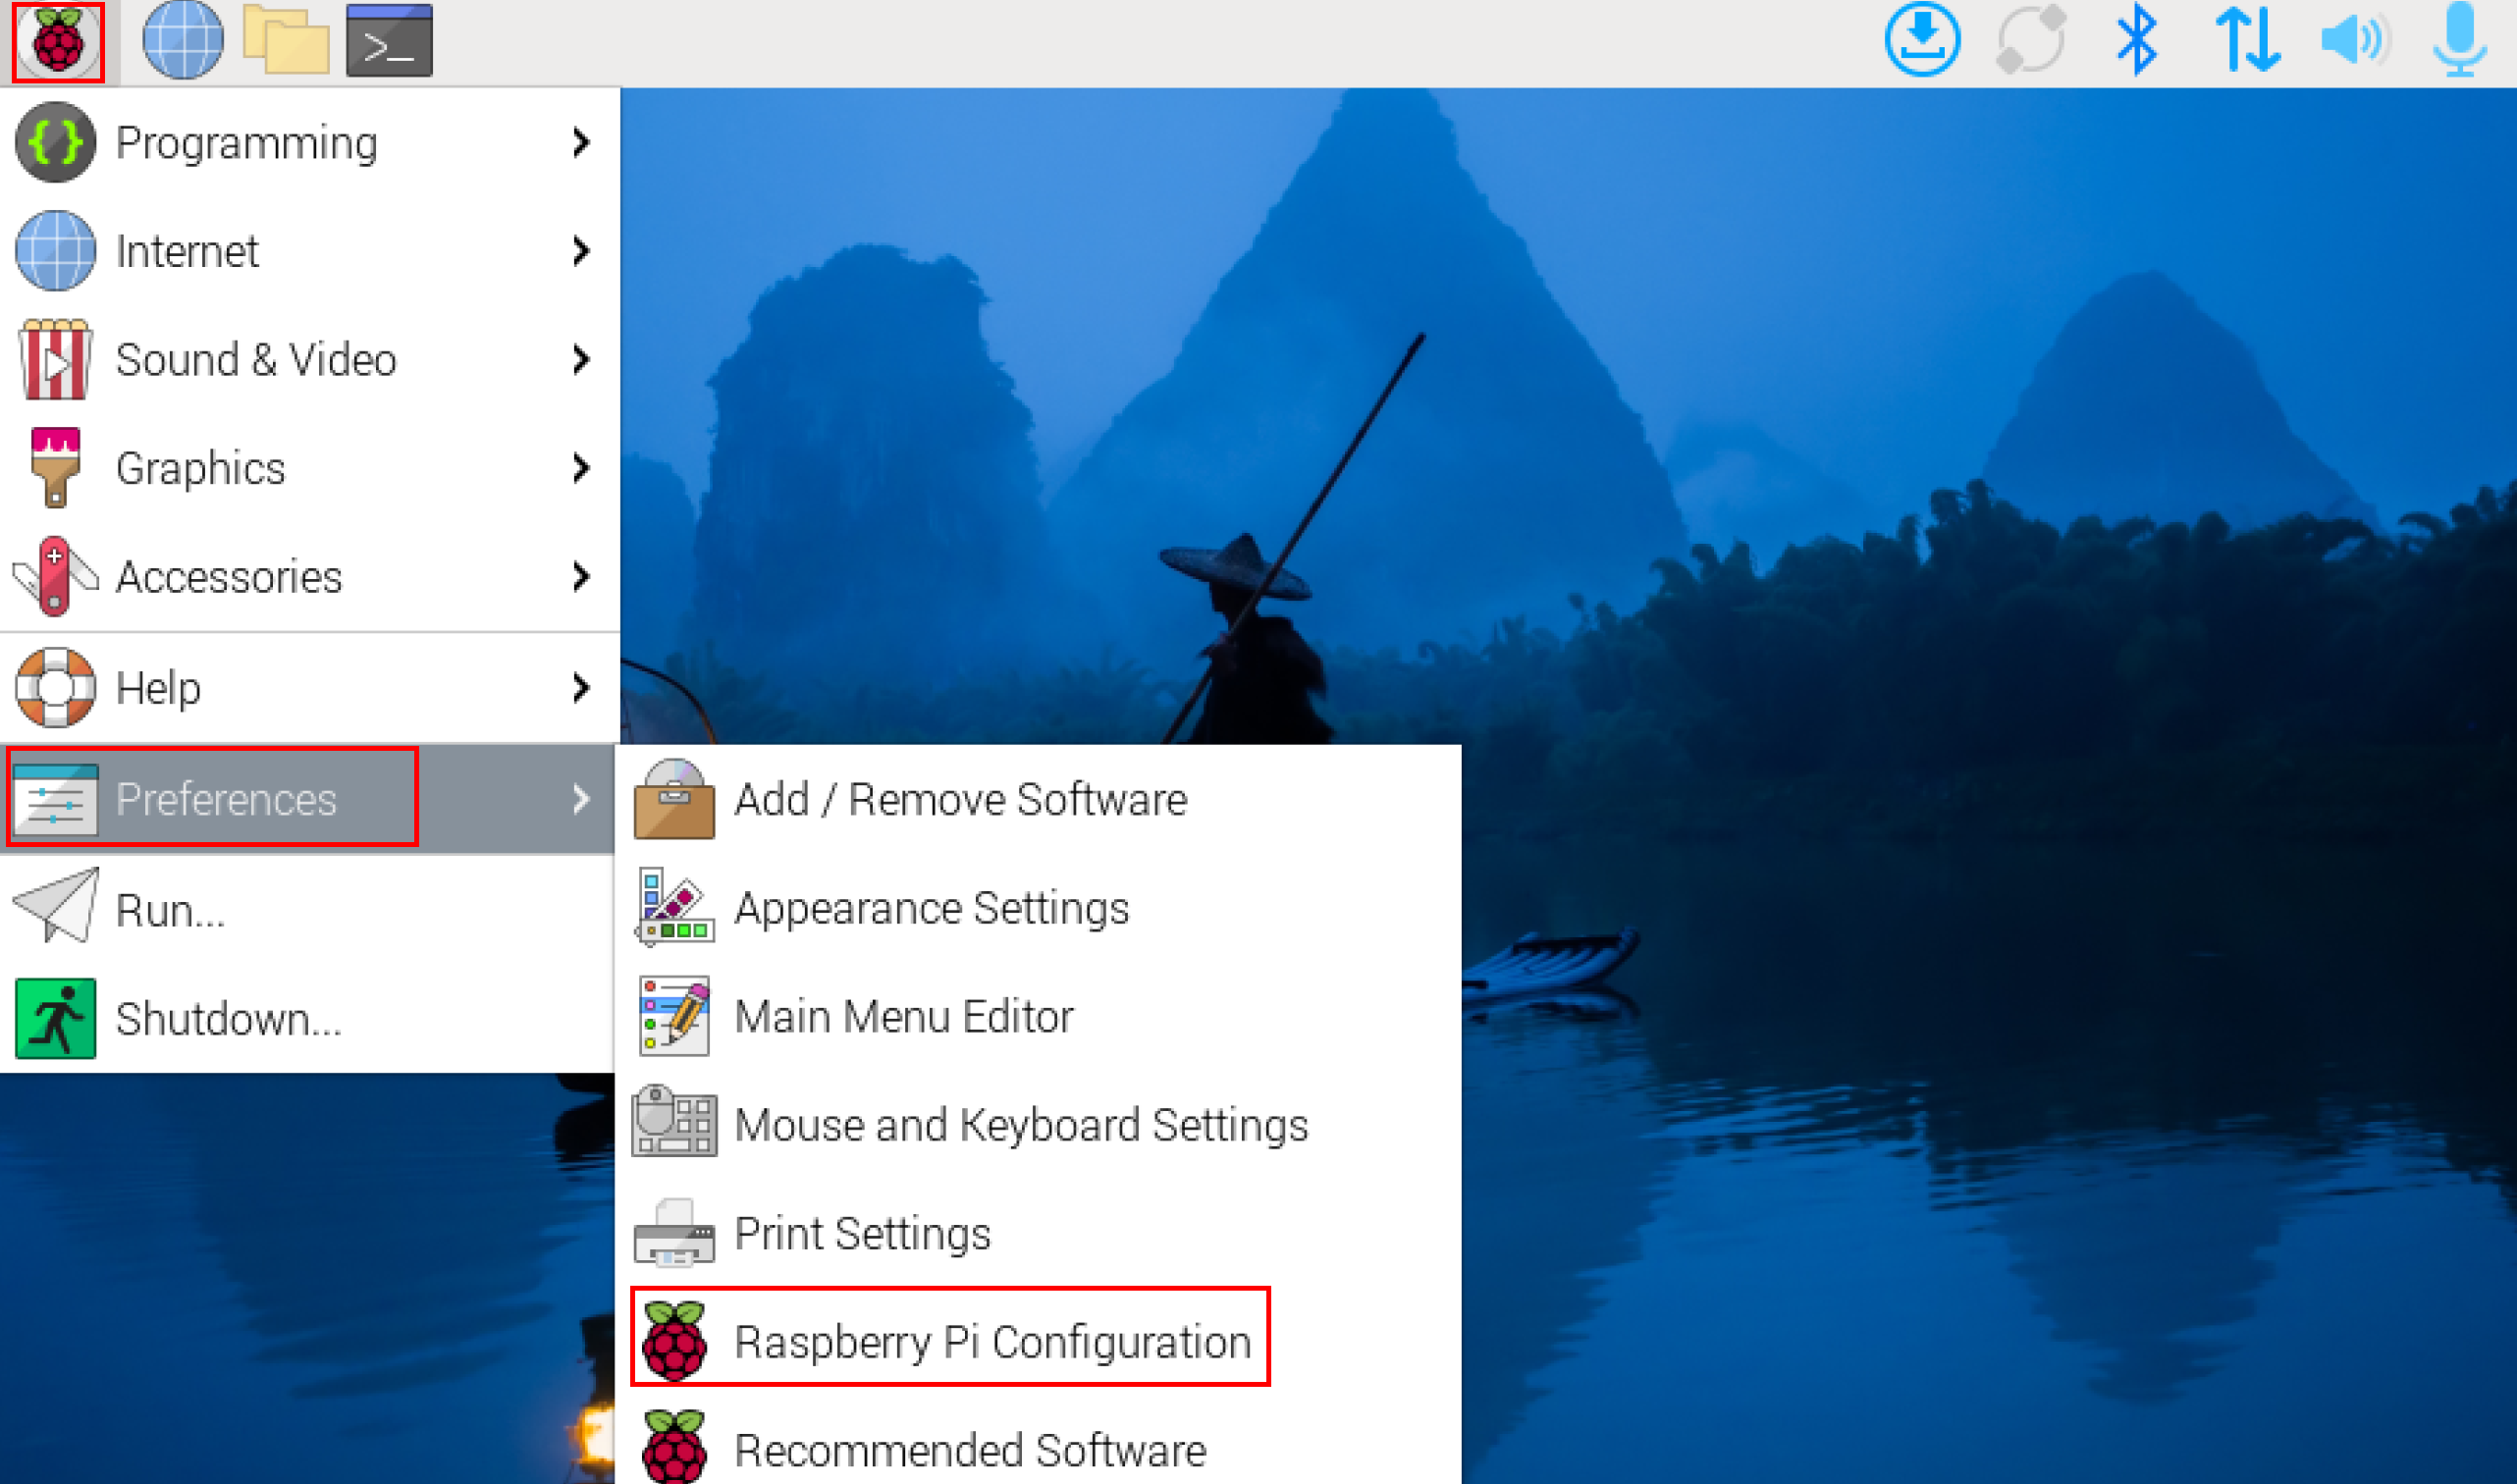
- Left-click the icon
 in the top-left corner of the desktop and select "Preferences"→"Raspberry Pi Configuration" in the menu.
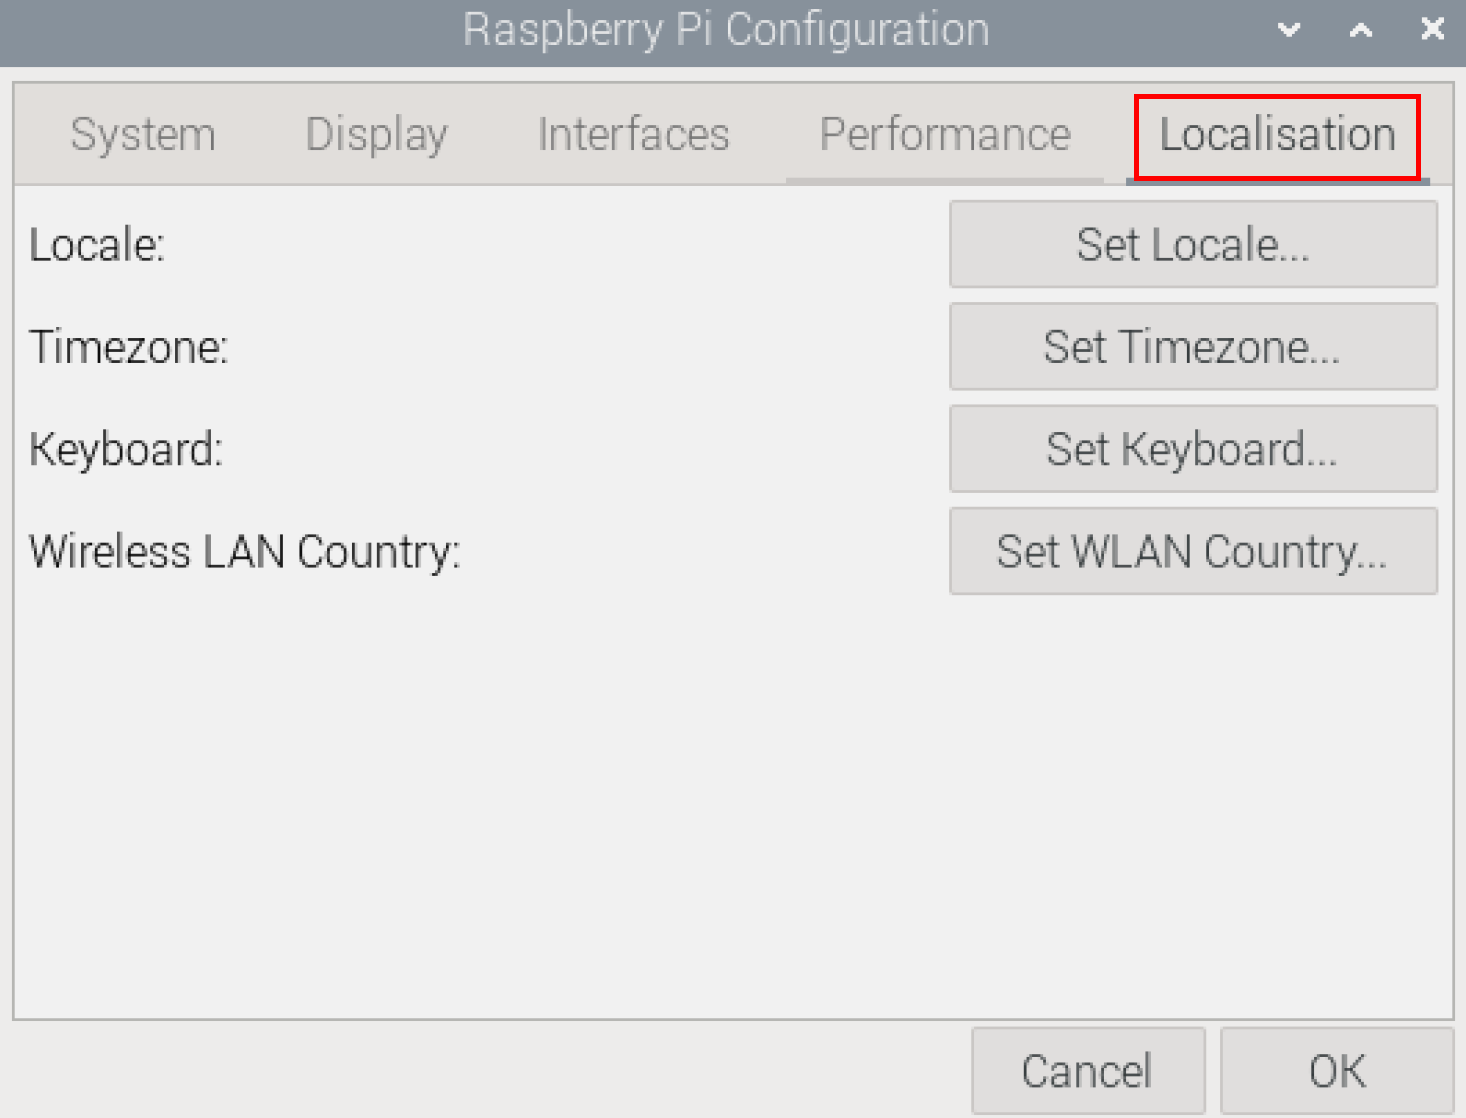
- In the
Raspberry Pi Configuration interface, select "Localisation".
- Click "Set WLAN Country...", Set the value of Country in the pop-up "Wireless LAN Country" pane, and select it to match your location's regulatory requirements.
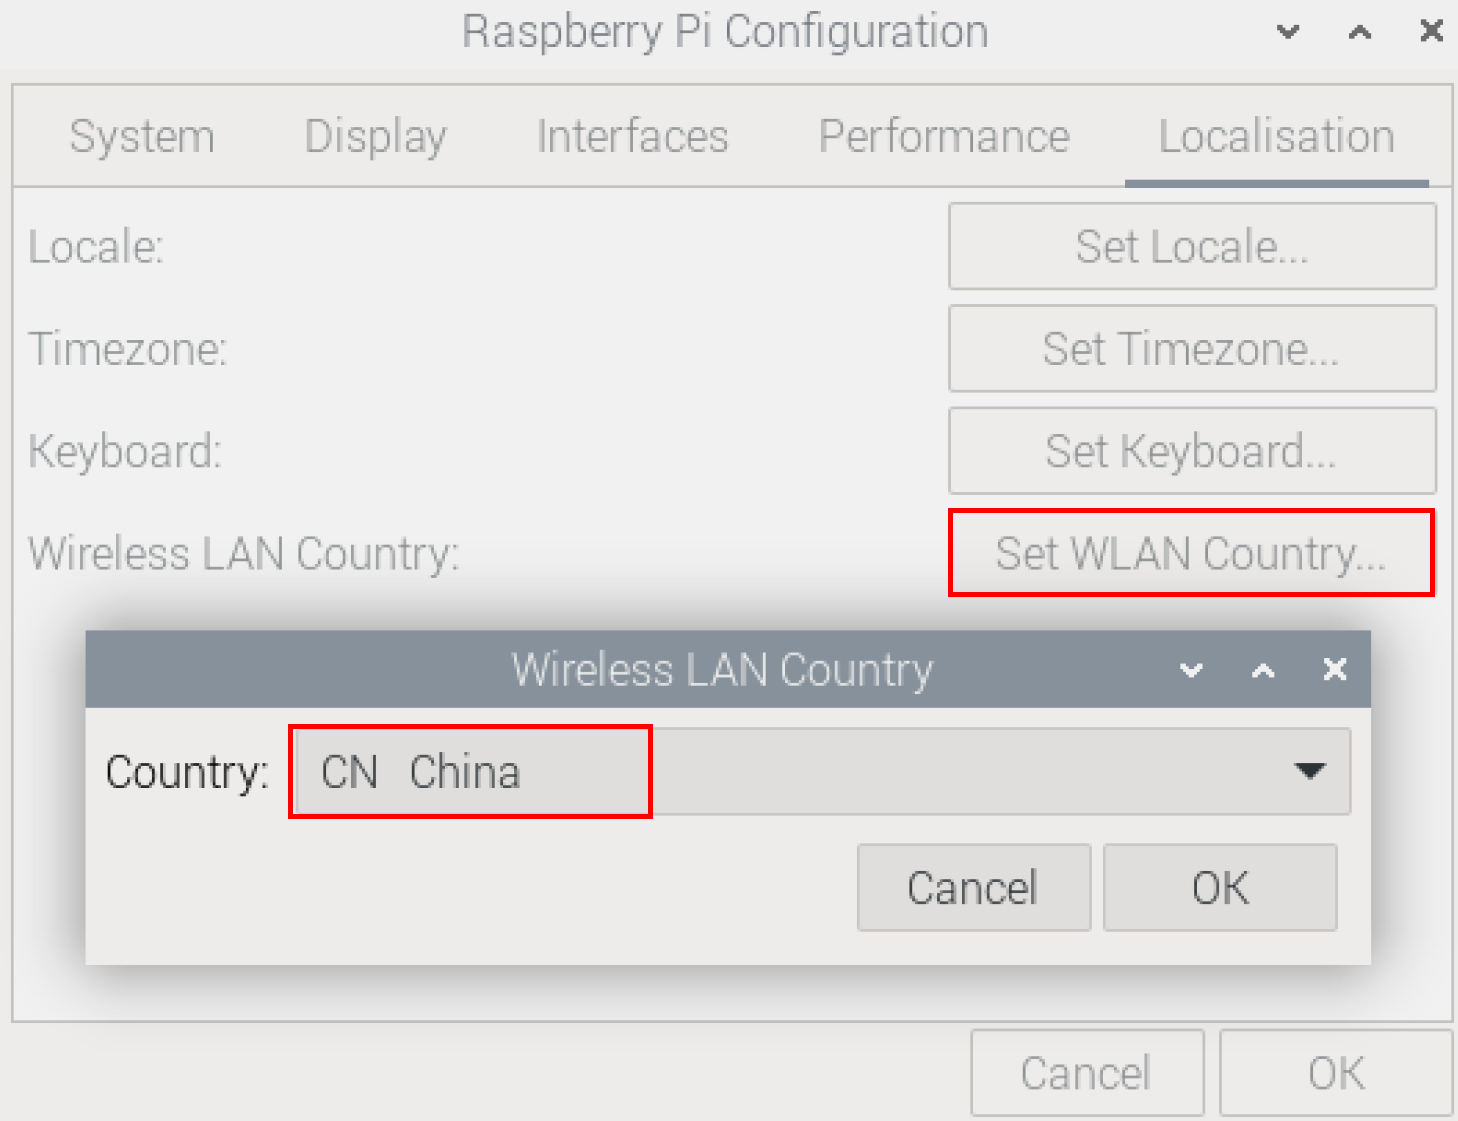
- Select "OK" to complete the setting.
2.1.2 Connecting Wi-Fi via Desktop Icon
Preparation:
- Wi-Fi is enabled.
Steps:
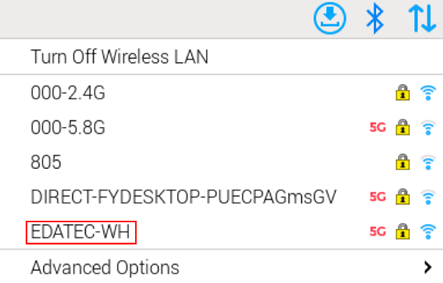
- Left-click the
 icon. Select your target Wi-Fi network.
- Enter the Wi-Fi password in the Password field.
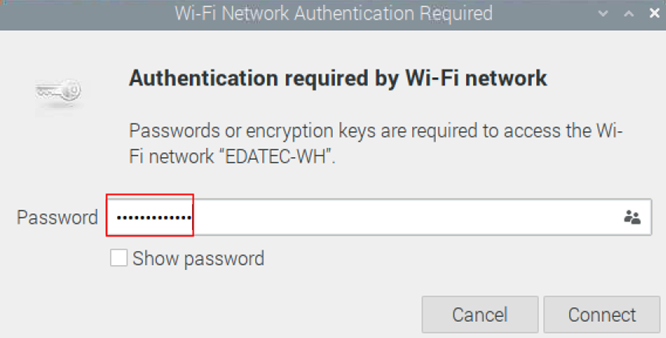
- Click "Connect". After connection, verify Wi-Fi status via the top-right icon.
2.1.3 Connecting Wi-Fi via NetworkManager
Preparation:
- Wi-Fi is enabled.
- Know the SSID and password of Wi-Fi.
Steps:
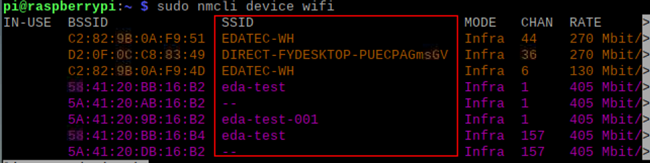
- Execute the following command to scan for available networks.
sudo nmcli device wifi
- Execute the following command to connect to the target network.
sudo nmcli device wifi connect SSID password password
SSIDis the name of target network,passwordis the password of target network.
- Execute the following command to enable auto-connect.
sudo nmcli connection modify SSID connection.autoconnect yes
SSIDis the name of target network.
2.2 Configuring Wi-Fi on Raspberry Pi OS (Lite)
For Lite editions, use raspi-config to set WLAN country code and connect Wi-Fi via raspi-config or NetworkManager.
2.2.1 Set WLAN Country Code
TIP
- Our devices ship with Wi-Fi enabled by default in the preinstalled operating system (OS), but the WLAN country code is preset to "CN China". This code must be reconfigured based on the actual deployment region.
- If the OS is reinstalled by the user, the WLAN country code must be manually set to re-enable Wi-Fi functionality.
Steps:
- Open the terminal and run the following command, open the
Raspberry Pi Software Configuration Tool (raspi-config)windows.
sudo raspi-config
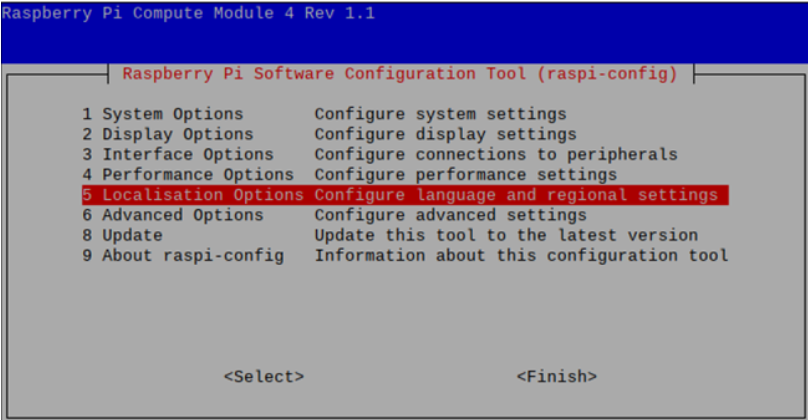
- Select "5 Localisation Options", and press
Enter.
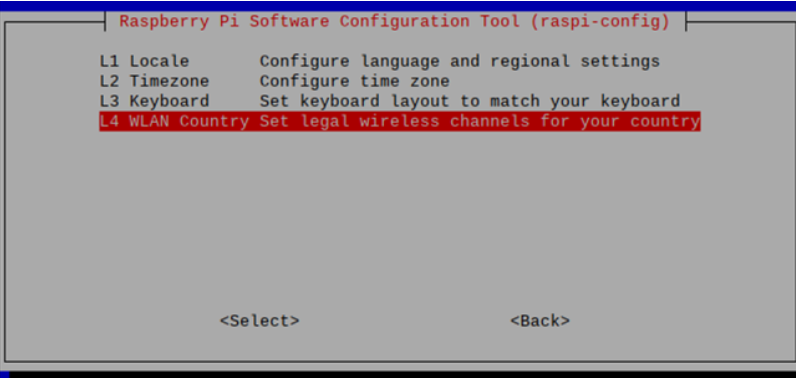
- Select "L4 WLAN Country", and press
Enter.
- Choose your country code (e.g., CN for China), and press
Enter.
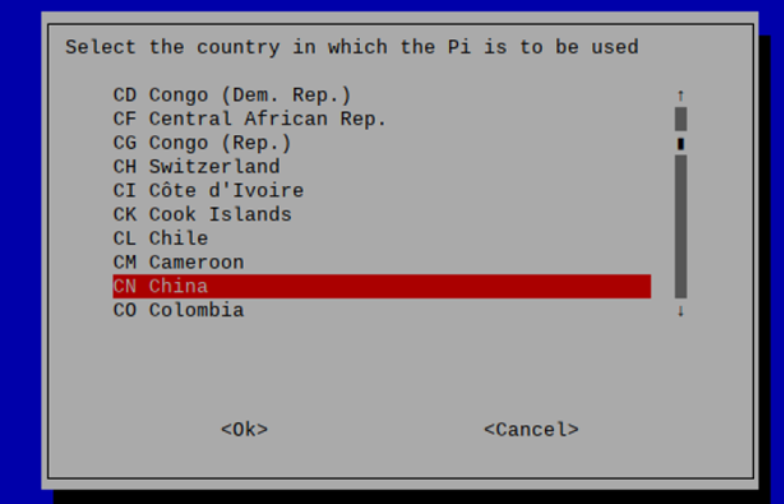
- In the
Wireless LAN country set to CNwindows, pressEnter.

2.2.2 Connecting Wi-Fi via raspi-config
Preparation:
- Wi-Fi is enabled.
- Know the SSID and password of Wi-Fi.
Steps:
- Open the terminal and run the following command, open the
Raspberry Pi Software Configuration Tool (raspi-config)windows.
sudo raspi-config
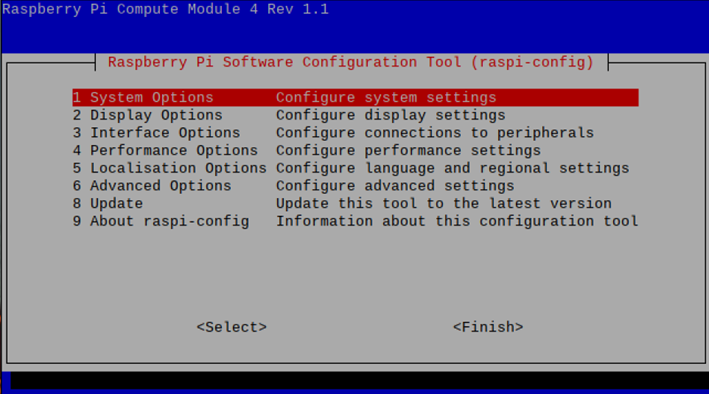
- Select "1 System Options", and press
Enter, then select "S1 Wireless LAN" in the opened windows.
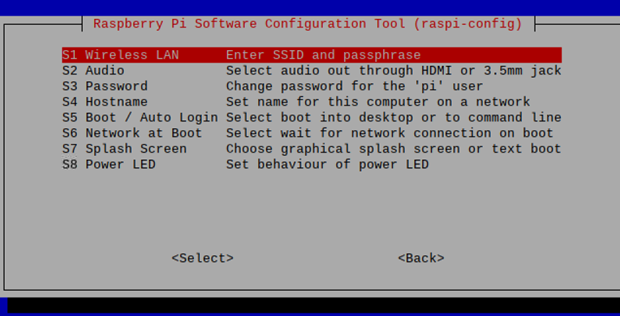
- Press
Enter, input the SSID of the target network in thePlease enter SSIDwindows.
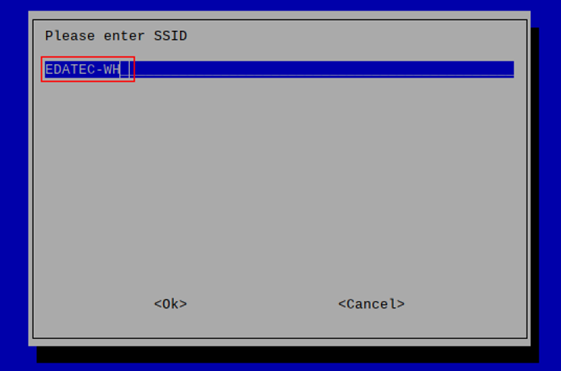
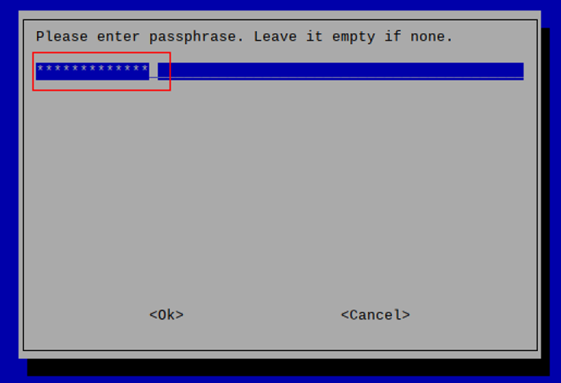
- Press
Enter, input the password of the target network in thePlease enter passphrasewindows.
TIP
If the Wi-Fi has no password, press Enter directly.
Press
Enterto connect to Wi-Fi. Once the Wi-Fi connection is established, select "Finish" and pressEnterto complete the setup, returning to the command-line window.Execute the following command to restart the device and activate the configuration settings.
sudo reboot
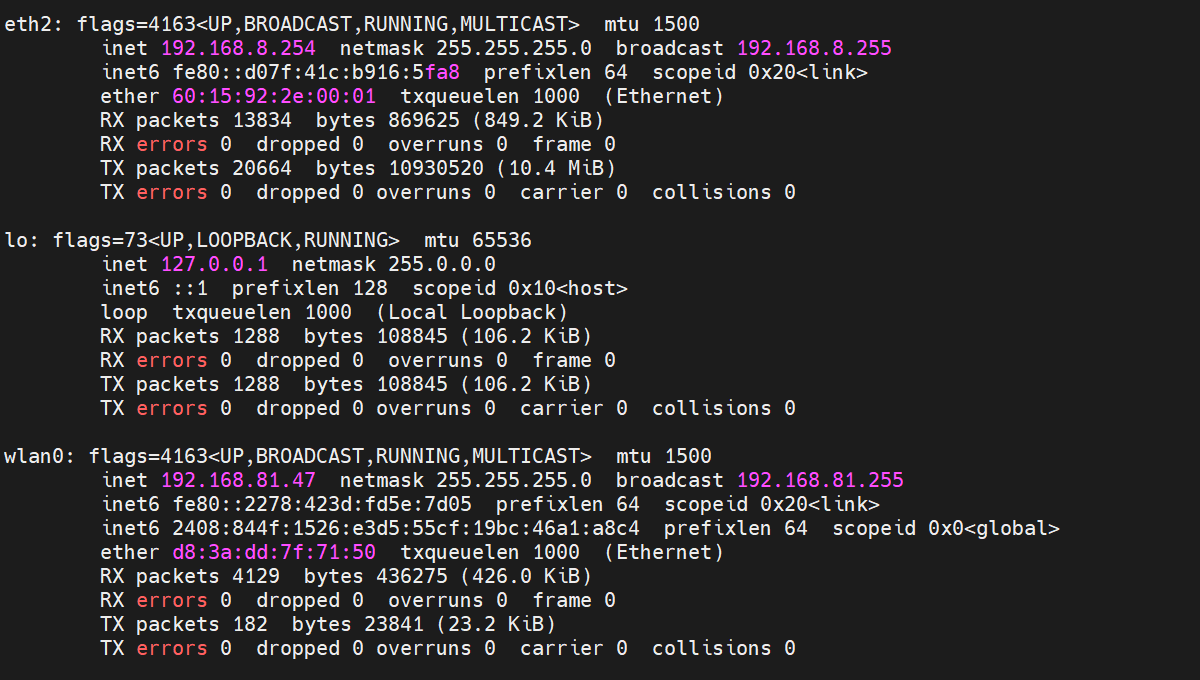
- Execute the following command to verify whether the Wi-Fi connection is successful.
ifconfig
- If the returned results include
wlan0with details showinginet: 192.168.XX.XX, the Wi-Fi connection is successful. - If the results do not include
wlan0, the Wi-Fi connection has failed.
2.2.3 Connecting Wi-Fi via NetworkManager
Preparation:
- Wi-Fi is enabled.
- Know the SSID and password of Wi-Fi.
Steps:
- Execute the following command to scan for available networks.
sudo nmcli device wifi
- Execute the following command to connect to the target network.
sudo nmcli device wifi connect SSID password password
SSIDis the name of target network,passwordis the password of target network.
- Execute the following command to enable auto-connect.
sudo nmcli connection modify SSID connection.autoconnect yes
SSIDis the name of target network.