Enabling network ports on Ubuntu systems
1. Overview
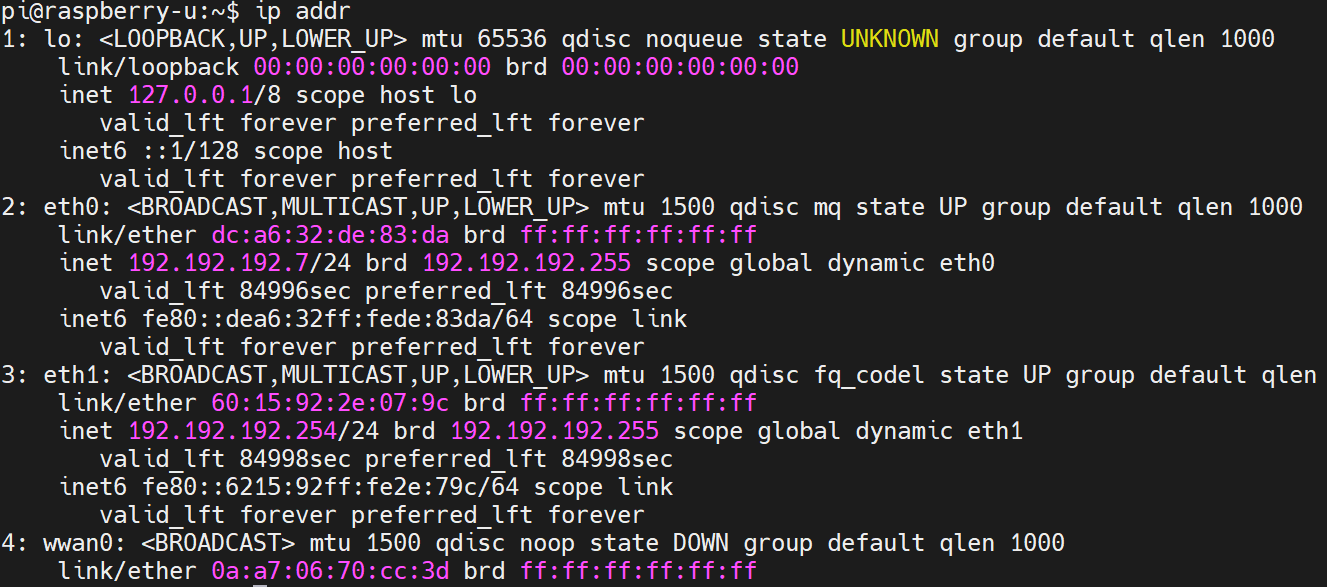
Some users may encounter the problem of eth1 not working properly when using Ubuntu system. This article provides a solution to guide users to make the network port function work properly by creating a new network configuration file.
Example environment
- Example hardware: CM4-IND
- Example software:
ubuntu-20.04.5-preinstalled-server-arm64+raspi.img
2. Operation Guide
2.1 Enter the configuration directory
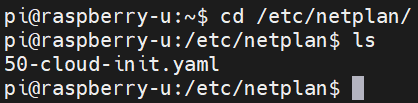
Open a terminal and execute the following command to enter the NIC configuration file directory:
cd /etc/netplan
2.2 New configuration file
Create a new network profile:
sudo nano 99-config.yaml
2.3 Configuring the network card
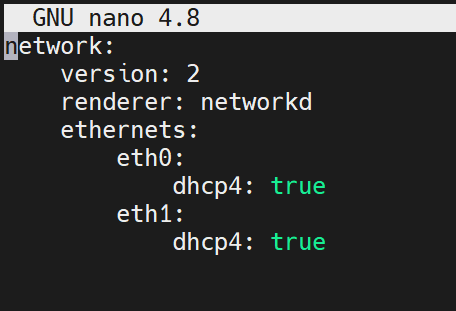
Write the following in the file (note that indentation should strictly follow the YAML syntax):
network:
    version: 2
    renderer: networkd
    ethernets:
        eth0:
            dhcp4: true
        eth1:
            dhcp4: true
2.4 Save and Exit
- Press
Ctrl + Oto save the file. - Press
Ctrl + Xto exit the editor.
2.5 Applying Configurations
Execute the following command to apply the network configuration:
sudo netplan apply
2.6 Reboot the device
After the configuration is complete, execute the following command to reboot the device:
sudo reboot
After reboot, eth1 is enabled.