3 Booting The Device
This chapter introduces how to connect cables and boot the device.
3.1 Connecting Cables
This section describes how to connect cables.
Preparation:
- Verified operational peripherals have been obtained, including display, mouse, keyboard, and power adapter.
- A functional network connection has been established.
- Operational HDMI and Ethernet cables have been secured.
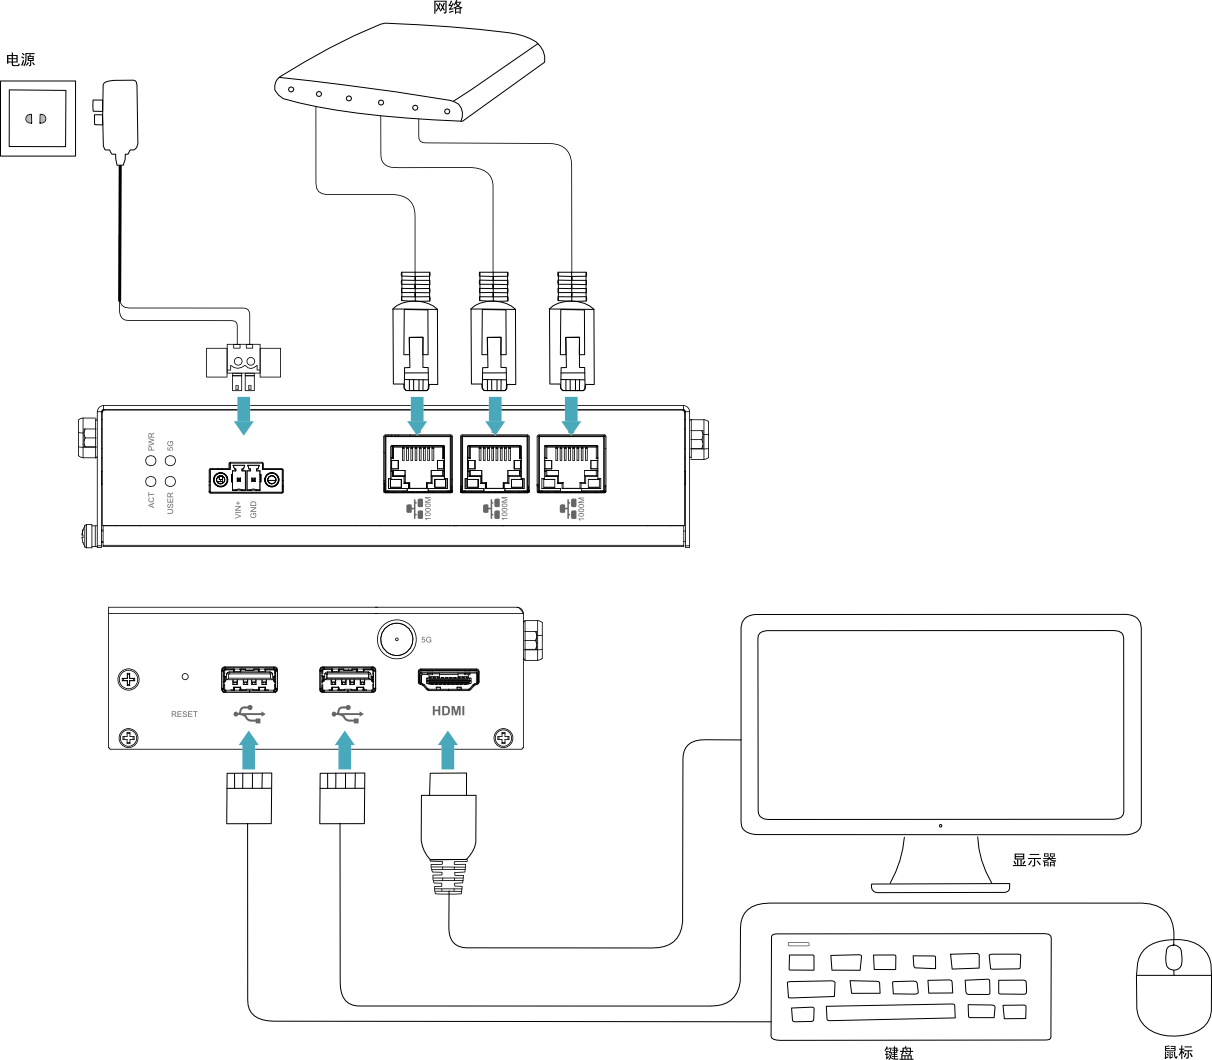
Schematic diagram of connecting cables:
For specific pin definitions of each interface and wiring methods, refer to 1.6 Interface.
3.2 Booting The System For The First Time
The ED-IPC2500 device does not feature a power switch. Upon connecting to a power source, the system will initiate startup.
- Solid red PWR LED: Indicates normal power supply to the device.
- Blinking green ACT LED: Signals successful system initialization, followed by the Raspberry Pi logo appearing in the top-left corner of the display.
TIP
- Default username:
pi - Default password:
raspberry
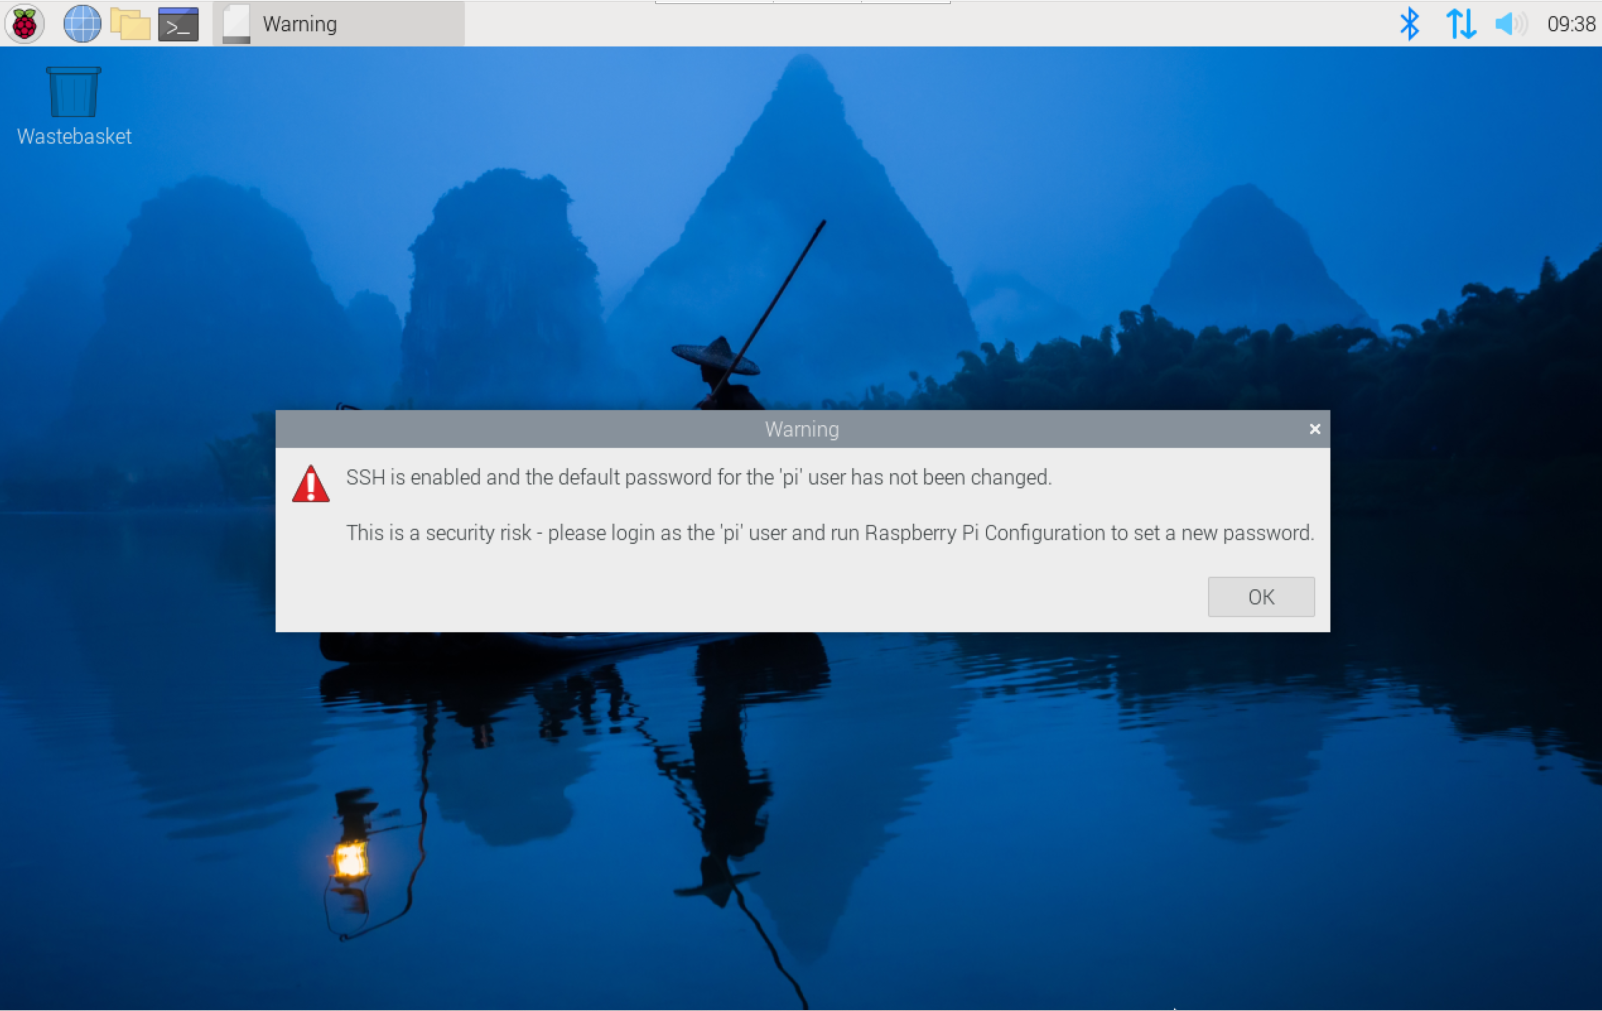
3.2.1 Raspberry Pi OS (Desktop)
If the Desktop edition of the system is preinstalled at the factory, the device will boot directly into the desktop environment upon completion of startup, as shown in the figure below.
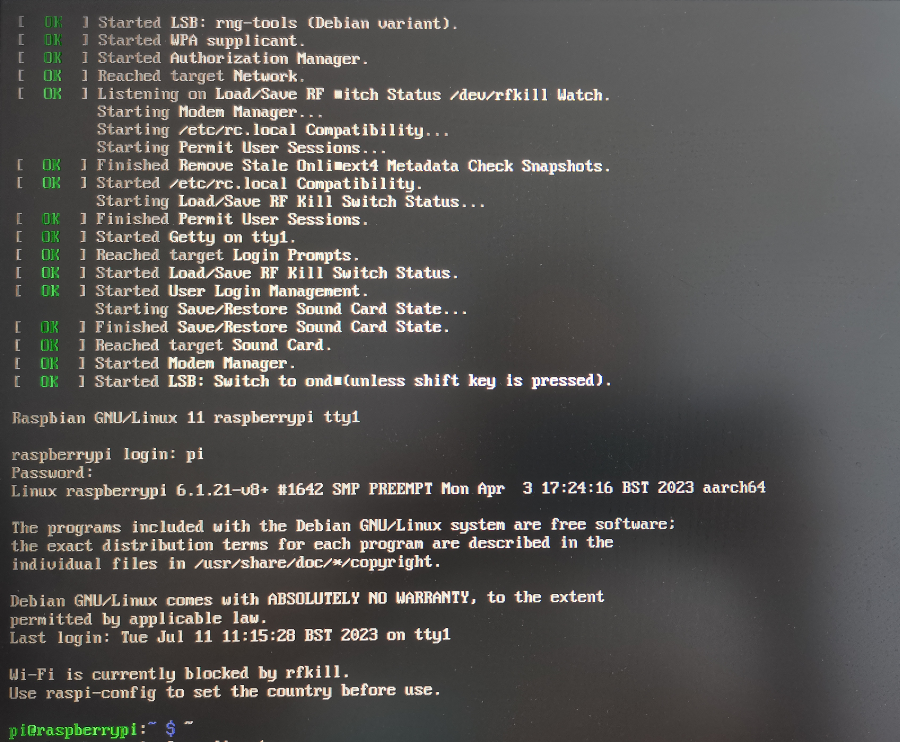
3.2.2 Raspberry Pi OS (Lite)
If the Lite edition of the system is preinstalled at the factory, the device will automatically log in using the default username pi (password: raspberry) upon startup completion. The interface shown below signifies a successful system boot.