2 Quick Start
2.1 Equipment List
- 1x ED-GWL2010 Unit
- 1x Wi-Fi/BT external antenna
- 1x LoRa external antenna
- 1x network cable
- 1x 12V@2A power supply
2.2 Hardware Connection
- Install the Wi-Fi/BT external antenna.
- Install LoRa external antenna.
- Insert the network cable into the Ethernet port, and the network cable is connected with network devices such as routers and switches that can access the Internet.
- Plug in the DC power input port (+12V DC) of ED-GWL2010 and supply power to the power adapter.
2.3 First Start
ED-GWL2010 does not have a power switch. After connecting to the power supply, the system will start to boot.
2.3.1 Raspberry Pi OS(Lite)
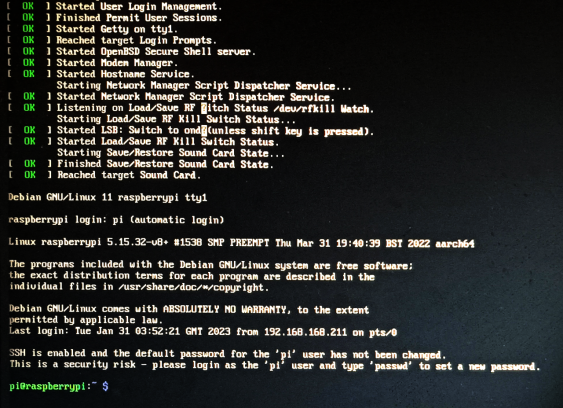
If you use the OS provided by us, after the system starts, you will automatically log in with the user name pi, and the default password is raspberry.
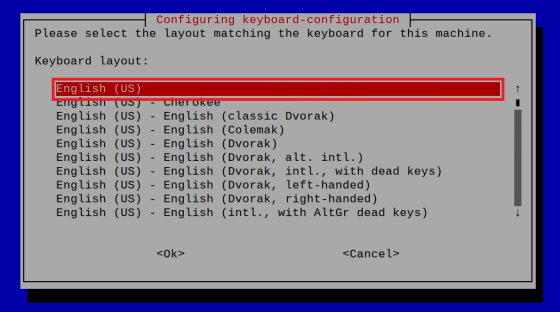
If you use the official OS, and OS is not configured before flashing to SD card, the configuration window will appear when you start it for the first time. You need to configure the keyboard layout, set the username and the corresponding password in turn.
- Set the configuration keyboard layout
- Create a new user name
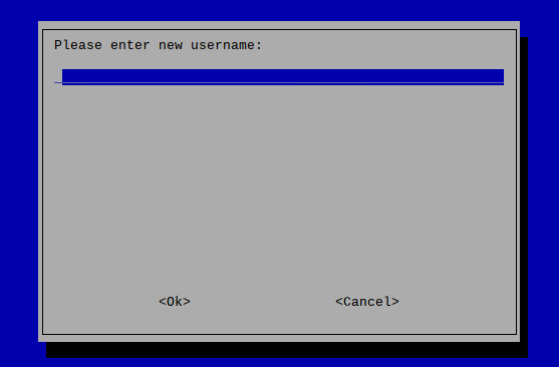
- Then set the password corresponding to the user according to the prompt, and enter the password again for confirmation. At this point, you can log in with the user name and password you just set.
2.3.2 Enable SSH
All the OS we provide have been enabled the SSH. If you use the official OS, you need to use a method to enable the SSH function.
2.3.2.1 Enable SSH via raspi-config command
- Execute
sudo raspi-configcommand - Choose 3 Interface Options
- Choose I2 SSH
- Would you like the SSH server to be enabled? Select Yes
- Choose Finish
2.3.2.2 Add Empty File to Enable SSH
Creat an empty file named ssh in the boot partition, and the SSH will be automatically enabled after the device is powered on.
2.3.3 Get The Device IP
- After the device is started, if the display screen is connected, you can use the ifconfig command to view the current device IP.
- After the device is started, if there is no display connected, you can check the IP assigned to the device through the router.
- After the device is started, if there is no display screen connected, you can download the Nmap tool to scan the IP under the current network.
Nmap supports Linux, macOS, Windows and other platforms. If you want to use nmap to scan the network segments from 192.168.3.0 to 255, you can use the following command:
nmap -sn 192.168.3.0/24
After waiting for a period of time, the result will be output:
Starting Nmap 7.92 ( https://nmap.org ) at 2022-12-30 21:19 中国标准时间
Nmap scan report for 192.168.3.1 (192.168.3.1)
Host is up (0.0010s latency).
MAC Address: XX:XX:XX:XX:XX:XX (Phicomm (Shanghai))
Nmap scan report for DESKTOP-FGEOUUK.lan (192.168.3.33)
Host is up (0.0029s latency).
MAC Address: XX:XX:XX:XX:XX:XX (Dell)
Nmap scan report for 192.168.3.66 (192.168.3.66)
Host is up.
Nmap done: 256 IP addresses (3 hosts up) scanned in 11.36 seconds