2 Quick Start
This chapter describes the startup and some of the power-up settings of the ED-CM4IND.
2.1 Equipment List
- 1 x ED-CM4IND Unit
- 1 x 2.4GHz/5GHz WiFi/BT antenna
- 1 x 4G antenna
- 1 x 12V 2A power adapter
- 1 x CR1220 button battery (RTC power supply)
2.2 Hardware Connection
As an example, the ED-CM4IND that includes eMMC, WiFi/BT and 4G functions is used to introduce the specific operation of the connection.
Tools and wires preparation:
- 1 x Network cable
- 1 x 4G SIM card
- 1 x HDMI Monitor
- 1 x standard HDMI to HDMI cable
- 1 x keyboard
- 1 x mouse
Install the WiFi/BT and 4G external antenna.
Insert the 4G SIM card.
Use a network cable to connect the device to Ethernet through the 1000M port.
Connect the mouse and keyboard through the USB port.
Insert HDMI cable to connect the monitor.
Connect the 12V 2A power adapter.
2.3 Booting The System For The First Time
ED-CM4IND device has no switching power supply. After the power supply is connected, the system will start.
The red Power indicator is on, indicating that the device has been powered normally.
The green Status indicator is blinking, indicating that the system is started normally, and then the logo of Raspberry Pi will appear in the upper left corner of the screen.
2.3.1 Raspberry Pi OS (Desktop)
After the Desktop version of the system is started, directly enter the desktop.
If you use the standard Raspberry Pi OS, and the OS is not configured before flasing to eMMC, the Welcome to Raspberry Pi application will pop up and guide you to complete the initialization setting when you start it for the first time.
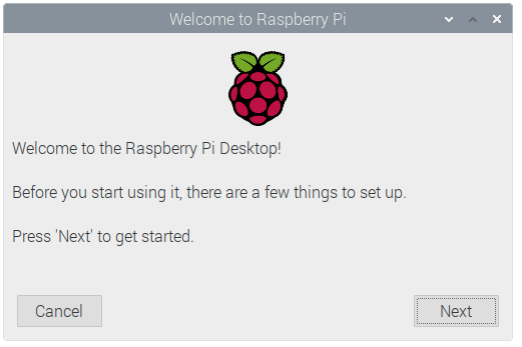
Click
Nextto start the setup.Setting
Country,LanguageandTimezone, clickNext。
TIP
You need to select a country region, otherwise the default keyboard layout of the system is the English keyboard layout.

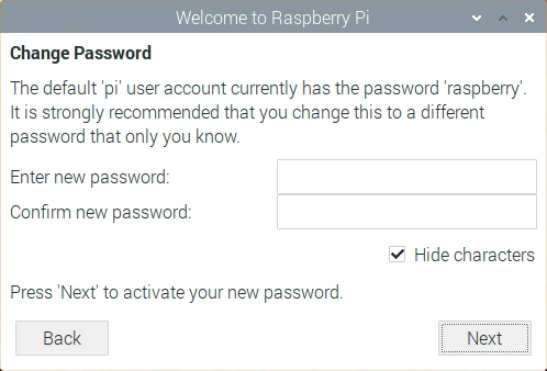
- Input a new password for the default account
pi, and clickNextand default password israspberry.
- Select the wireless network you need to connect to, enter the password, and then click
Next.
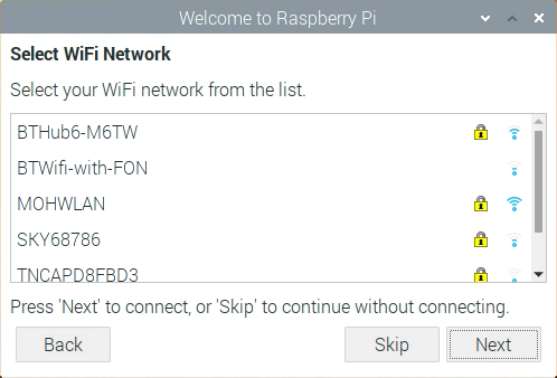
TIP
If the device does not support WiFi function, there will be no this step. Before upgrading the system, you need to wait for the wifi connection to work (wifi icon appears in the top right corner).
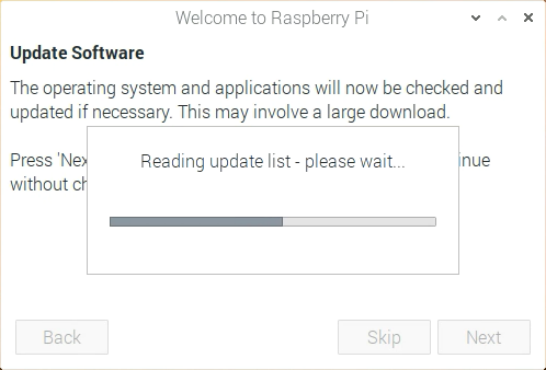
- Click
Next, and the wizard will automatically check and update Raspberry Pi OS.
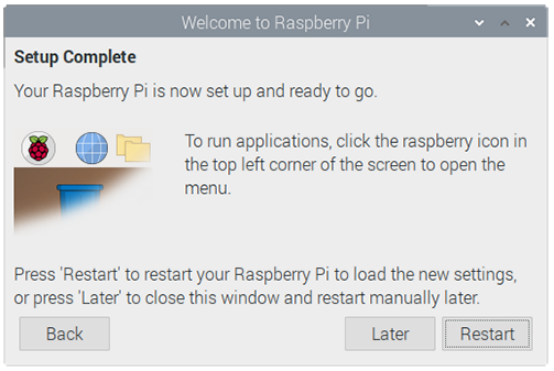
- Click
Restartto complete the system update.
2.3.2 Raspberry Pi OS(Lite)
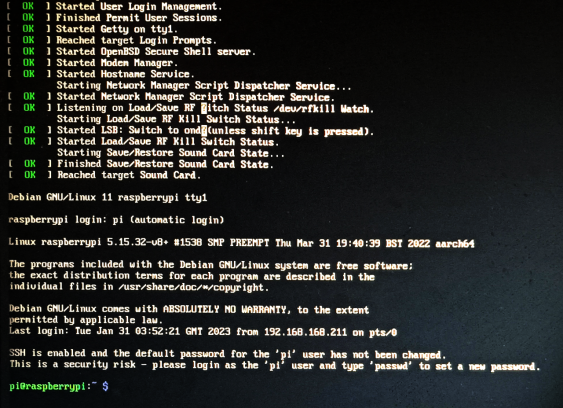
If you are using the default OS, the system boots up and automatically logs you in using the username pi, with a default password of raspberry.
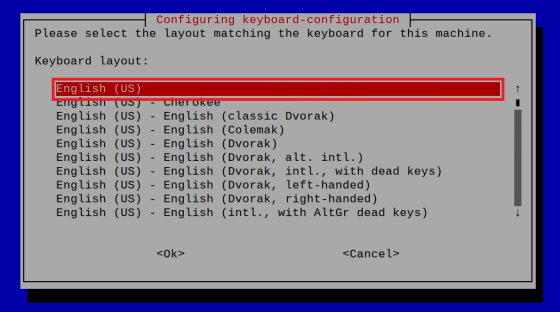
If you use the standard Raspberry Pi OS (lite), and the OS is not configured before flasing to eMMC, the configuration window will appear when you start it for the first time. You need to configure the keyboard layout, set the user name and the corresponding password.
- Set the configuration keyboard layout.
- Creat new username.
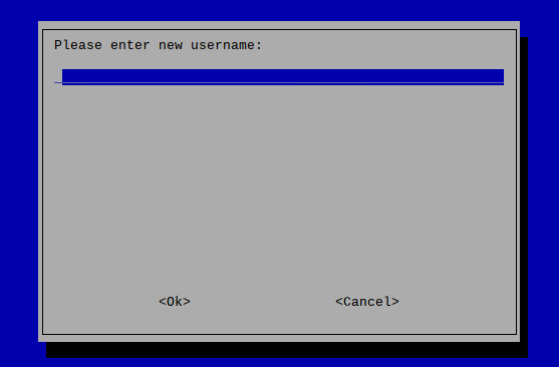
- Then set the password corresponding to the user according to the prompt, and enter the password again for confirmation. At this point, you can log in with the user name and password you just set.
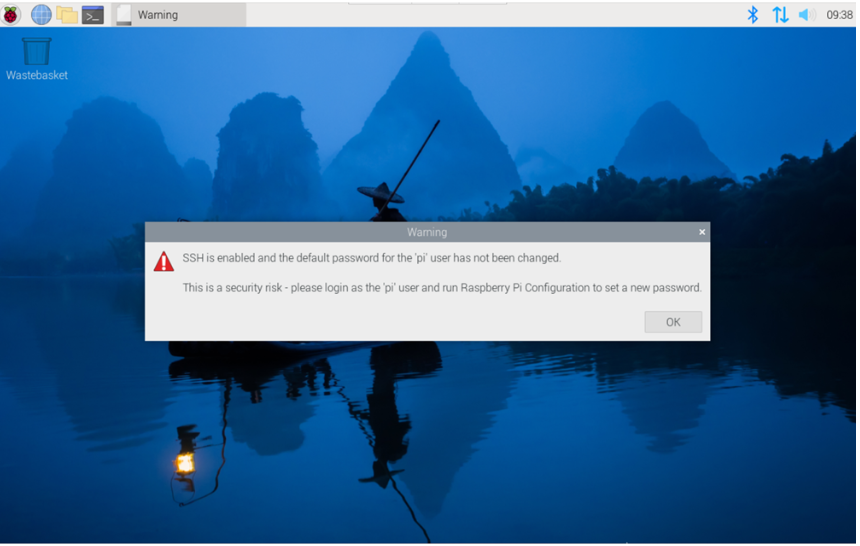
2.3.3 Enable SSH
If you use the standard Raspberry Pi OS, you need to enable the SSH function.
2.3.3.1 raspi-config
sudo raspi-config
- Choose
3 Interface Options - Choose
I2 SSH - Would you like the SSH server to be enabled? Select
Yes - Choose
Finish
2.3.3.2 Add Empty File To Enable SSH
Put an empty file named ssh in the boot partition, and the SSH function will be automatically enabled after the device is powered on.