Exporting the system image from a device
1 Overview
Introduces the background and scope of application of exporting images on devices.
- Background
- Scope
1.1 Background
This guide describes how to use the tool to quickly export an image of a device when some users need to back up a system image or want to export an image to install on another device.
1.1 Scope
This application applies to product models including ED-IPC series, ED-HMI series and ED-CM4SEN.
2 Application guide
It introduces the operation procedure for image export on the device.
2.1 Mirror exporting
Prerequisites:
- A working device has been acquired.
- A mouse, keyboard, and power adapter have been acquired.
- The device has been connected to a working network.
Procedures: 1.
- Connect the adapter to power up the device, start the device normally, and connect the mouse and keyboard.
- Install the Image Export Tool by executing the following command in the Terminal command pane.
git clone https://github.com/edatec/RonR-RPi-image-utils.git

- Execute the following command to move the folder to "/mnt".
sudo mv /home/pi/RonR-RPi-image-utils /mnt

- Execute the following command to enter the
RonR-RPi-image-utils folder
cd /mnt/RonR-RPi-image-utils/

- Execute the following command to add permissions to the program.
sudo chmod +x image-backup

- Execute the following command to start exporting the image
sudo ./image-backup
- After "Image file to create?", enter the path and the name of the image to be exported, and then press "Enter" to confirm.
如:/mnt/2024-06-06-ed-hmi-3020_101c_rapios-bookworm-arm64.img
- Path: Can only export to "/mnt" or "/media" folder.
WARNING
If memory space is insufficient, please install SD card or SSD hard disk and mount it to "/mnt" or "/media" directory!
- Mirror name: the file type needs to be ".img", the name can be customized

- After the message, press "Enter" to confirm.

- After the message, press "Enter" to confirm.

- Type "y" and press "Enter" to confirm and start creating the image.

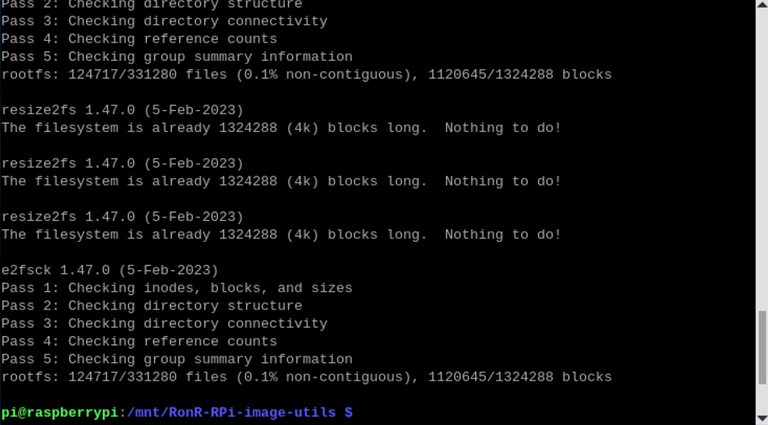
- Wait 3-5 minutes for the image export to complete.

- Execute the following command to view the results of the image export.
ls /mnt/
As shown in the following figure, it indicates that the image is exported successfully.

